
🤍WELCOME HERE🤍
This post may contain affiliate links.
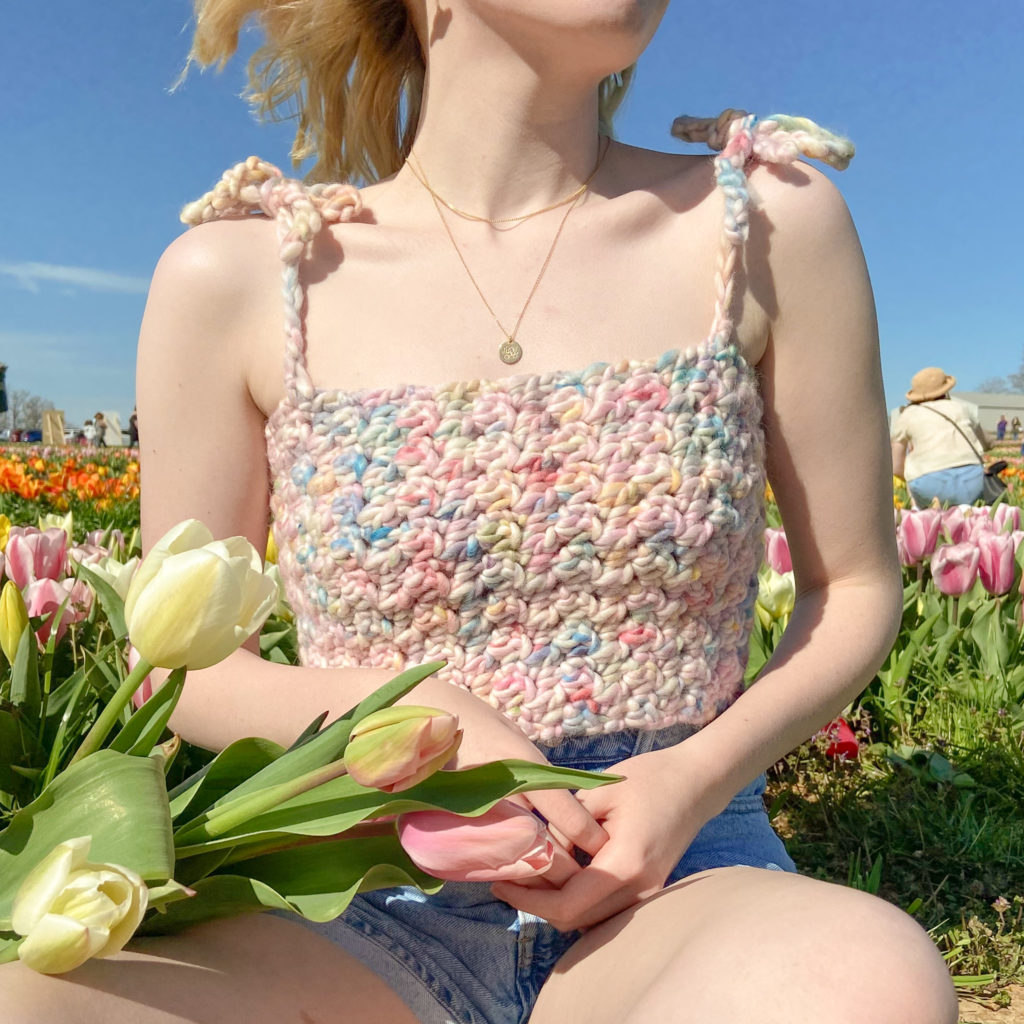
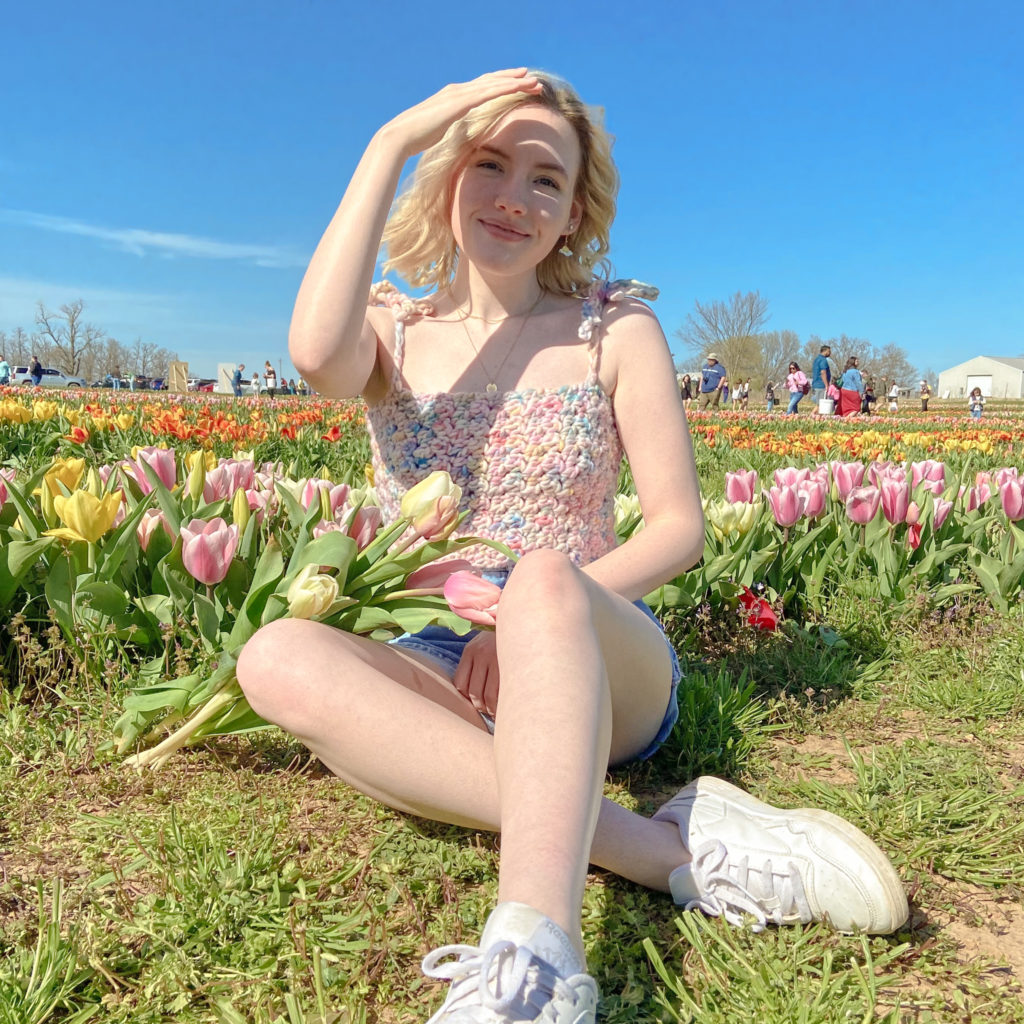
Howdy-do? In today’s free pattern I will be sharing a very easy and beginner-friendly crochet design called the “Maggie Tie-Top” (named after my beloved niece 💕)!
The inspiration for this top is combined with my love for the ‘Lemon Peel Stitch’ (my fave stitch at the moment) and all of the pretty dresses and tops I’ve seen this Spring that have Tie Straps! SO, I decided to combined both of those together along with some chunky yarn and thats how we got the design! I’m in love with it~

I used super chunky weight yarn for my top (it works up very fast, in about 3 hours for my size), but you can honestly use any weight yarn to prefer! The construction of this top is really easy to make adjustments however you like to fit your personal style.
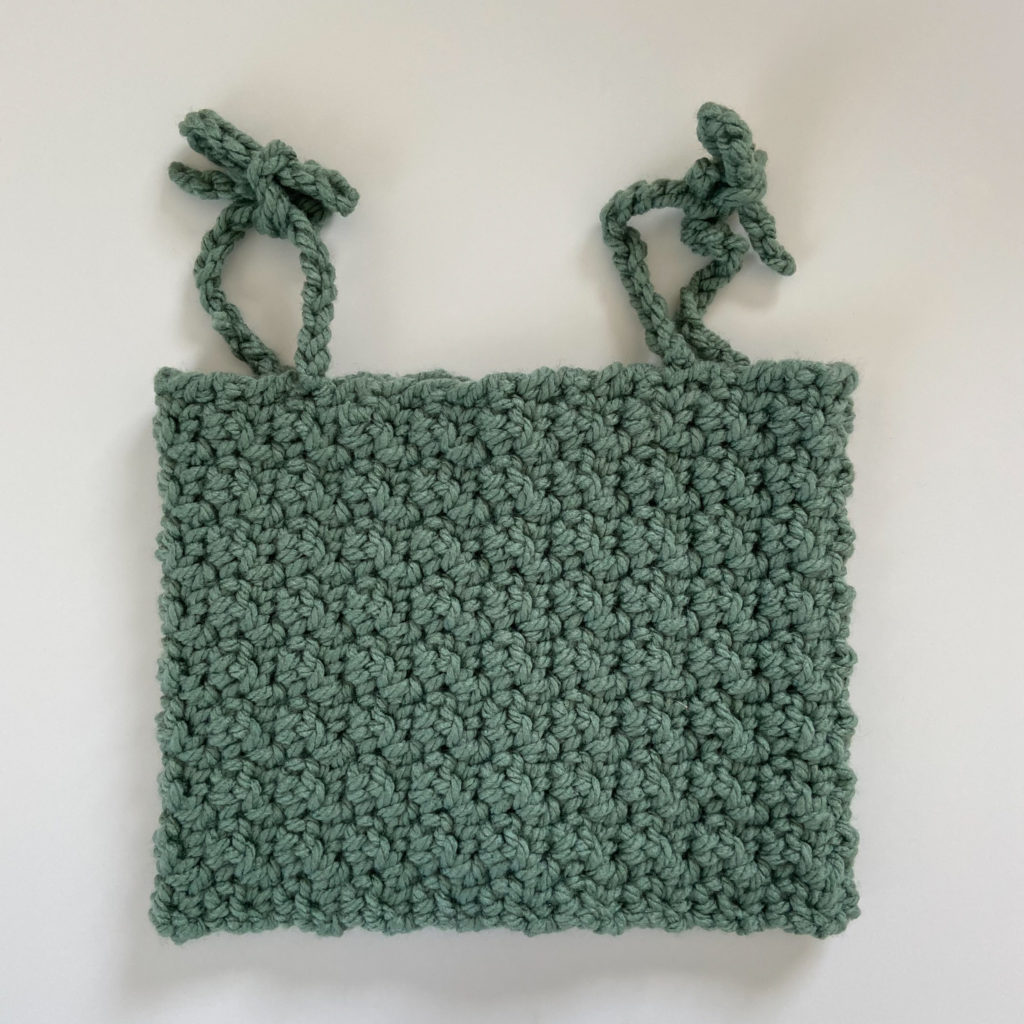
This top is made up of one long rectangle, very easy to make for ANY size to perfectly fit YOU!

Also, if you do not particularly like the Lemon Peel Stitch, no problem! You can easily substitute any stitch for the Lemon Peel; Single Crochet, Half Double Crochet, Double Crochet, some other fancy stitch, whatever you want!
SO, without further ado, LET’S GET STARTED!
Level: Easy
MATERIALS
Super Chunky Weight Yarn (6) –
Yarn I used…
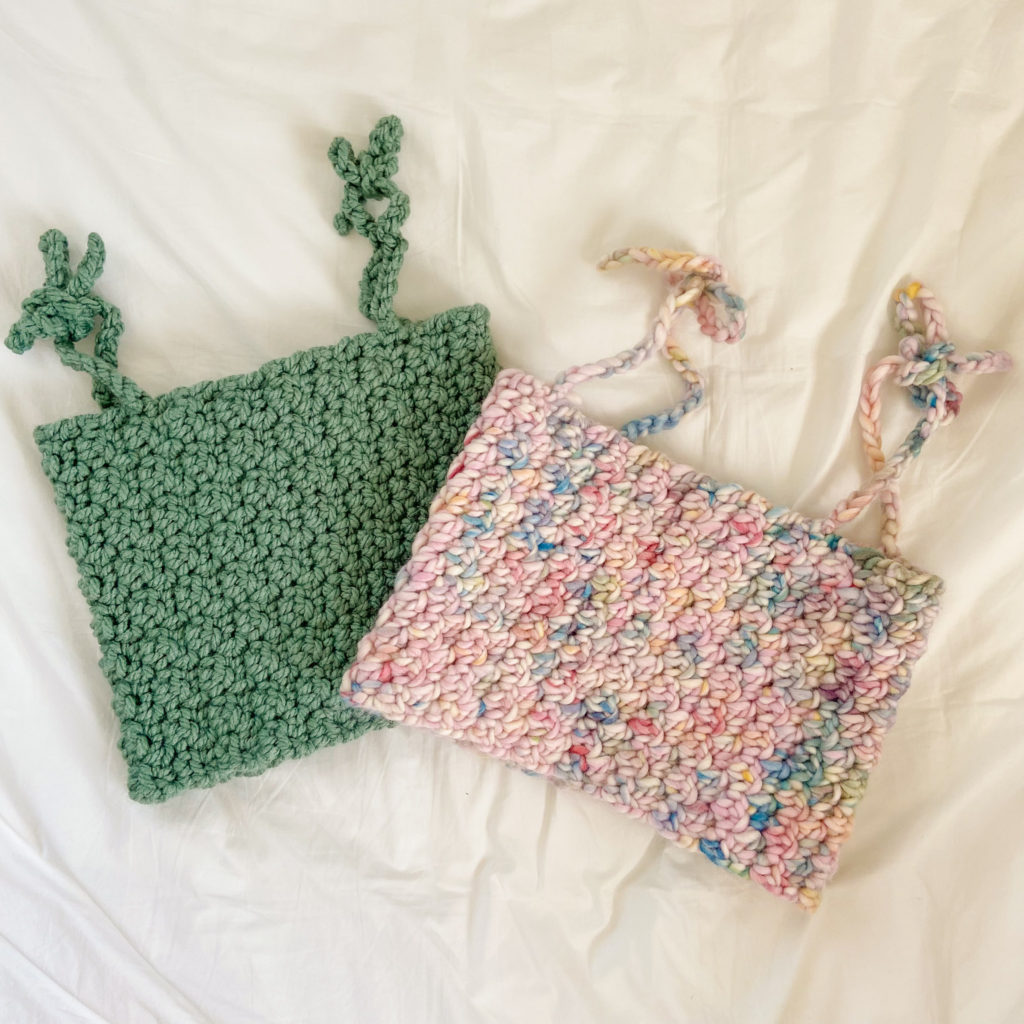
The Wool from We Are Knitters. Used 315grams of yarn for my size.
Giga Amigo from Hobbii (a cheaper alternative). Used 211grams for my size.
Number of skeins needed (from both brands): 2 skeins for sizes XS-M, 3 skeins for sizes L-2XL, 4 skeins for sizes 3XL-5XL*
(*Yarn needed varies depending on adjustments made and your tension. This is a “make-to-fit” type of top.)
STITCHES + ABBREVIATIONS
Ch = Chain
St(s) = Stitch(es)
Sc = Single Crochet
Dc = Double Crochet
PATTERN NOTES
*This Pattern follows my typical size S, but will list adjustments needed to make in ANY size.
*Turning Ch 1 DOES NOT count as a stitch in this pattern.
*This Pattern uses US Crochet terms.
The Maggie Tie-Top Pattern
Bodice
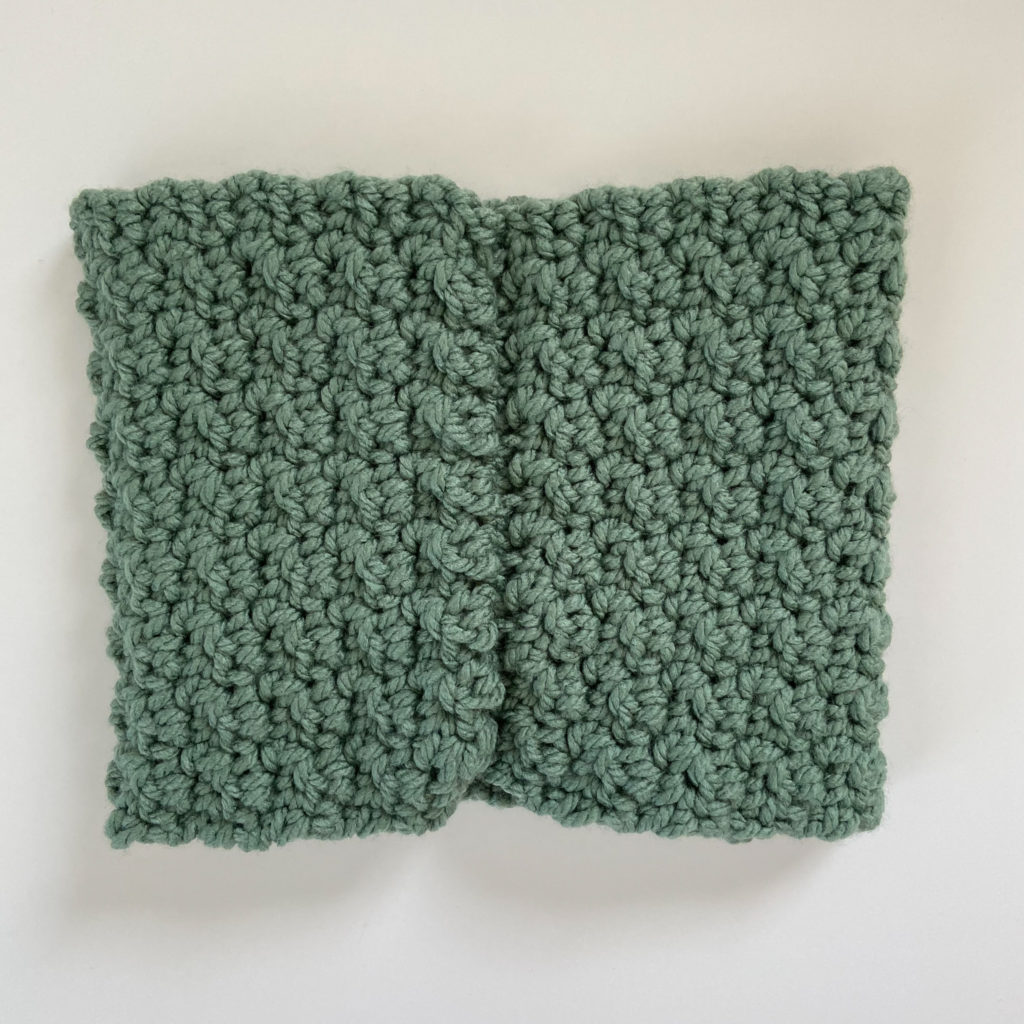
Foundation: Ch 18+1 OR how ever long you want your top to roughly be, just make sure it’s an even number (the +1 is a turning chain and does not count for the total amount of stitches needed).
Now we will learn the lemon peel stitch. It’s VERY easy, all you need to do is alternate between working a sc and then a dc in every stitch!
Row 1: Work 1 sc into the 2nd ch from the hook, work 1 dc into the next ch, *work 1 sc into the next ch, work 1 dc into the next ch, *repeat switching between the two stitches until the end of the chain. You should be ending on a dc.
Row 2: Ch 1 and turn your work. Work 1 Sc in to the first st, work 1 dc into the next st, *work 1 sc into the next st, work 1 dc into the next st, *repeat switching between the two stitches until the end of the row. You should be ending on a dc.
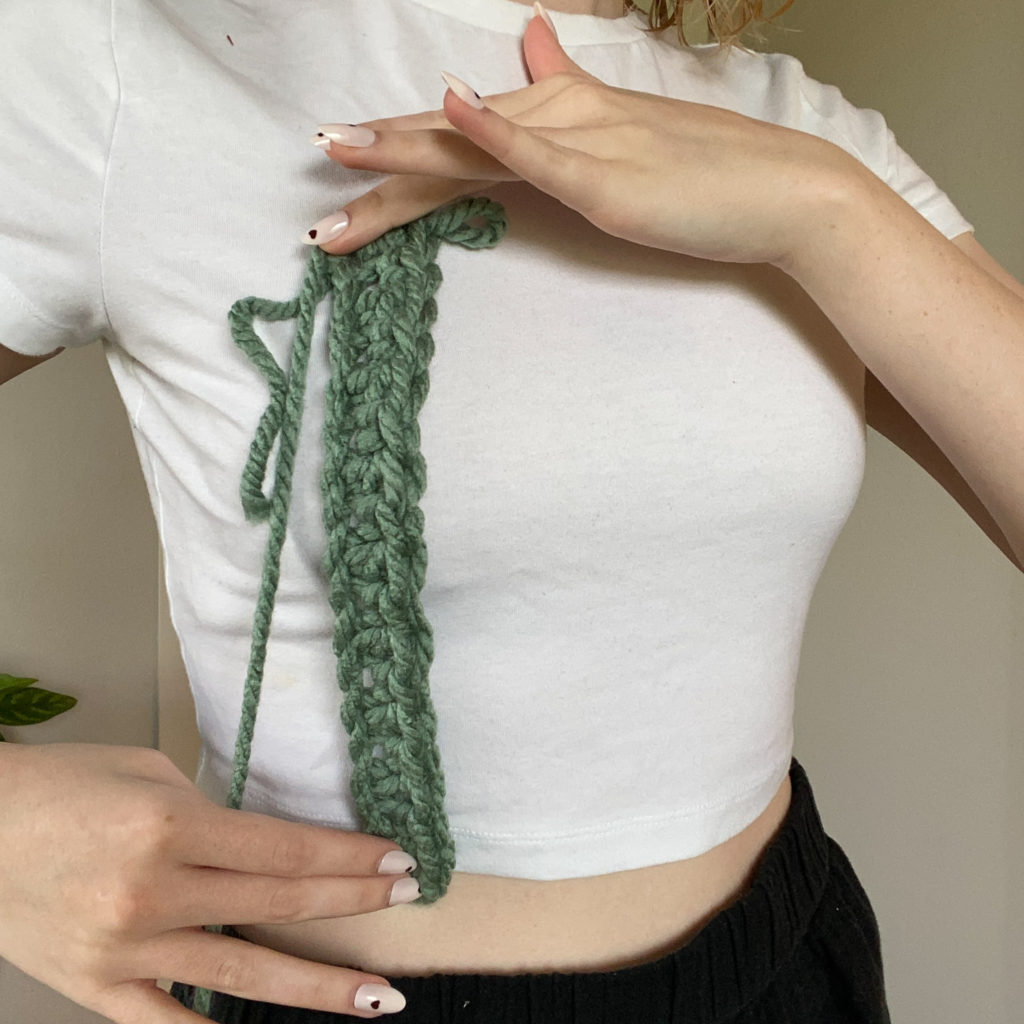
Row 3-40 (or however many you need for YOUR size): Repeat row 2. To keep up with the lemon peel stitch pattern, every row should START with a single crochet stitch and END on a double crochet stitch. Work as many rows you need until the rectangle is as long enough to wrap around you
TIP! top will have some stretch to it, so you might need a few less rows than you think you do.
When you have a many rows as you think you need, its time to sew the top up. You can cut the yarn, leave a long tail and sew it up with darning needle OR you can slip stitch the top together (the method I used).
Then fasten off and turn your work inside out.
TIP! If you slip stitch your top together and DON’T fasten off or cut your yarn, you can try on your top to see if its a good fit. See if it needs more or less rows. If it DOES need some adjustments, you can easily unravel the slip stitches and take away/add more rows! I originally started with 50 rows, and it was a bit big, so I kept taking out 2 rows at a time and slip stitch it back together until I found that 40 rows was a good fit for me.
Check out my Video Tutorial to see how I did it!
Straps
Now time to make the straps!
Map out where you want your straps to be with some stitch markers.
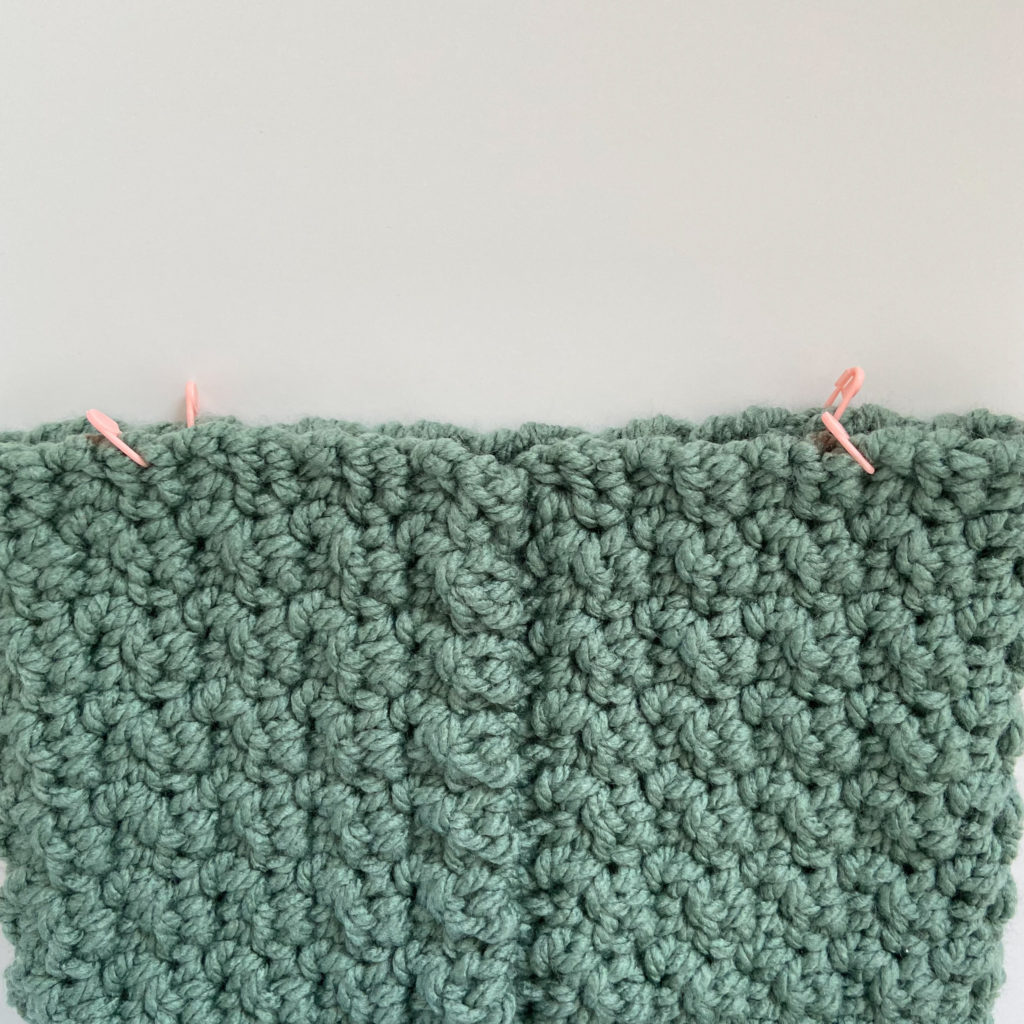
Now starting in place of where one of your stitch markers are, remove stitch marker, insert hook, pull through slip knot to the front of your work and chain 25 (More/less depending on how you want the length of your straps), cut yarn and yarn through the last loop to fasten off.
Repeat 3 more times for other straps.
If you need some more visual help, you can check out my YouTube video here
Now all you need to do is weave in your ends and…
YOU’RE DONE!
If you recreate this top, please tag or DM @hayhaycrochet on Instagram or TikTok so I can see, like and share!
Happy Crocheting~!
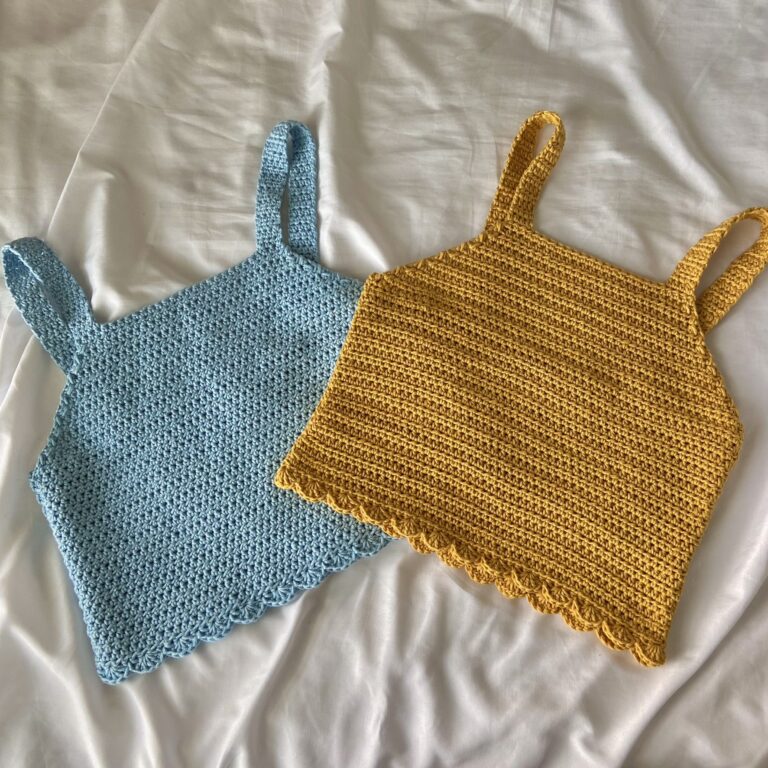
This was super fun and easy to make! I made it in no time and it was great! I love how its super customizable too!