
🤍 WELCOME HERE 🤍
This post may contain affiliate links.
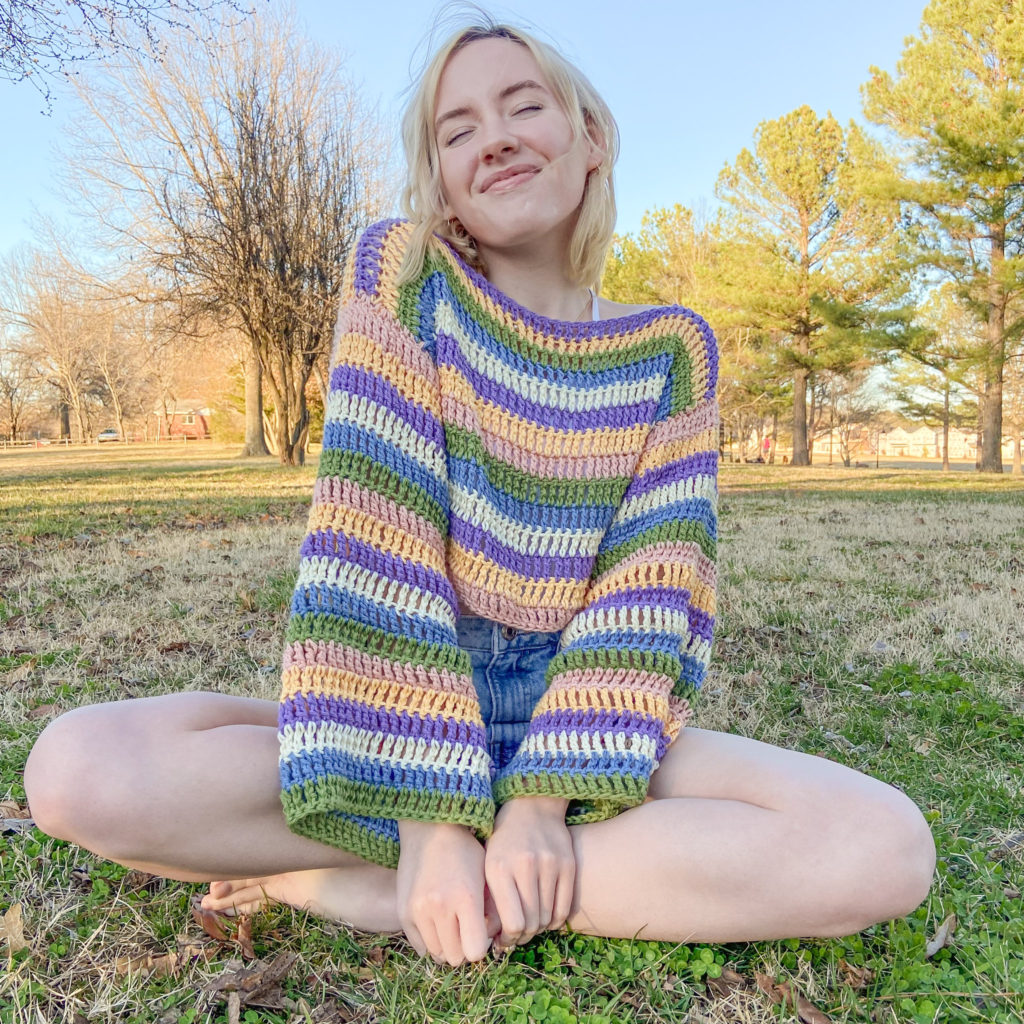
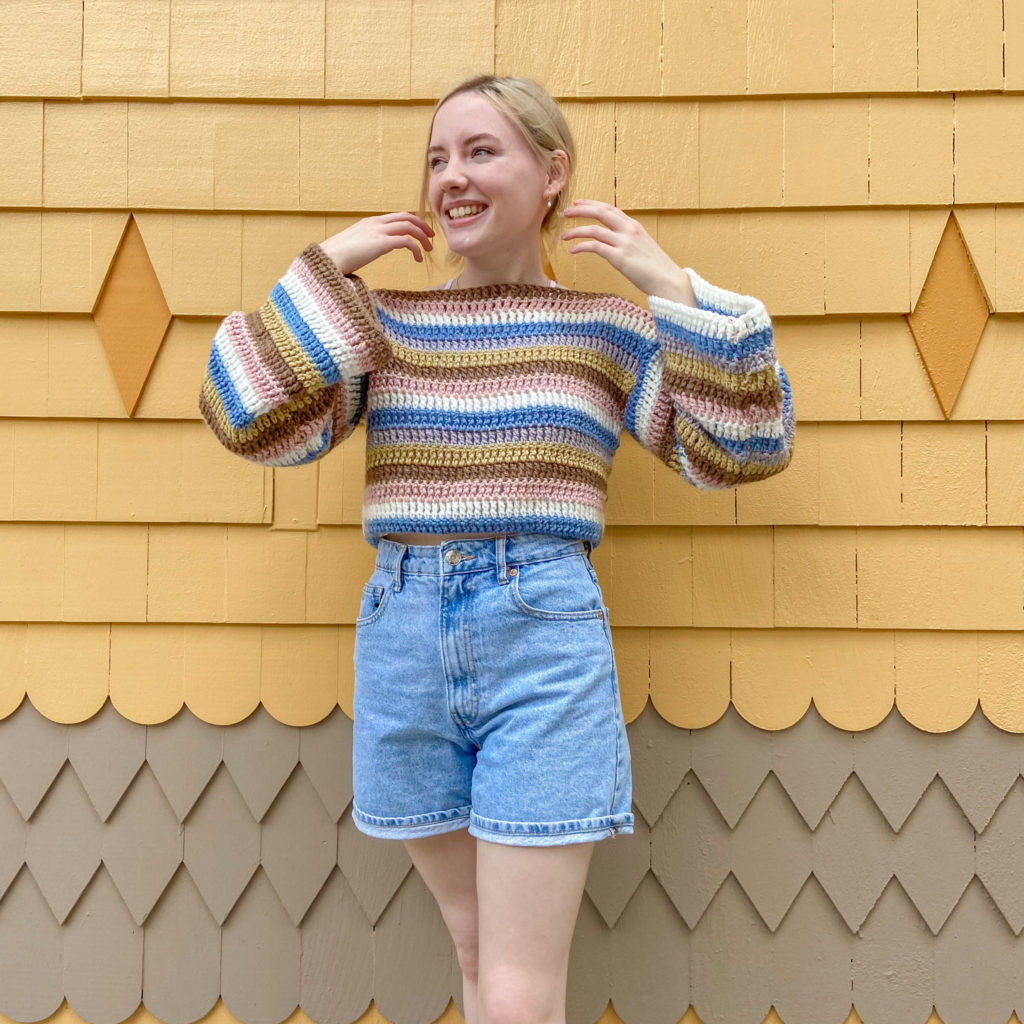
Hello There! In todays free pattern I am sharing a simple and amazing to make up with scrap/left over yarn design called the “Polly Pullover”.
I have been inspired lately (and have even got a few requests) to make more patterns that will help you use up your yarn stash! I love doing this because its a great money-saver, more sustainable, helps eliminate waste (from all those half-used skeins I most likely am never gonna use again) AND it helps me feel make room for new yarn I bring into my home!
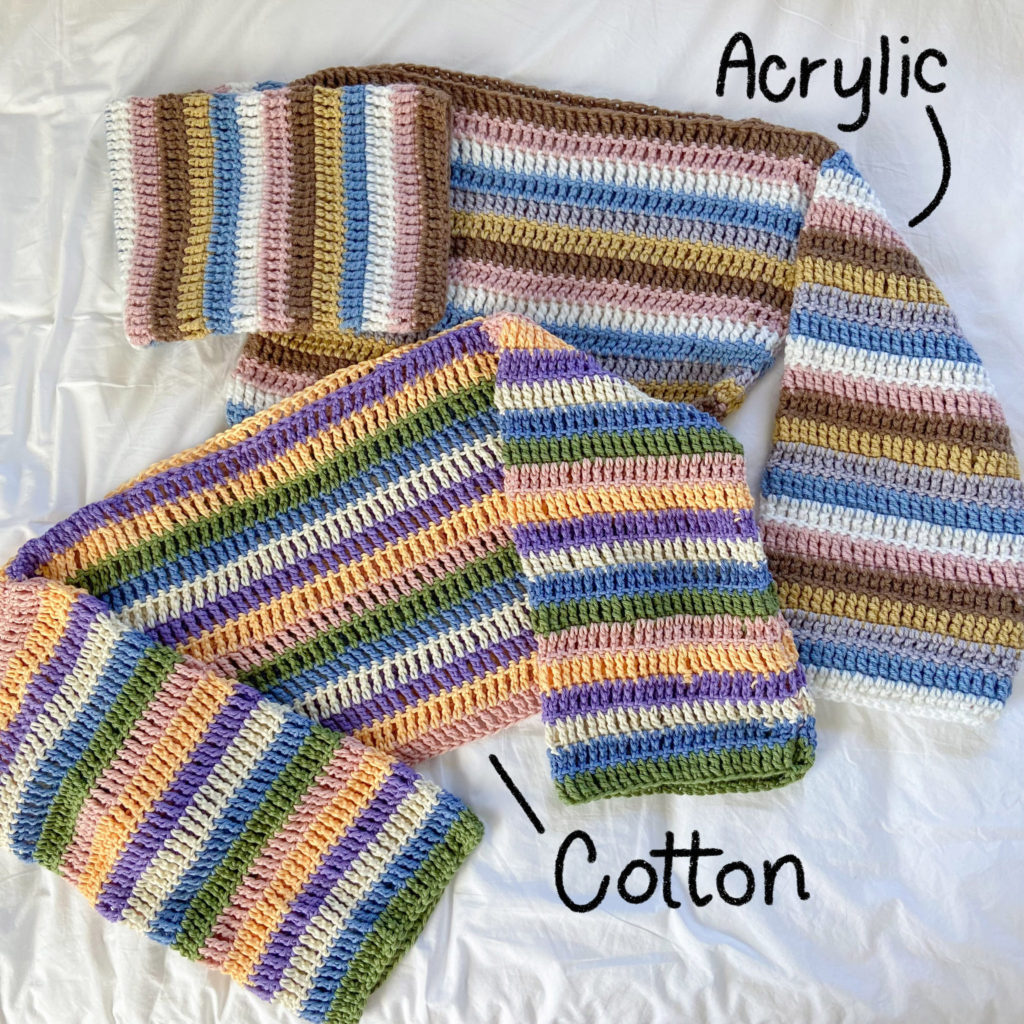
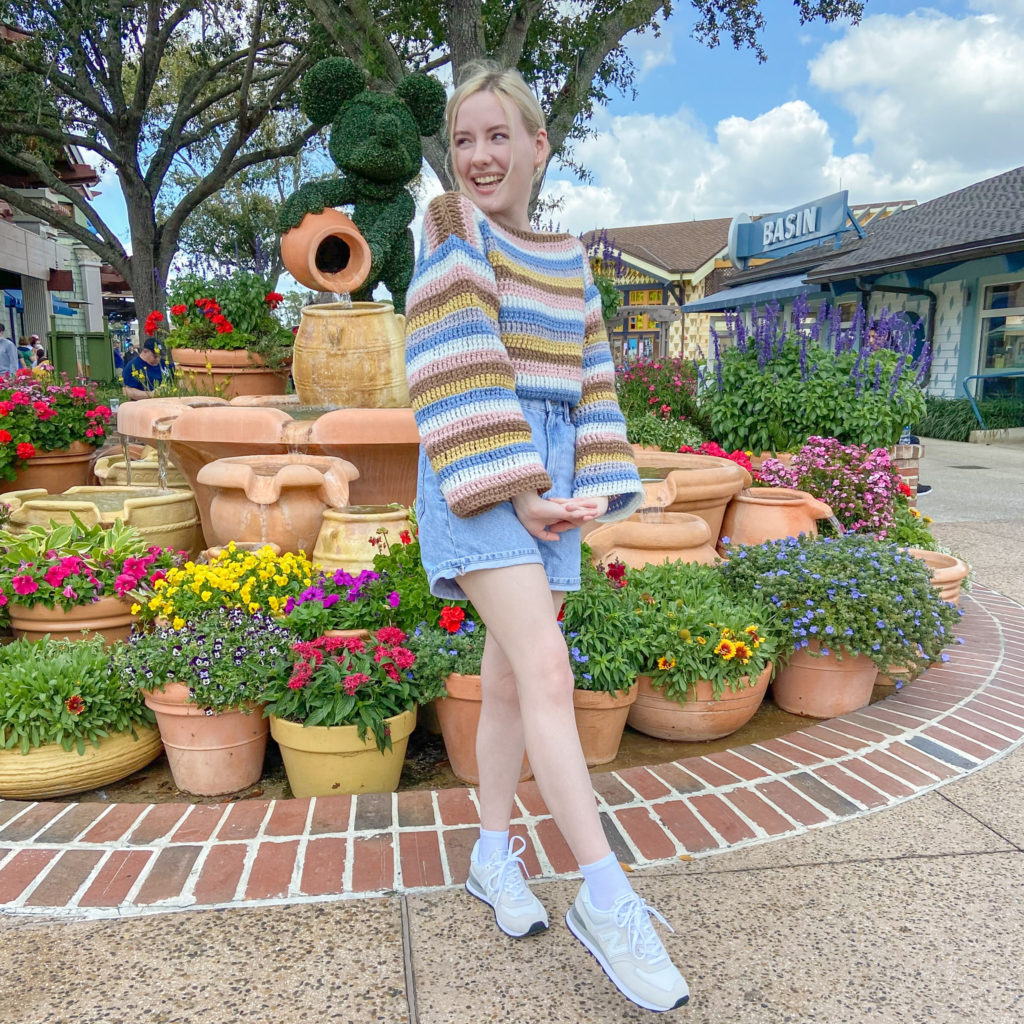
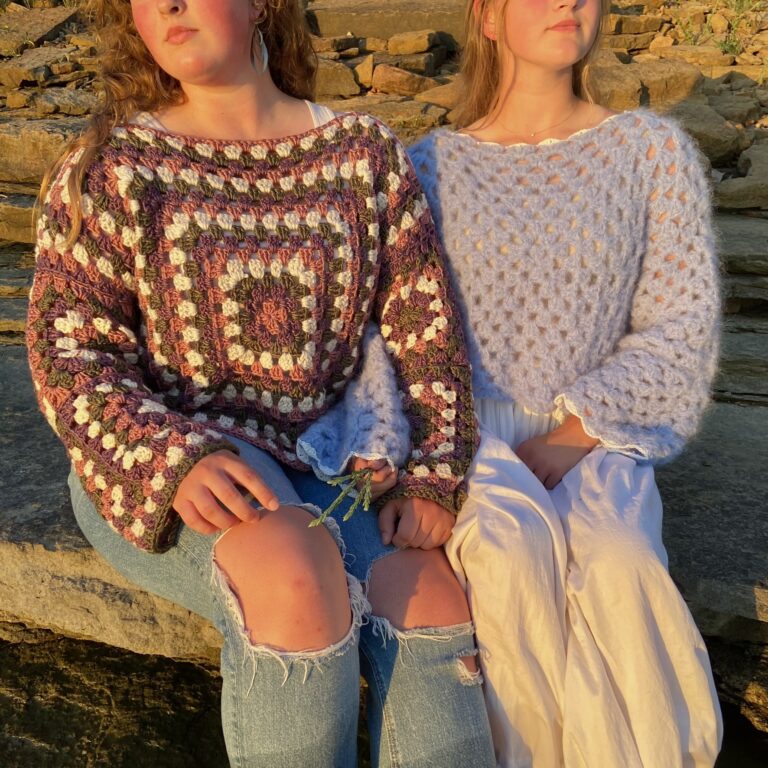
I have made 2 versions of this pullover, one with random skeins of 100% acrylic yarn and one from 100% cotton yarn left over from my Daisy Flower Coasters, but you can really use ANY type of yarn. Whats really fun with this design is that you can mix weights and fibers (acrylic, cotton, mohair, wool, etc.) and it will help you create a beautiful, one-of-a-kind garment!
You can also size up or down in your hook size depending on how loose or tight you want your stitches to be.
AND if Triple/Treble Crochet Stitches are not your vibe, you can make this with Double Crochet or Single Crochet (or a mix of them!), the possibilities are pretty much endless with this scrappy pullover! I personally like the look of the triple crochet because I feel it gives this garment an airy, easy-breezy, effortless look.
Another cool thing about this design is that it can be made into ANY size! You can make it as big or as small, as long or as short as you want! Its up to you and your preferences!
SO, without further ado, LET’S GET STARTED!
Level: Easy
MATERIALS
Scrap yarn – How much yarn needed all depends on what type of yarn/weight you choose for your pullover. One of the versions I made is made up of various 100% Acrylic Medium Weight/Worsted (4) Yarns and the other is made of up left over 100% Cotton Medium Weight/Worsted (4) Yarn. Don’t be afraid to mix brands~!
I used 400grams for the Acrylic version and 365grams of yarn for the Cotton version.
6.00mm Crochet Hook – You can size up or down in your hook depending on how “mesh-like” you want your sweater.
Scissors
Stitch Markers – (I personally don’t use a stitch marker for this pattern, but if you easily lose track of where you started or are a beginner, stitch markers are very helpful.)
STITCHES + ABBREVIATIONS
Ch = Chain
St(s) = Stitch(es)
TC = Triple/Treble Crochet
Tc2tog = Triple Crochet Two Together
Pattern Notes
*This pattern can be made in ANY size. I will be giving the basic instructions of how I made mine for my size (S/M), but will have plenty of tips on how to make it to fit you. (I am a typical size small and made mine a tad oversized.)
*This pattern follows US crochet terms.
*Turning Ch 3 does NOT count as a stitch.
*Number of stitches indicated between “<>“.
Polly Pullover Pattern
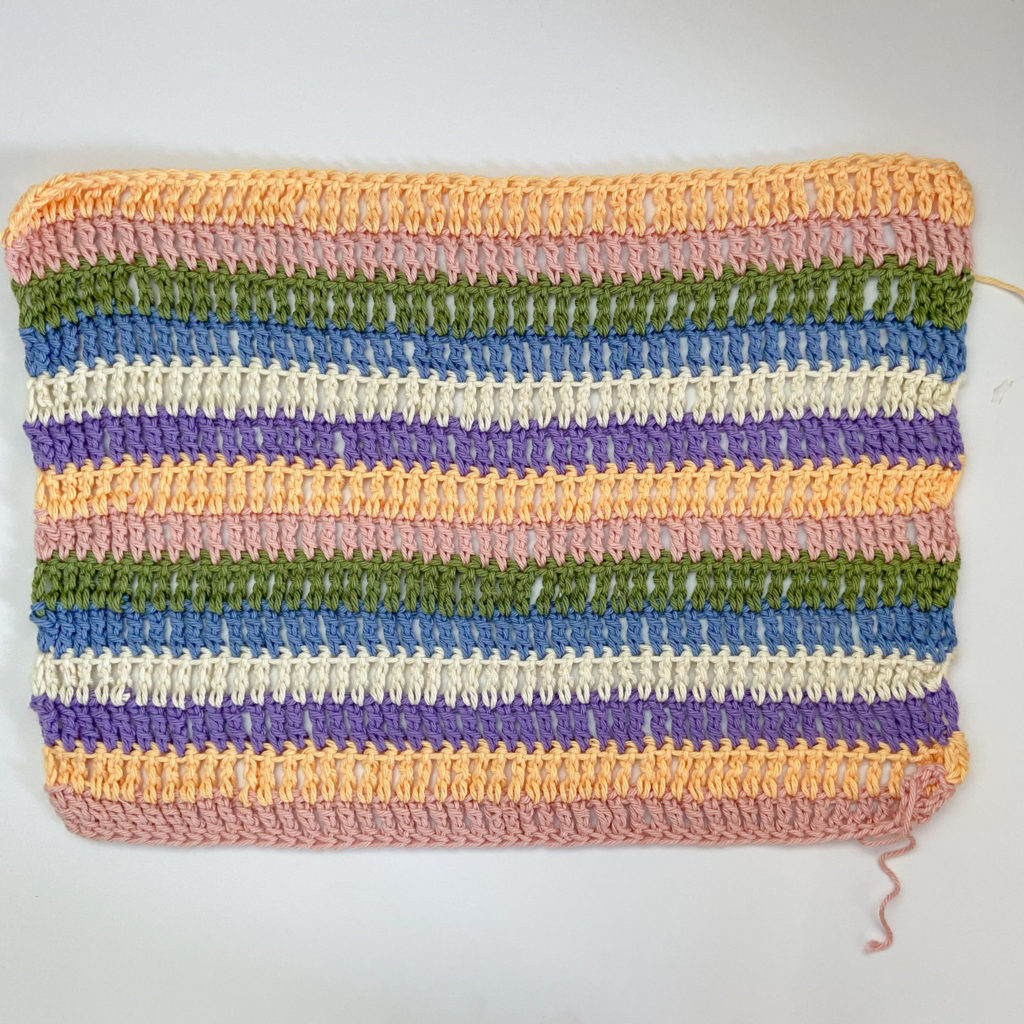
Front Panel
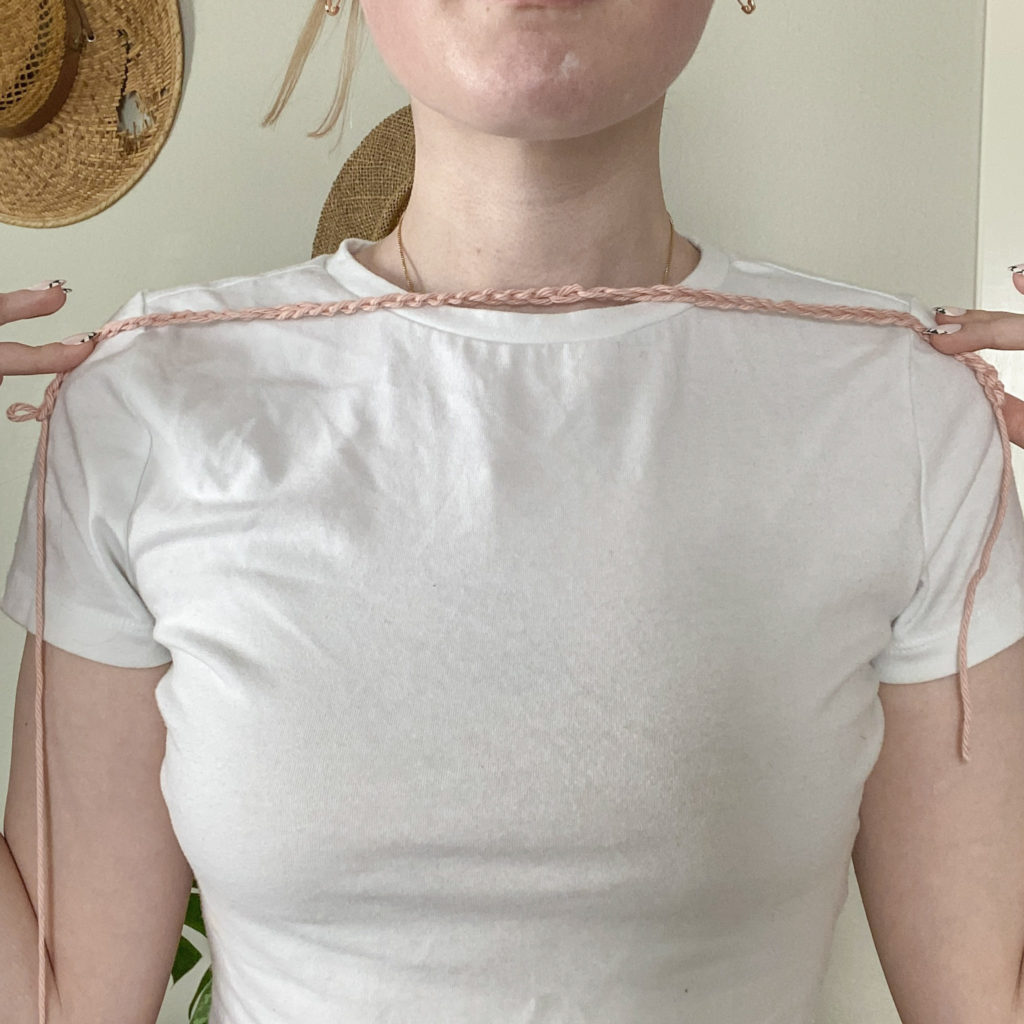
Foundation Chain: Ch as long as you roughly want the drop of you shoulders to be, I chained 48+3 (the +3 for the turning ch).
Row 1: Tc in the 4th ch from the hook, tc in the next 46 ch/however many ch you have until you have 1 ch left (In the last ch we will be a form of Tc2tog in the same ch AND also working a new color in for our color change), *in the last ch yarn over twice, insert your hook, pick up a loop, yarn over and pull through 2 loops, yarn over and pull through 2 more loops, yarn over twice and insert your hook back into the SAME ch, pick up a loop, yarn over and pull through 2 loops, yarn over and pull through 2 more loops, with 3 loops left on your hook (if changing colors) pull new yarn through the last 3 loops. (the tc2tog just worked counts as 1 st) <48>
*You will be repeating the tc2tog in the last st of EVERY ROW to help keep the edges of your panels more even and smooth.
TIP! If working with multiple colors, crochet OVER your ends as your go so you don’t have to weave them all in at the end! I briefly show how I do it in my Video Tutorial for this pattern If you’d like to see how to do it.
Row 2: Turn your work and Ch 3. Tc in each st until the end of the row (remembering to tc2tog in the last st and working your new color in before you finish the st off.) <48>
Row 3-14/however long or short you want your sweater to be: Repeat rows 1-2.
(Here is where you can play with the length you prefer. For my cotton version I worked 14 rows and for the acrylic version I only worked 16 rows.) <48>
Repeat for Back Panel.
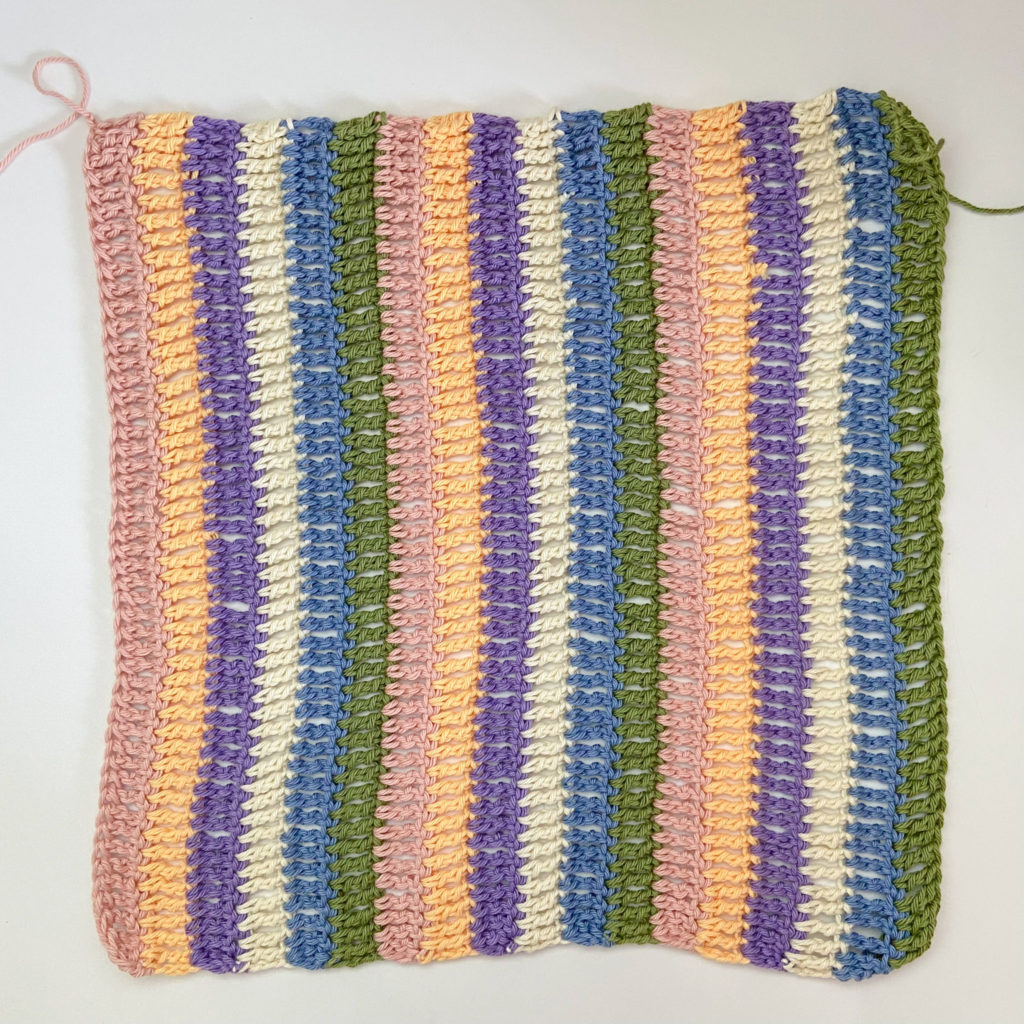
Sleeves
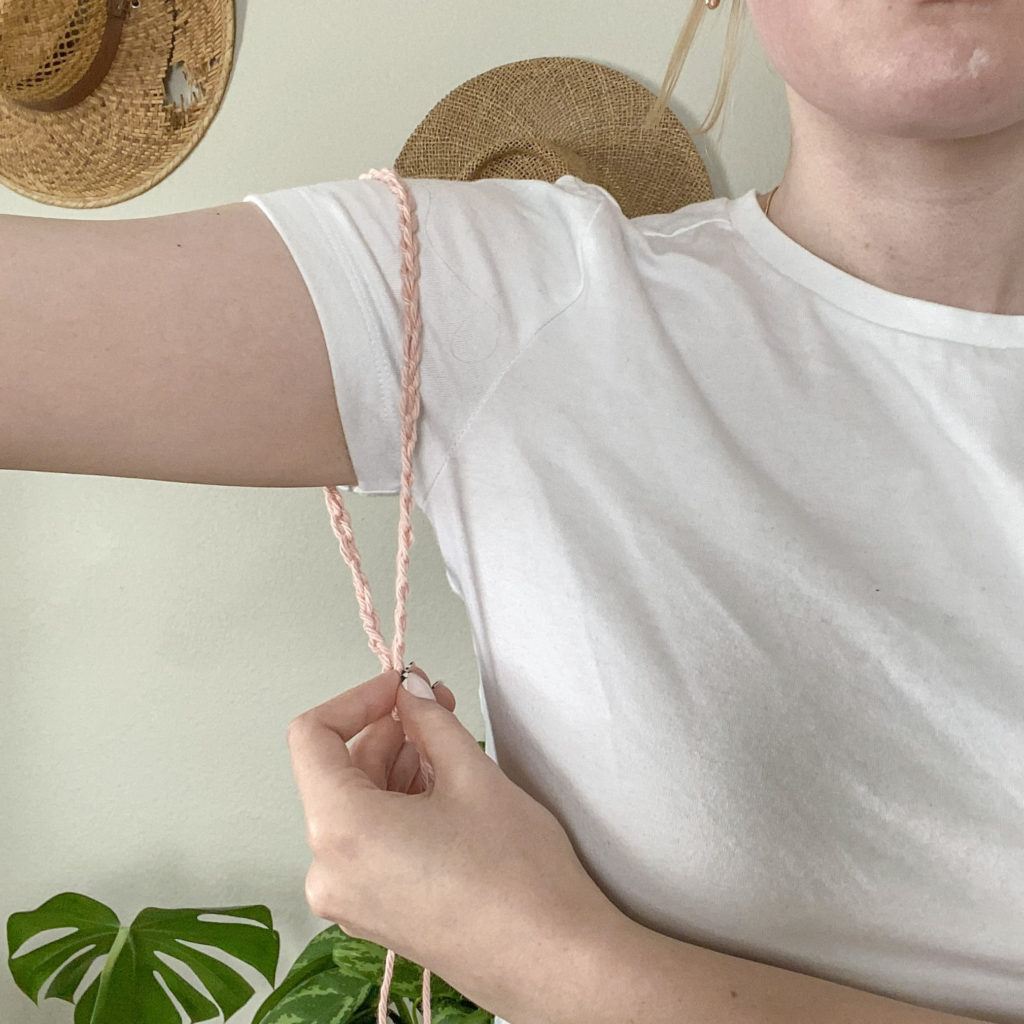
Foundation Chain: Ch as long as you roughly need for the circumference around your arm. I chained 48+3 as I did for my front and back panels.
Rows 1-18/however long or short you want your sleeves to be: Repeat the same process as you did for your front and back panels.
(I’ve had a few people ask if its possible to make a short sleeved version of this sweater and the answer is YES! Add as many or as few rows as you want for your desired length. You can even make it with no sleeves if you want more of a vest-type of top. For my cotton version I worked 18 rows and for my acrylic version I worked only 20 rows.)
Repeat for second Sleeve.
If you need some visual help, you can check out my YouTube Video Here.
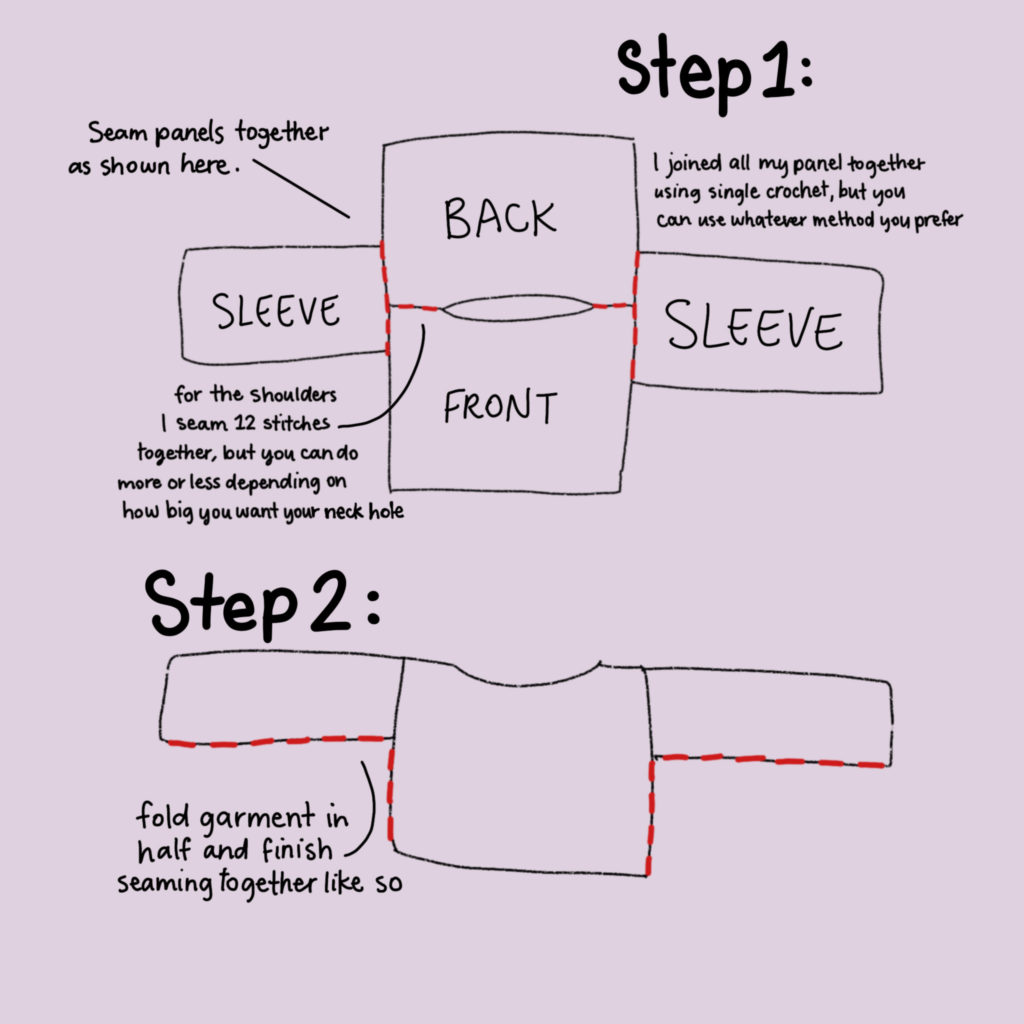
NOW, time to join all your panels together! You can use whatever method you’d like to join your pieces together, such as single crocheting them together (as I did) or using a darning needle and thread/yarn.
Weave in your ends and…
YOU’RE FINISHED!
If you recreate this pullover, please tag or DM @hayhaycrochet on Instagram or TikTok so I can see, like and share!
Happy Crocheting~!
Do you have approximate dimensions for this adorable sweater?
I made this and oh my gosh it’s so cute! The pattern is super simple and easy to experiment with! I will totally make this again!
Thank you so much <3
Thank you so much❤️. I’ve been looking for a pattern like this for ages. At one point I gave up on looking but then I came across a video of yours on tiktok with the fruit pouch thingies and I decided to check out the pattern on your page. I also looked through the other patterns (which are all lovely by the way) and found this one. I love it so much, starting one right now🥰❤️
I just found this pattern and I‘m already planning out, which colors I want to use. I immediately fell in love and I will recreate it as soon as I can!!!! Great work!
Omg i am totally in love with this pattern, Im working on mine right now and can’t wait to see results!!!! ❤️❤️
AHHH I LOVE THIS SO MUCH! I’m starting one right now!