
🤍WELCOME HERE🤍
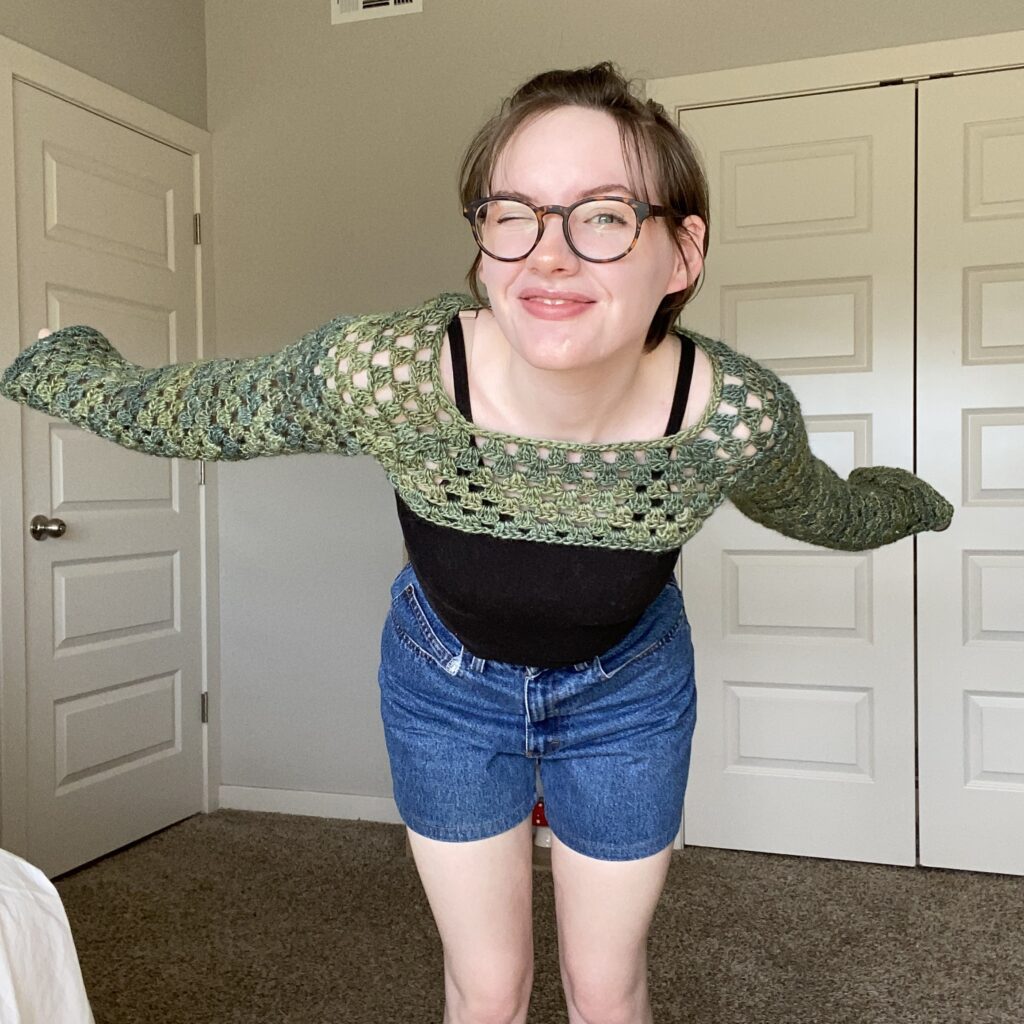
Hi there! In todays pattern, I am SO VERY EXCITED to share this magical design with you that I have been working on for a long while now and it is the ✨Faerie Grannie Shrug✨.

This post may contains affiliate links.
This pattern is a Top-Down/Raglan style design. It is beginner-friendly AND can simply be made into ANY size!!
I have been loving the Shrug/Bolero trend lately. They are so lovely and (in my opinion) goes with a lot of different styles, whether that be for layering in the fall and winter, over a sundress in the spring and summer or to add some flare to an otherwise basic outfit.
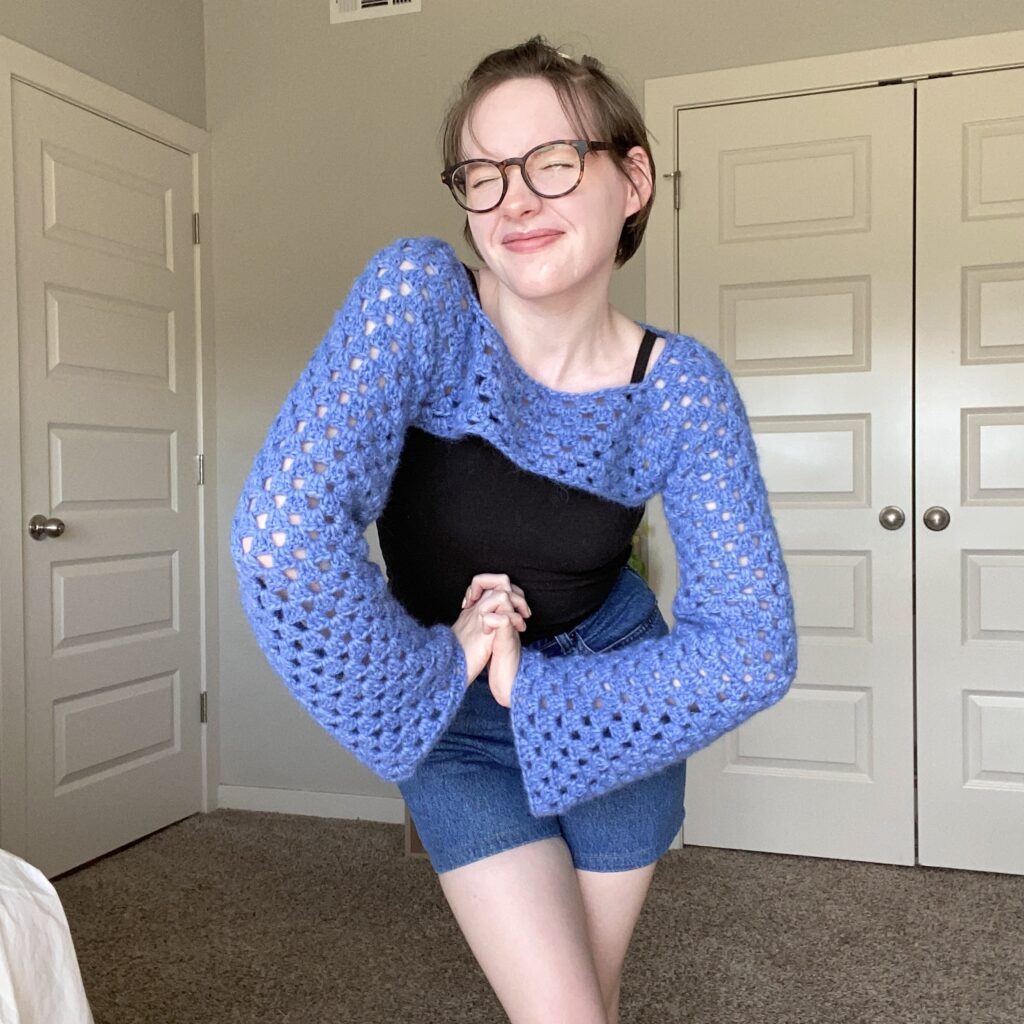
As you might be able to tell from the name of this design being called the “Faerie Grannie Shrug”, I have been reading too many fantasy novels and am currently in my Fantasy/Faerie era and tried to find yarn that really reflect that aesthetic for me 🧚♀️.
SO, without further ado, LET’S GET STARTED!
MATERIALS
Worsted/Aran weight (4) Yarn – I used several different types of yarn that include Arcane Fibre Works (worsted weight), DROPS Air, Yarn Bee Ethereal Eyelash, Yarn Bee Chloe, Yarn Bee Fireside, (Just a heads up that most of the Yarn Bee yarn linked seems to be sold out, but you still may be able to find them instore at a Hobby Lobby near you)
Yarn amount needed approximately*: 300grams for XS/S, 350grams for M, 400grams for L/XL, 450grams for 2XL, 500 grams for 3XL/4XL, 550grams for 5XL (*all of the types of yarn I used varied slightly between each other, but these amounts are based on a standard worsted weight yarn)
6.00mm Crochet Hook – Clover Hooks are the BEST
Scissors – these are cute and sharp!
Darning Needle – my FAVES 💕
Stitch Markers – I don’t personally use these in this pattern, but if you have a hard time knowing where you started, these are my favorite!
STITCHES + ABBREVIATIONS
Ch = Chain
St(s) = Stitch(es)
Sl St = Slip Stitch
Dc = Double Crochet
Sc = Single Crochet
Sk 2 ch = Skip two chains
Dc Cluster = Work 3 Double Crochet into the same chain/chain 1 space
Dc Cluster Corner (Increase) = Work a double crochet cluster, chain 2 and another double crochet cluster into the same corner chain 2 space
Ch space = Chain Space
Rnd(s) = Round(s)
Gauge
4″x4″ square = 4 dc cluster stitches wide x 4 dc cluster rows tall
*Measurements taken while garment was laid flat.
Pattern Notes
*This Pattern follows US crochet terms.
*Turning Ch 2 DOES count as a double crochet stitch in this pattern.
*When working double crochet cluster, you work in chain spaces and not in the stitches (unless otherwise directed to).
Faerie Grannie Shrug Pattern
Ch 72 (the size of this chain is wide, though it might not look like it at first, it should fit most every size, as long as your gauge is correct).
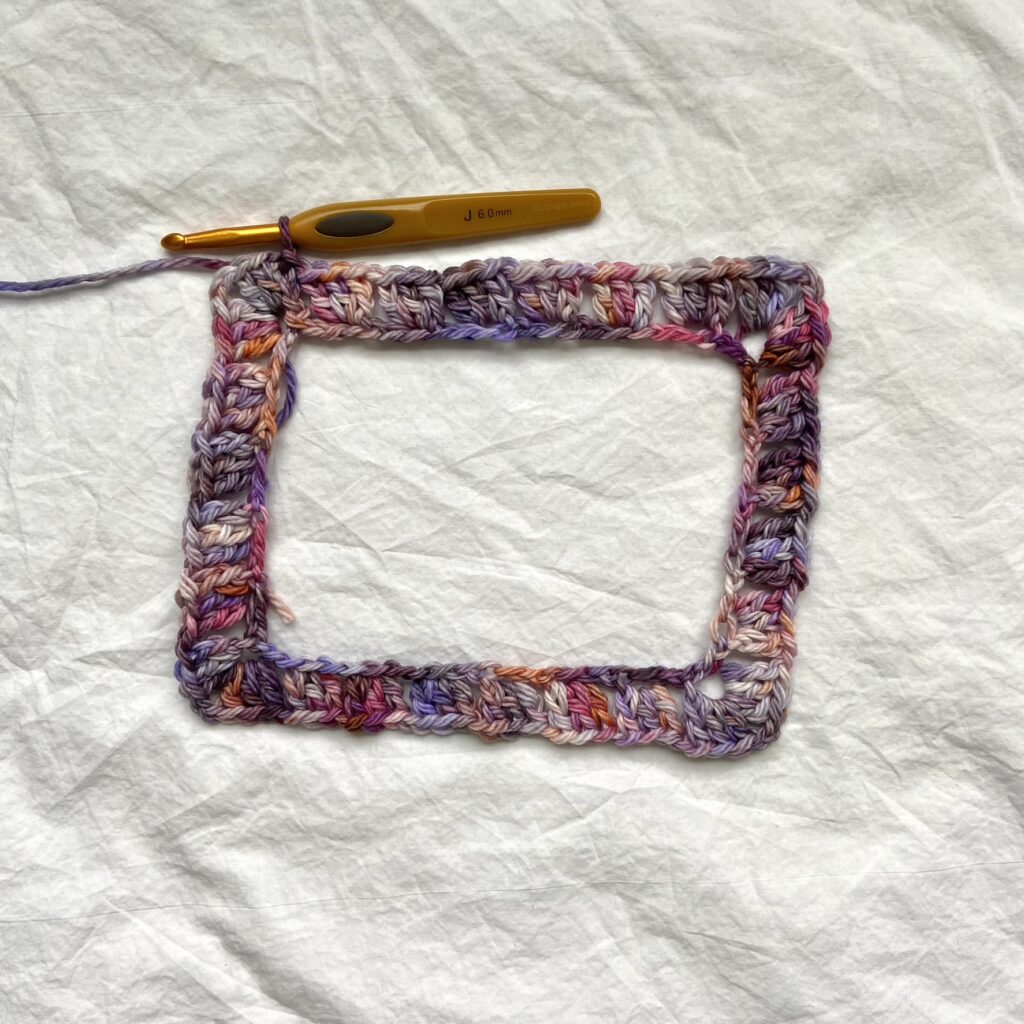
Rnd 1: Sl st into the first ch of your chain (make sure it isn’t twisted). You will now be working in the rnd.
Ch 2 (this will count as your first stitch of the rnd), work 2 more dc into the same ch you sl stitched into (the ch 2 along with the 2 dc counts as your first dc cluster), ch 2 and work 1 dc cluster into the same ch space (this is your 1st dc cluster corner), *ch 1, sk 2 ch and work 1 dc cluster into the next ch, *repeat 3 more times,
ch 1, sk 2 ch and work 1 dc cluster, ch 2 and 1 more dc cluster into the same ch space (this is your 2nd dc cluster corner), *ch 1, sk 2 ch and work 1 dc cluster into the next ch, *repeat 5 more times,
ch 1, sk 2 ch and work 1 dc cluster, ch 2 and 1 more dc cluster into the same ch space (this is your 3rd dc cluster corner), *ch 1, sk 2 ch and work 1 dc cluster into the next ch, *repeat 3 more times,
ch 1, sk 2 ch and work 1 dc cluster, ch 2 and 1 more dc cluster into the same ch space (this is your 4th dc cluster corner), *ch 1, sk 2 ch and work 1 dc cluster into the next ch, *repeat 5 more times,
sl st into the first st (the ch 2 from the beginning) of the rnd.
If you are needing some help visually with this pattern, check out my Video Tutorial!
Rnd 2: Turn your work and ch 2. work 2 more dc into the same ch space, work 1 dc cluster into every ch space until you come to a corner ch space, *work 1 dc cluster corner into the corner ch space, work 1 dc cluster into every ch space until you come to a corner ch space, *repeat until the end of the rnd.
Sl st into the first st of the rnd.
Rnd 3-as many rnds as you need for your size: Repeat round 2 by working 1 dc cluster into every ch 1 space and 1 dc cluster corner (increase) into every corner ch 2 space. Work as many rnds as you need for when you try on this top and the corners can reach and comfortably connect underneath your armpits
I worked a total of 6 rnds and I am typically a size XS-S.
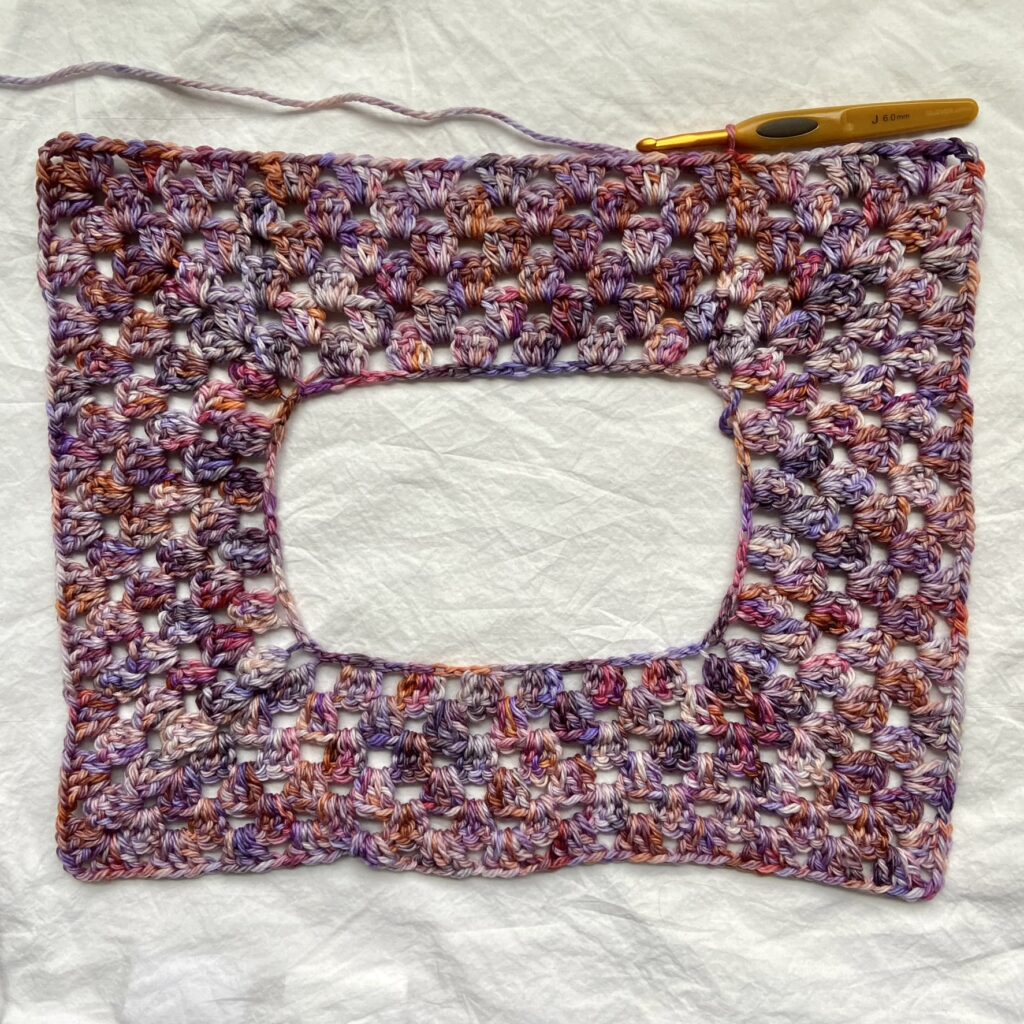
Again, work as many rnds as you need for the corners to reach comfortably under your arms.
If you are having trouble and need further help, check out my Video Tutorial for this pattern.
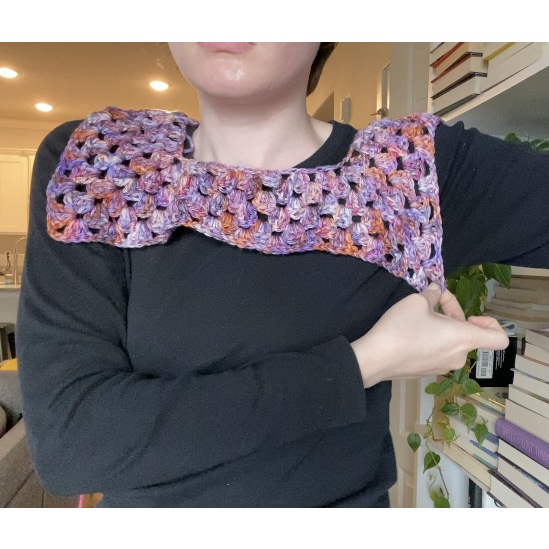
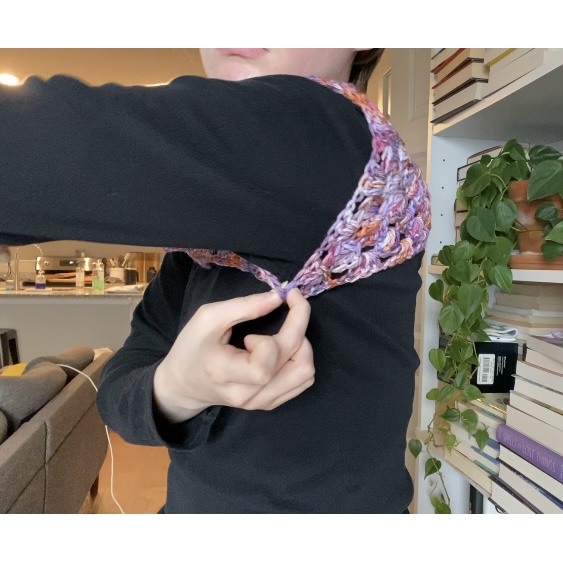
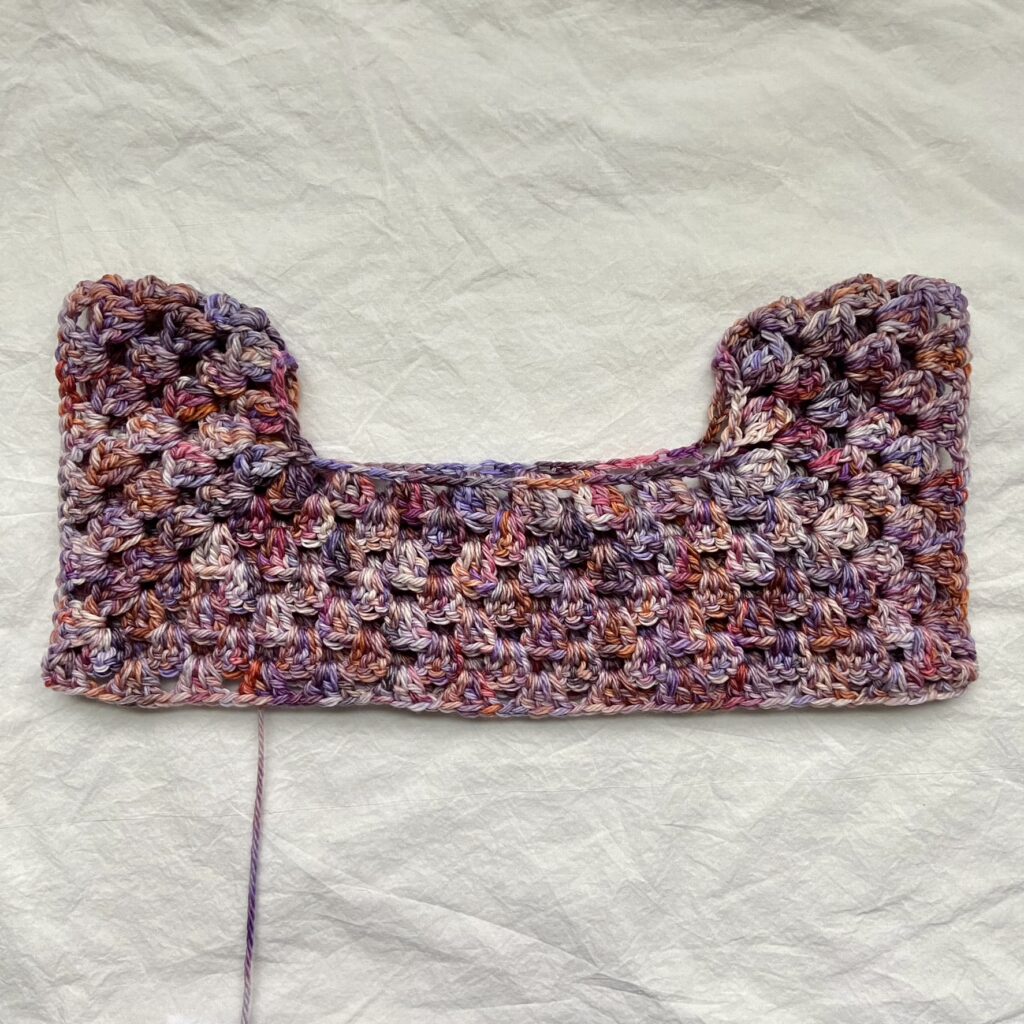
Once you have as many rnds as you need we will move onto the rnd where we connect the corners under the arms.
Rnd 7 (or whatever rnd you are currently on): Turn your work and ch 2. *Work 1 dc cluster into each ch space until you reach a corner ch space, work 2 dc into that ch space, work HALF of a dc (yarn over, insert your hook, pick up a loop, yarn over, pull through 2 loops, STOP), yarn over, insert your hook into the next corner ch space (skipping over all of the dc clusters in between), pick up a loop, yarn over pull through 2, yarn over and pull through the last 3 loops on your hook, work 2 more dc into that same ch space (you now have connected you corners together and should have your first armhole), *repeat this 1 more time, work 1 dc cluster into each ch space until the end of the rnd.
Sl st into the first st of the rnd.
Fasten off (or work more rnds if you are wanting your body piece to be longer).
Sleeves
Rnd 1: Attach your yarn on either armhole and in any ch 1 space of that armhole and ch 2, work 2 more dc into that same ch space, *ch 1 and work 1 dc cluster into the next ch space, *repeat until you reach the end of the rnd.
Sl st into the first st of the rnd
Rnd 2: Turn your work and ch 2, work 2 more dc into that same ch space, *ch 1 and work 1 dc cluster into the next ch space, *repeat until you reach the end of the rnd.
Sl st into the first st of the rnd.
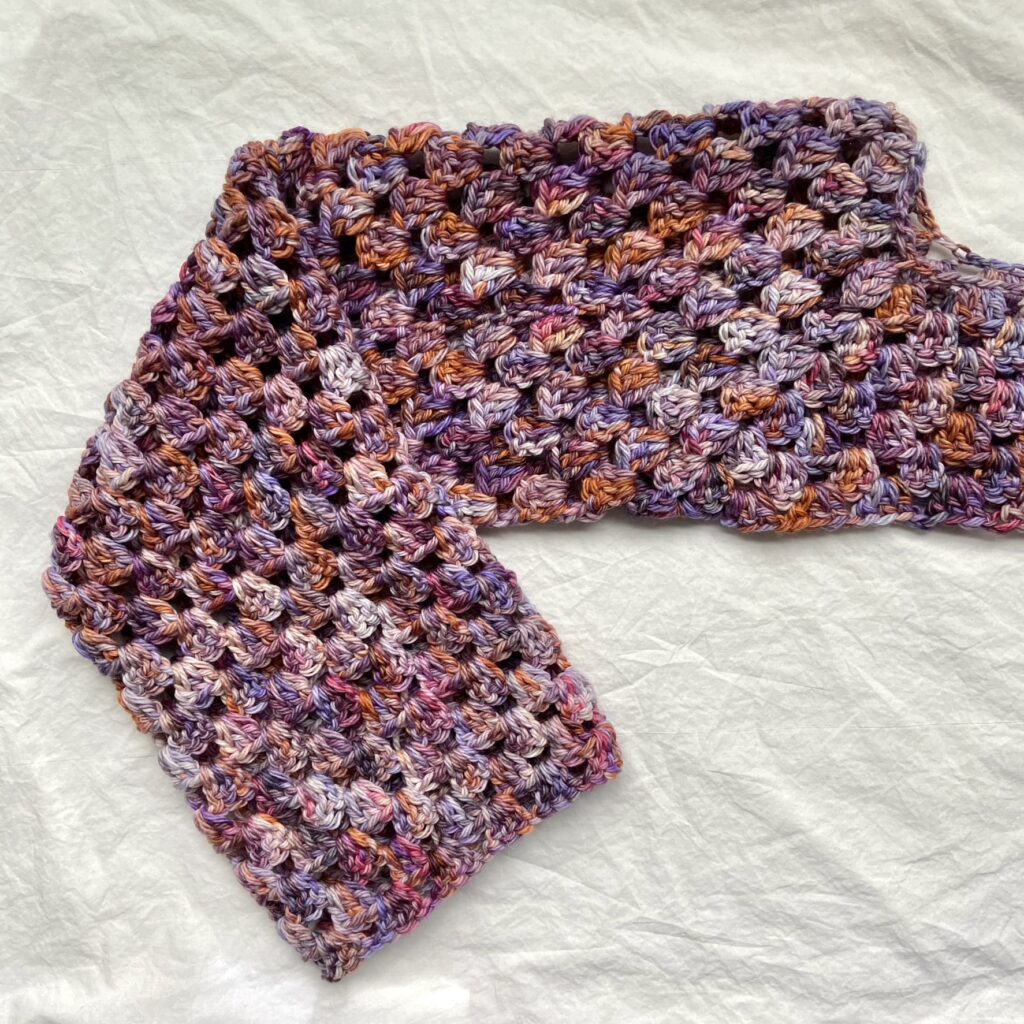
Rnd 3-32 (or more/less, depending on how long/short you want your sleeves): Repeat rnd 2 until you have as many rnds as you would like for your sleeve. I worked a total of 32 rnds
Fasten off.
Repeat process for second sleeve.
You can watch my Video Tutorial Here to see more of what this process looks like.
Weave in all your ends and…
YOU’RE DONE!
If you recreate this “Faerie Grannie Shrug“, please tag or DM @hayhaycrochet on Instagram or TikTok so I can see, like and share!
Happy Crocheting~!
Hey, where do you really place that first slip stitch because my square is a tad wonky and the video isn’t clear on that. I placed mine at the top of the first chain two, but it didn’t really join the corner together! Please help!
try slip stitching into the first loop under the the chain.
(I hope that made sense)
It worked for me thank you so much! I’m almost done with my shrug and I can’t wait to pair it with spring looks!
no problem! happy to help
its so cute <3 thank you!