
🤍WELCOME HERE🤍
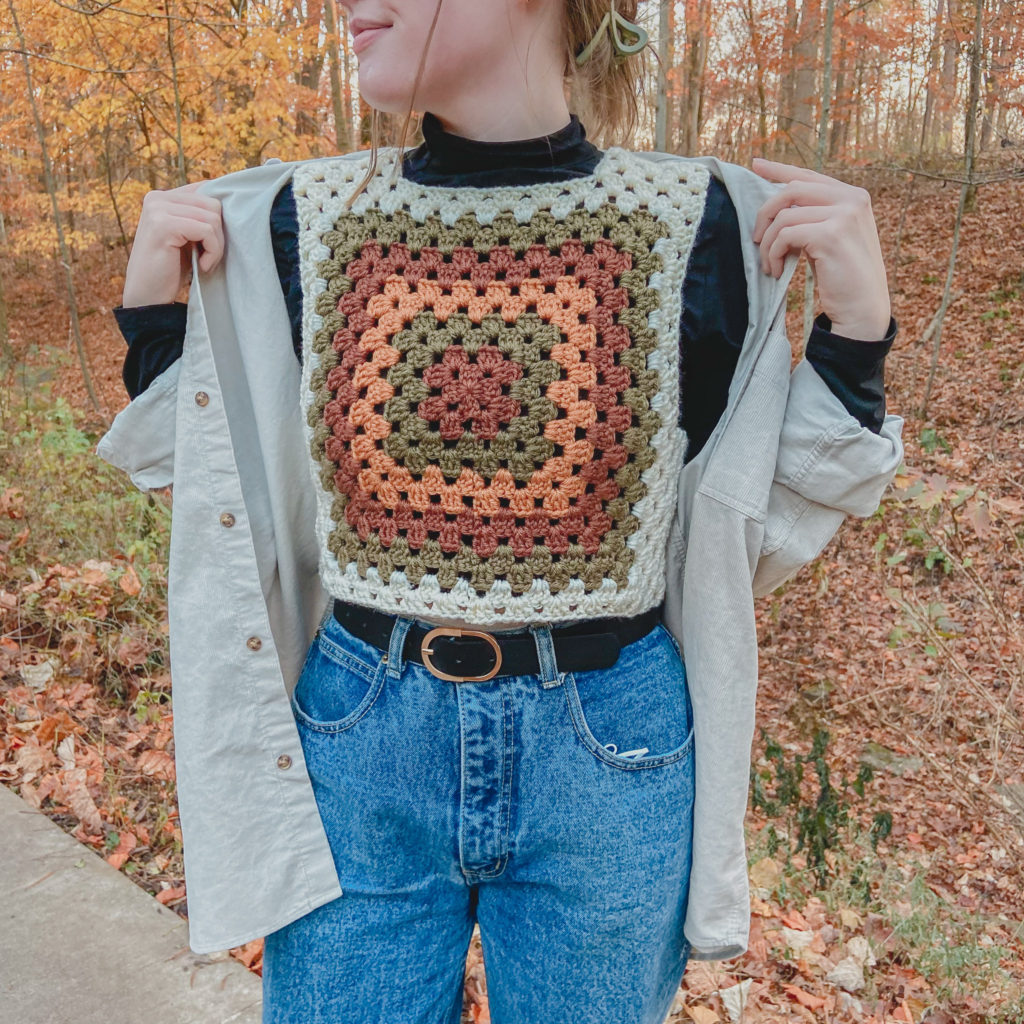
Today I will be sharing a very easy, fun and quick crochet pattern and thats the “70’s Granny Square Vest”!
This post may contain affiliate links.
It’s by no means a very original pattern and it’s a style that dates back to the 70’s. I haven’t seen many patterns or video tutorials out there for it so I thought I’d make one myself!
I have seen the style for these vest several times through out my crochet journey and have always wanted to make one, so a few nights ago I thought I would just see how hard it might be just coming up with it myself and let me tell you…it was SO SIMPLE and enjoyable to figure out and crochet (I’m obsessed with granny squares right now, and it’s kinda all I want to create lately 😅).
This pattern also works up fairly quickly. I made mine in about 4-5 hours. So if you’re looking for a way to spice up an outfit fast, this vest can do just that! (I will be wearing mine for Thanksgiving.)
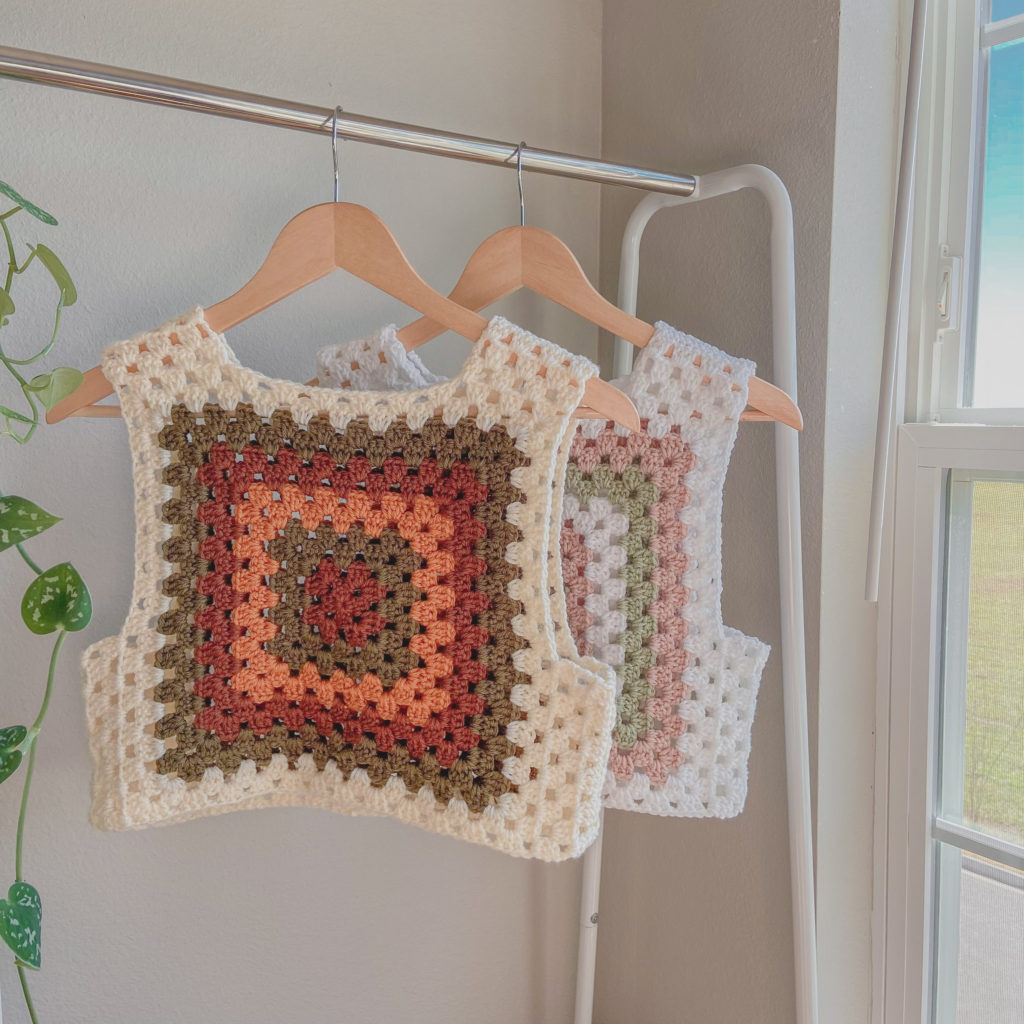
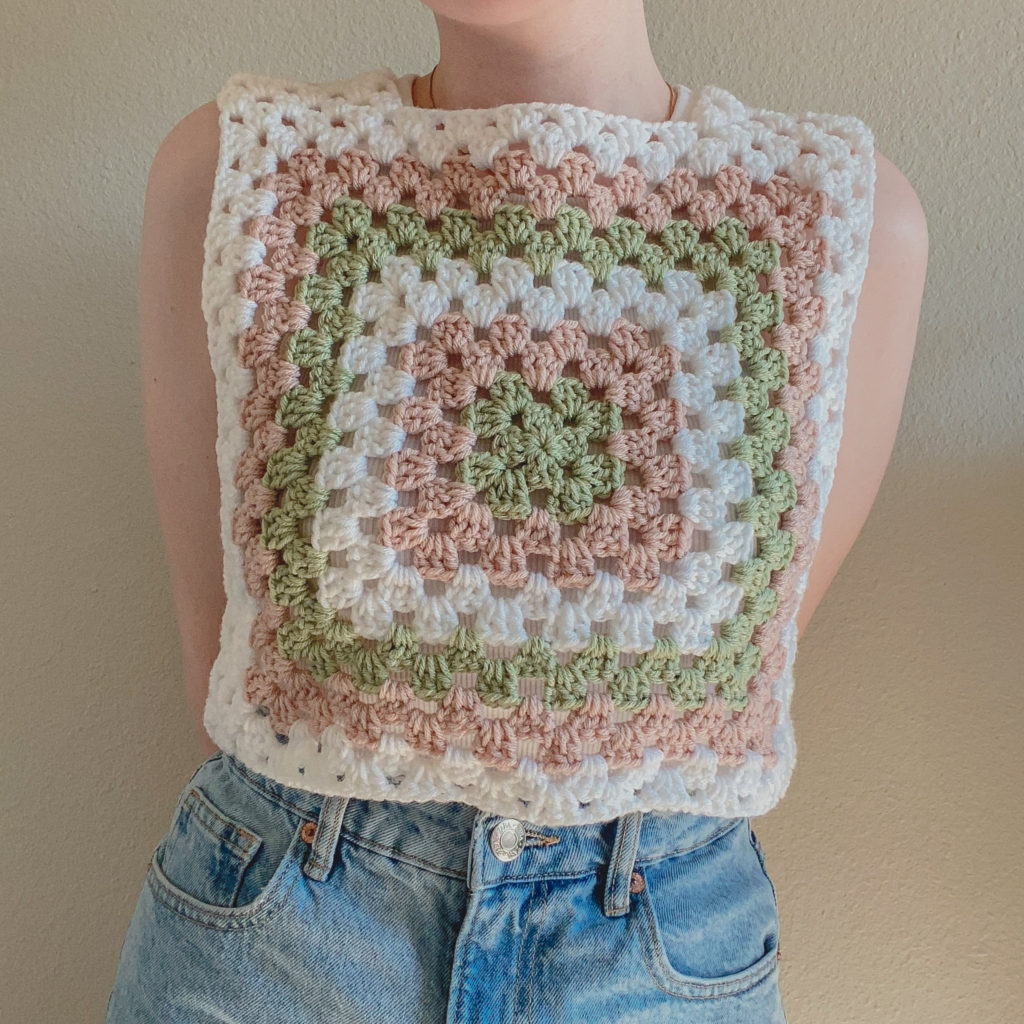
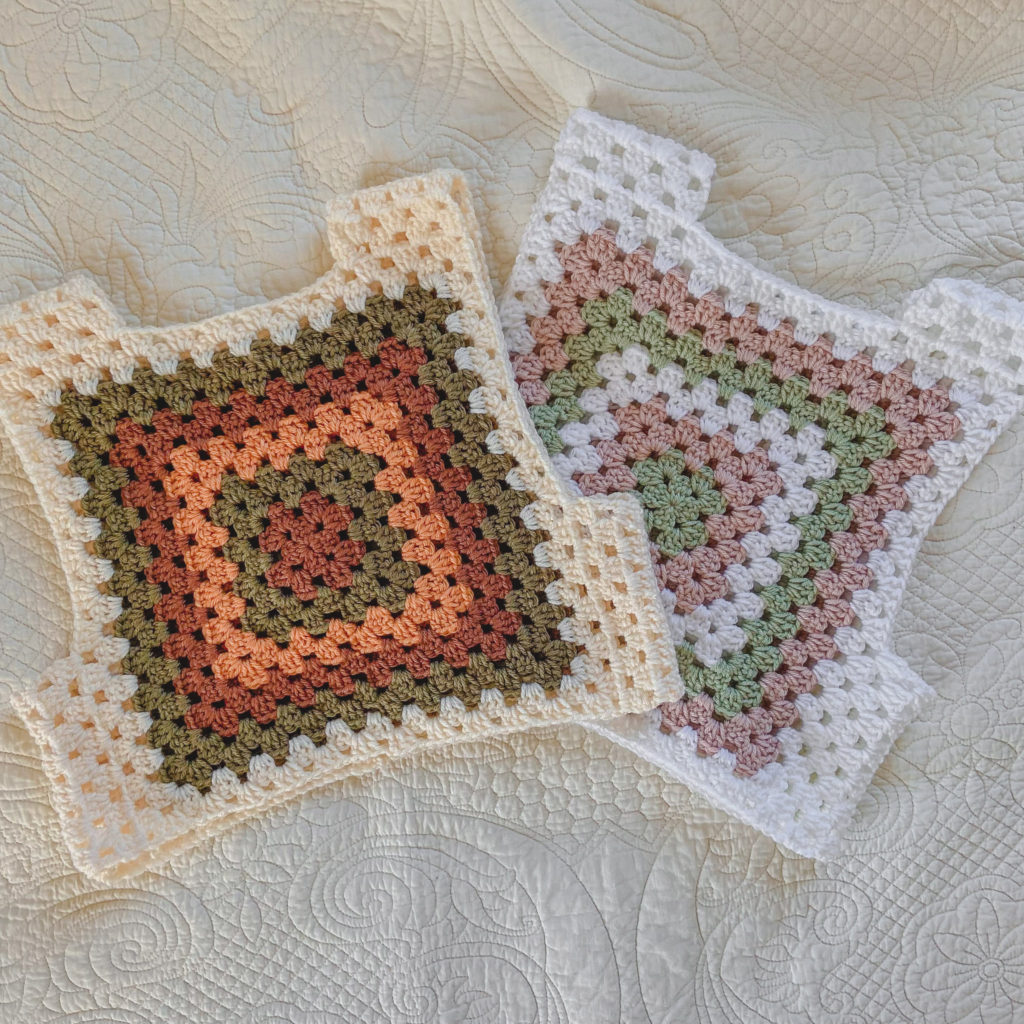
This is a great scrap/left over yarn project. I made one vest from the left over yarn from my “Grateful + Thankful Cardi” and the other one from some of the left over yarn from my “Fall Picnic” Tote Bag
SO, without further ado, let’s get started!
MATERIALS
Medium Weight (4) Yarn – ANY brand will do! I mixed different brands together of left over yarn I had laying around because I wanted to be a bit more conscious with this project. Some of the yarn I worked with linked here is a recent fave of mine, it’s very soft, anti-pilling and easy to work with.
5.00mm Crochet Hook – my FAVE hooks!
Scissors
Stitch Markers – (I personally don’t use a stitch marker for this pattern, but if you lose track of where you started easily or you’re a beginner, stitch markers are very helpful.)
Yarn needed: I used approximately 178 grams of scrap yarn to make this vest in a size S, but I am unsure how much yarn would be needed for other sizes. I’m working on how to be able to calculate the yarn needed for multiple sizes, when I figure it out I will update this blog post!
STITCHES + ABBREVIATIONS
Ch = Chain
St(s) = Stitch(es)
Dc = Double Crochet
Dc cluster = Double Crochet Cluster
Sl st = Slip Stitch
Gauge
XS vest square should measure about 12 inches
S vest square should measure about 13 inches
M vest square should measure about 14 inches
L vest square should measure about 15 inches
XL vest square should measure about 16 inches
2XL vest square should measure about 17 inches
3XL vest square should measure about 18 inches
4XL vest square should measure about 19 inches
5XL vest square should measure about 20 inches
(This vest is so easily customizable. These are just size guidelines, but you can simply make it the size you need to for YOU and I will show you how here in this pattern and the Video Tutorial on my YouTube channel.)
Pattern Notes
*This Pattern follows size S but sizes XS-5XL are also available.
*This Pattern follows US crochet terms.
*Turning Ch 3 DOES count as a dc stitch in this pattern.
*When making granny squares, you work in ch spaces and not in sts (unless otherwise directed to).
70’s Granny Square Vest Pattern
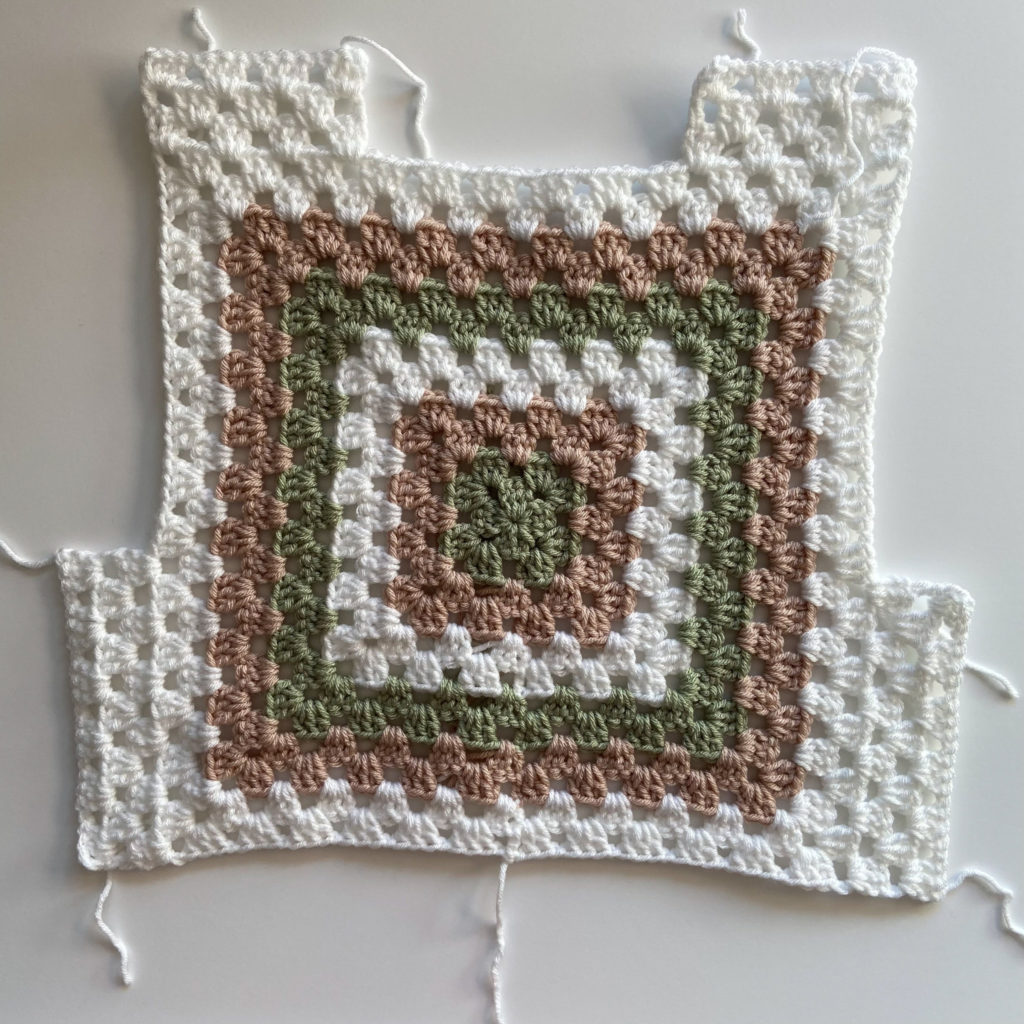
Square Panel
Start off by making a magic ring.
Round 1: Ch 3, (first ch 3 of EVERY ROUND counts as a dc st), work 2 dc into the magic ring, ch 3, work 3 dc into the magic ring, ch 3, work 3 dc into the magic ring, ch 3, work 3 dc into the magic ring, ch 3. Sl st into the first st of the round and turn your work.
Round 2: Ch 3, work 2 dc into ch space, ch 3, work 3 more dc in same ch space, ch 1, work 3 dc into next ch space, ch 3, work 3 more dc into same ch space, ch 1, work 3 dc into next ch space, ch 3, work 3 more dc into same ch space, ch 1, work 3 dc into next ch space, ch 3, work 3 more dc into same ch space, ch 1, sl st into the first st of the round BUT (if changing colors) pull through new yarn color and turn your work.
I changed colors every 2 rows, but you can change colors whenever you like, every 3 rows, 4 rows or no rows! Whatever floats your boat.
Round 3: (With your new added yarn color) Ch 3, work 2 dc in the ch 1 space, ch 1, *work 3 dc into the ch 3 space, ch 3, work 3 dc into the same ch 3 space, ch 1, work 3 dc into the next ch 1 space, ch 1, work 3 dc into the next ch 3 space, ch 3, work 3 dc into the same ch 3 space, ch 1, *repeat until the end of the round. Sl st into the first st of the round and turn your work.
Round 4-12 (4-10 for XS, 4-14 for M, 4-16 for L, 4-18 for XL, 4-20 for 2XL, 4-22 for 3XL, 4-24 for 4XL, 4-26 for 5XL): Repeat the process of a dc cluster in each ch 1 space, with a ch 1 to separate each cluster and 2 dc clusters in each ch 3 space (the corner ch space), with a ch 3 to separate the 2 clusters.
Fasten off.

If you feel like the recommended rows for your size doesn’t seem right, hold your square up to you and see if the square reaches just before ends of both your shoulders nicely, if it does, then it will be a good fit for you! But if it passes too far from your shoulders or doesn’t quite reach toward the end of your shoulders, you might need to take out or add a few rows.
If you need some help better visualizing the granny square, maybe my Video Tutorial can help!
Straps
Attach Yarn to one of the 4 corners of your square.
Row 1: Ch 3, work 2 dc into the first ch space, work 1 dc cluster into the next 3 ch spaces (next 2 for XS, next 4 for M, next 5 for L, next 6 for XL, next 7 for 2XL, next 8 for 3XL, next 9 for 4XL, next 10 for 5XL), turn your work.
Row 2: Ch 3, work 1 dc cluster into the next 3 ch spaces (next 2 for XS, next 4 for M, next 5 for L, next 6 for XL, next 7 for 2XL, next 8 for 3XL, next 9 for 4XL, next 10 for 5XL), work 1 dc into the last st (the ch 3 from the previous round), turn your work.
Repeat rows 1-2 as many times as you need for your size.
Fasten off at 3 rows for XS, S and M
Fasten off at 4 rows for L, XL and 2XL
Fasten off at 5 rows for 3XL, 4XL and 5XL
If you feel that the straps need longer or shorter for your size, feel free to add or take away rows as you want!
Repeat for other strap.
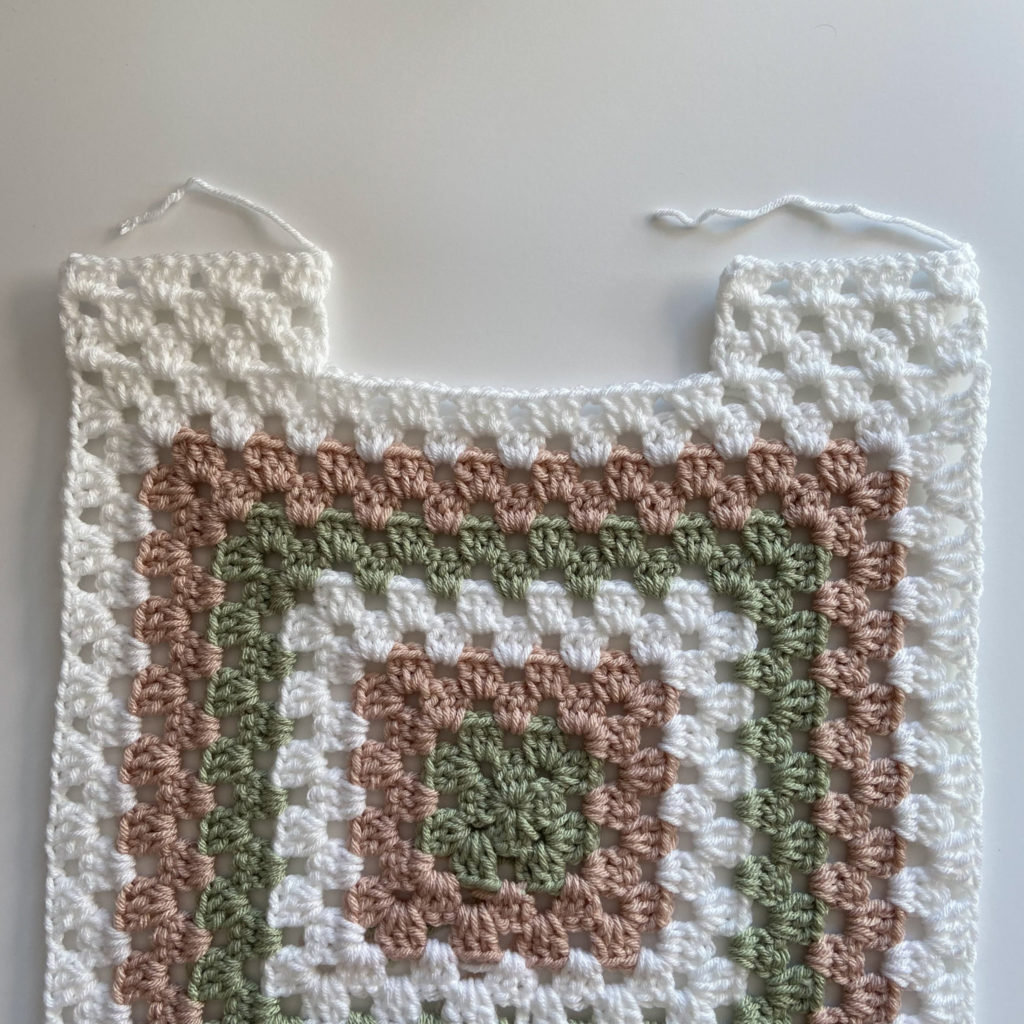
Sides of Vest
Attach yarn to one of the side corners of your square.
Row 1: Ch 3, work 2 dc into the first ch space, work 1 dc cluster into the next 5 ch spaces (next 4 for XS, next 6 for M, next 7 for L, next 8 for XL, next 9 for 2XL, next 10 for 3XL, next 11 for 4XL, next 12 for 5XL), turn your work.
Row 2: Ch 3, work 1 dc cluster into the next 5 ch spaces (next 4 for XS, next 6 for M, next 7 for L, next 8 for XL, next 9 for 2XL, next 10 for 3XL, next 11 for 4XL, next 12 for 5XL), work 1 dc into the last st (the ch 3 from the previous round), turn your work.
Repeat rows 1-2 as many times as you need for your size
Fasten off at 3 rows for XS, S and M
Fasten off at 4 rows for L, XL and 2XL
Fasten off at 5 rows for 3XL, 4XL and 5XL
If you feel that the sides of your vest need to be wider or more narrow for your size, feel free to add or take away rows as you want!
Repeat for other side of vest.
Repeat entire process for the back panel.
If you’re having trouble, maybe my Video Tutorial can help!
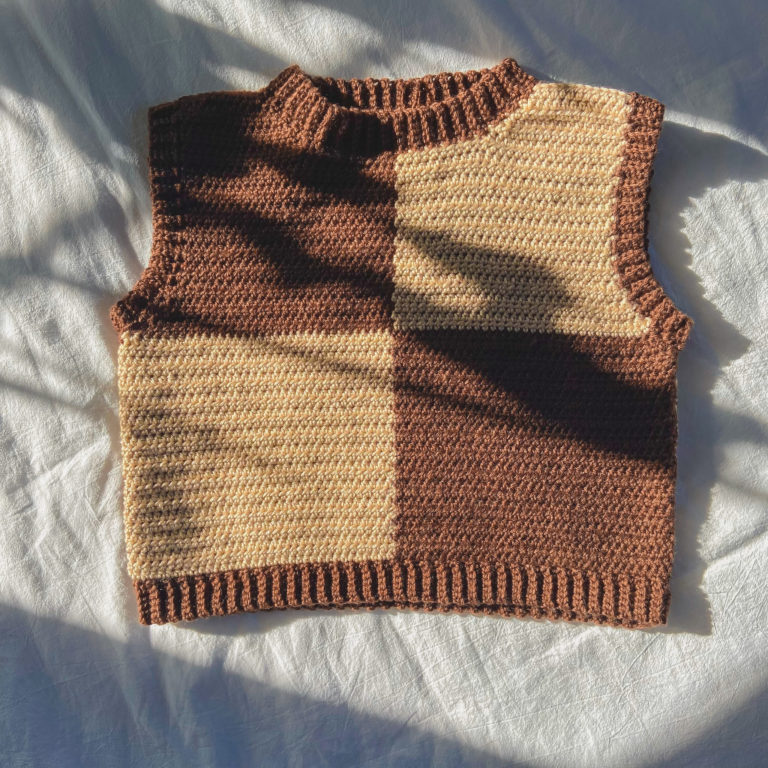
When both panels are done, sew both panels together, weave in your ends, and…YOU’RE DONE!
If you recreate this vest, please tag or DM @hayhaycrochet on Instagram or TikTok so I can see, like and share!
Happy Crocheting~!
[…] there, friends and happy holidays! Today I am sharing another version of the “70’s Granny Square Vest” and its a Christmas Tree Version PERFECT for this […]
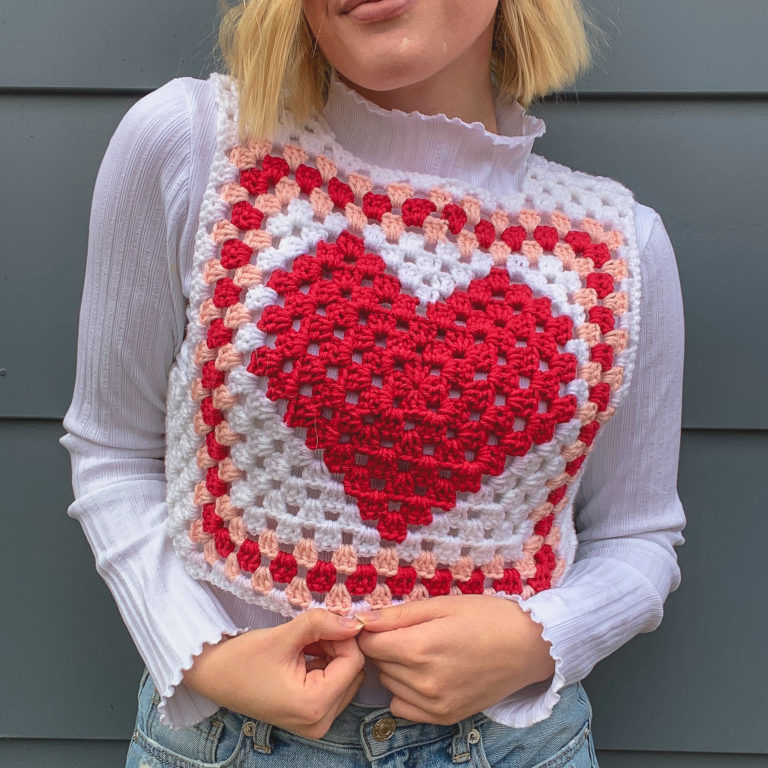
I absolutely LOVE this pattern!! I fist saw it on TikTok and finally decided to whip one out!! This pattern is super easy to follow and I LOVE the possibility of customization!! You can customize the size, color, and design!! I made mine in red and white! it looks like a mushroom! I love it!! Thank you so much Heather for ALL of your AMAZING patterns!! I will definitely be making another vest! and making more of your patterns in the future!!
Oh my, thank you for your sweet, sweet words! I’m so glad you like the pattern <3
I really love this project. Thank you for sharing.
I hope you share more amazing projects