
🤍 WELCOME HERE 🤍
This post may contain affiliate links.
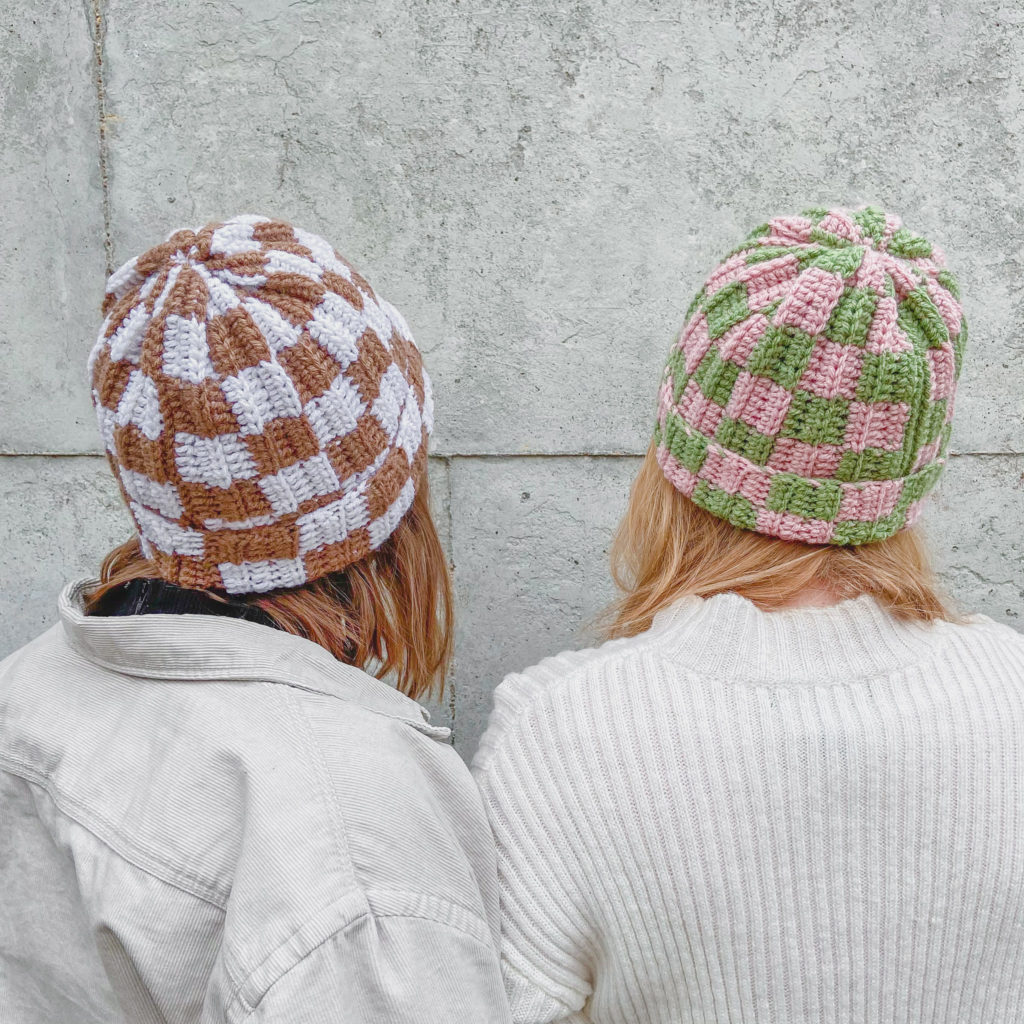
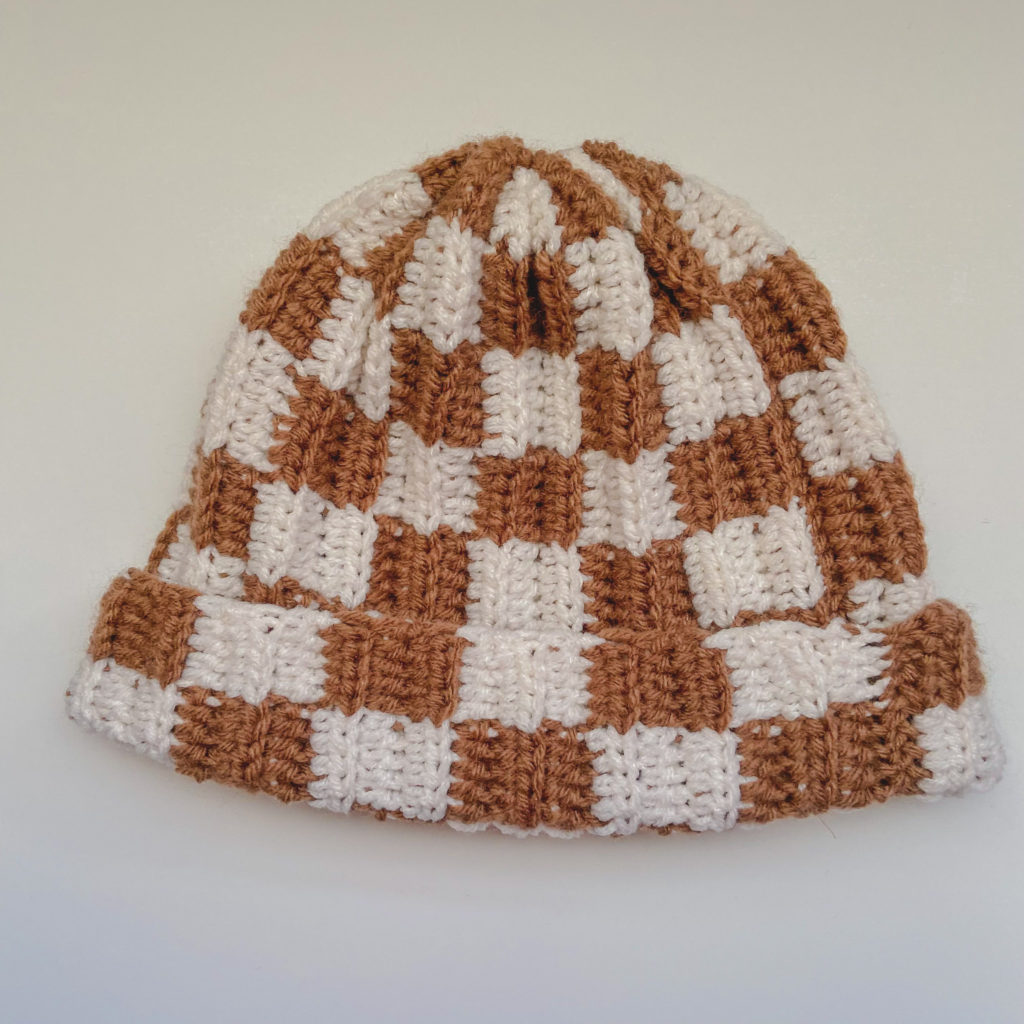
Hello there, friends! In today’s pattern I will be sharing how to create your own “Check Me Out” Beanie! It’s a very basic, simple beanie made up of mostly half double crochet!
With this pattern, I thought I would hop on the band wagon of the checker trend since I have literally been seeing it EVERYWHERE on my social media. This beanie is a nice, more subtle way to ease your way into the trend, if you’re wanting to try it out.
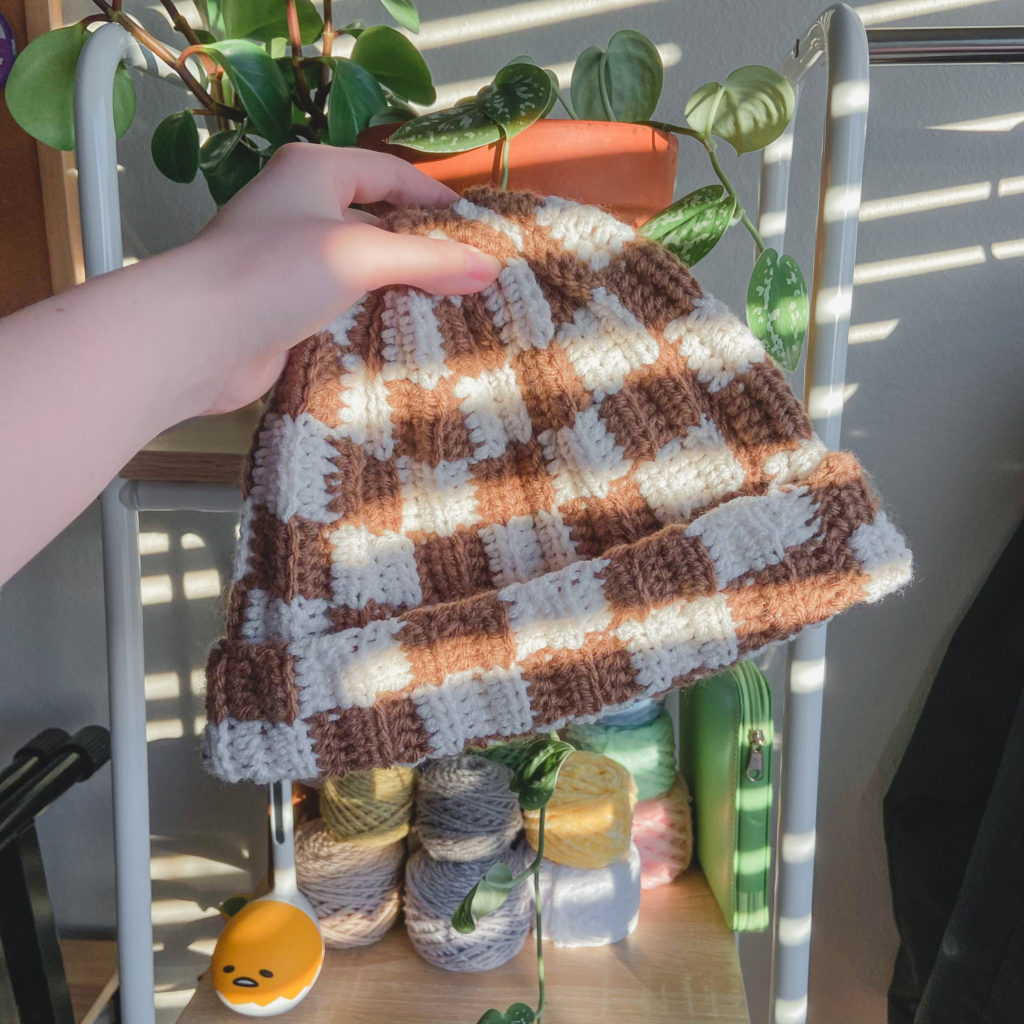
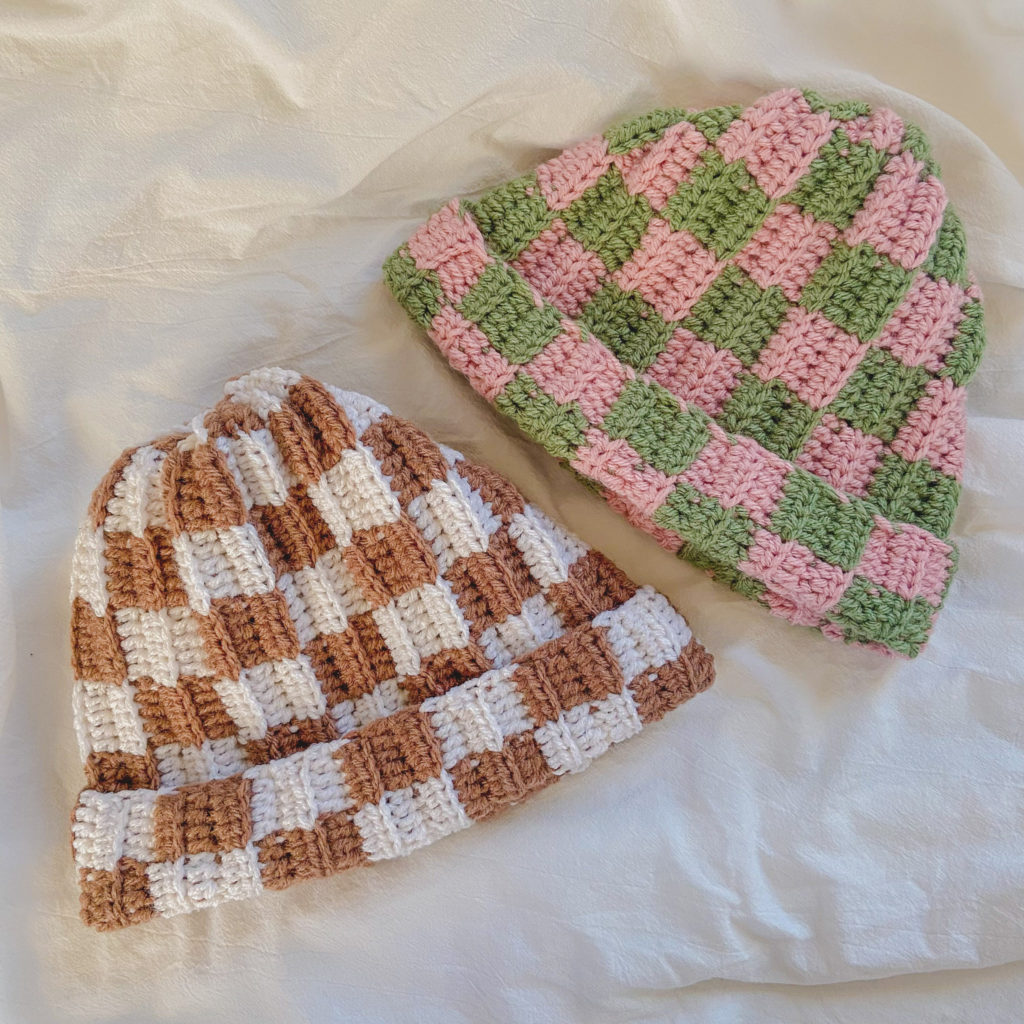
These hats work up fairly fast and make GREAT gifts for the upcoming holiday season, birthdays, etc! I know I’m gonna enjoy gifting a few beanies this winter season because they always make such good presents.
SO, without further ado, let’s get started!
MATERIALS
Medium Weight (4) Yarn – I have used several different brands to make these beanies; Lion Brand (the softest and the one I linked), Yarn Bee, Red Heart, you can use whatever you want! You will need approximately 92grams of yarn.
Scissors
Stitch Markers – (I personally don’t use a stitch marker for this pattern, but if you lose track of where you started easily or you’re a beginner, stitch markers are very helpful.)
STITCHES + ABBREVIATIONS
Ch = Chain
St(s) = Stitch(es)
Hdc = Half Double Crochet
Hdc Blo = Half Double Crochet Back Loop Only
Sc = Single Crochet
Sc Blo = Single Crochet Back Loop Only
MEASUREMENTS
Gauge: 4″x 4″ square = 20 stitches wide x 8 rows tall in half double crochet in the back loop
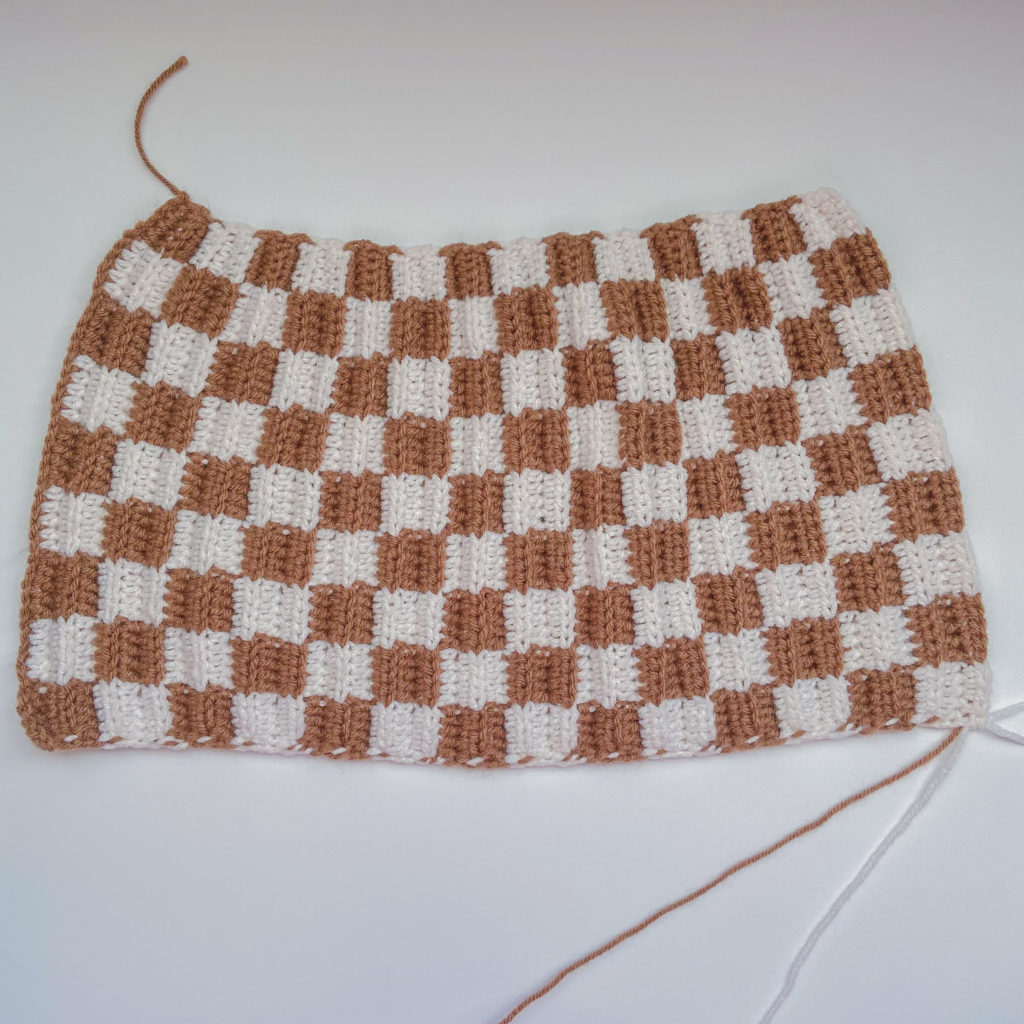
Laid flat before being sewn together
8.5 inches tall x 17.5 inches wide
(hat will have stretch to it, due to the ribbing stitches.)
PATTERN NOTES
*This Pattern is a ONE SIZE but I will give tips on how you can make it for any size head.
*This Pattern follows US crochet terms.
*Turning chain 1 DOES NOT count as a stitch.
*The 2 colors you choose for your beanie will be referred to as colors “A” and “B“
*Number of stitches indicated between <>
“CHECK ME OUT”
BEANIE PATTERN
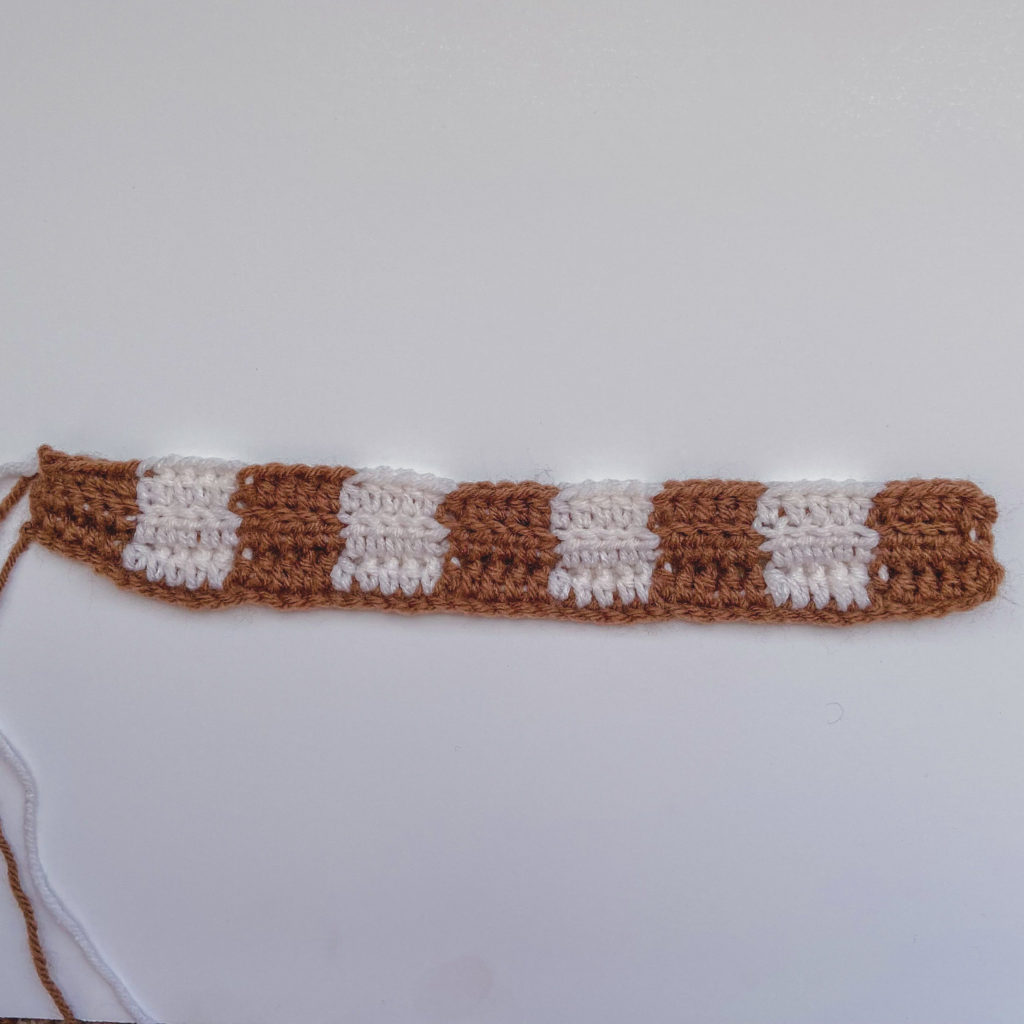
Ch 46 with color A (Ch more if you want a longer beanie, ch less if you want smaller beanie. Increase or decrease ch by groups of 5 to maintain the checker pattern)
Row 1: Hdc in the 2nd ch from the hook, hdc in the next 4 ch and before you finish your 4th hdc pick up color B and pull through the last 3 loops on your hook, *hdc 5 and before you finish your 5th hdc pick up color A and pull through the last 3 loops on your hook, *repeat switching between colors every 5 hdc until you have 5 ch left. Before working in the last 5 ch change the yarn color as you have been doing and sc in the last 5 sts. Turn your work. (You should be ending with the same color you started the row with (color A), unless you have made a longer or shorter chain, than this just depends.) <45>
While working with two different colors, the color you are not using at the time you will be crocheting over until needed. See me video here if you might need some help.
Row 2: Ch 1, sc in the first st of the row, sc blo in the next 4 sts and before you finish your 4th sc pick up color B and pull through the last 2 loops on your hook, *hdc blo 5 and before you finish your 5th hdc pick up color A and pull through the last 3 loops on your hook, *repeat switching between colors every 5 hdc blo until you have 1 st left. Work a regular hdc in the last st. Turn your work. <45>
I like to do a regular sc (meaning not working in just the back loop only) in the top st of the hat and a regular hdc st of the hat because I feel it gives a bit of a cleaner look, but if you don’t really care, feel free to skip that part.
Also, the 5 sc in this pattern will indicate where the top of the hat is. Decreasing the width of the top of the hat slightly will help it not be so bunched up.
Row 3: Ch 1, hdc in the first st of the row, hdc blo in the next 4 sts and before you finish your 4th hdc pick up color B and pull through the last 3 loops on your hook, *hdc blo 5 and before you finish your 5th hdc pick up color A and pull through the last 3 loops on your hook, *repeat switching between colors every 5 hdc blo until you have 5 sts left, sc blo in the next 4 sts, work a regular sc in the last st. Turn your work. <45>
Now we will change up where we will be placing our colors. Every 3 rows we will rotate where we stack our color, from “Brown, white, brown, white, etc”, to “White, brown, white, brown, etc”.
Row 4: Ch 1 with color B, sc in the first st of the row, sc blo in the next 4 sts and before you finish your 4th sc pick up color A and pull through the last 2 loops on your hook, *hdc blo 5 and before you finish your 5th hdc pick up color B and pull through the last 3 loops on your hook, *repeat switching between colors every 5 hdc blo until you have 1 st left, work a regular hdc in the last st of the row. Turn your work. <45>
Row 5: Ch 1, work a regular hdc in the first st of the row, hdc blo in the next 4 sts, *hdc blo 5 and before you finish your 5th hdc pick up color A and pull through the last 3 loops on your hook, *repeat switching between colors every 5 hdc blo until you have 5 sts left, sc blo in the next 4 sts, work a regular sc in the last st of the row. Turn your work. <45>
Row 6: Ch 1, sc in the first st of the row, sc blo in the next 4 sts and before you finish your 4th sc pick up color A and pull through the last 2 loops on your hook, *hdc blo 5 and before you finish your 5th hdc pick up color B and pull through the last 3 loops on your hook, *repeat switching between colors every 5 hdc blo until you have 1 st left, work a regular hdc in the last st of the row. Turn your work. <45>
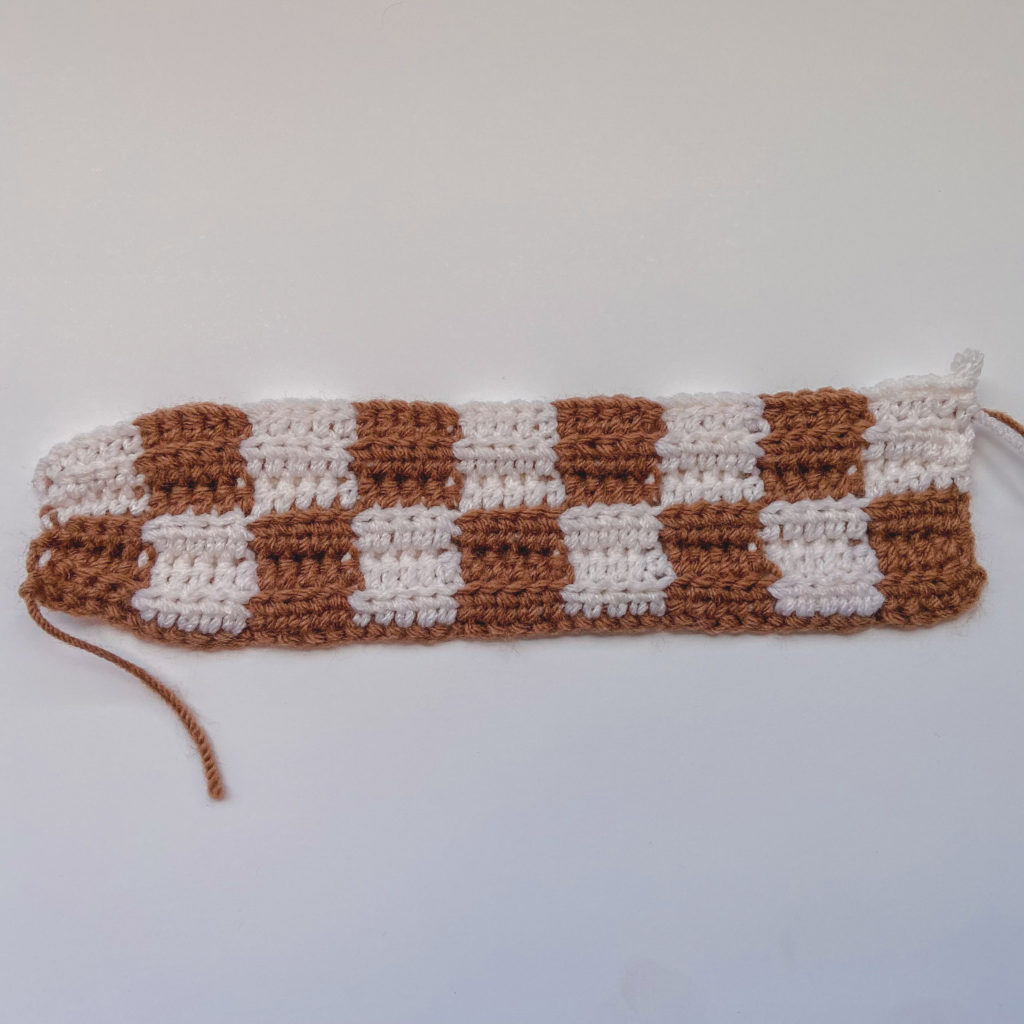
Repeat rows 1-6 until you have 42 rows.
You can do more or less rows for YOUR head size, this is just how many rows I needed for myself.
Fasten off, but leave a long tail from one of the colors to sew up both ends of the beanie together.
For the top of the beanie, with your threaded needle, weave in and out of every other row until you have made it around the top, then pull tight to close it up.
See my Video Tutorial if you need some more visual help.
Weave in your ends and…
YOU’RE DONE!
If you recreate this checkered beanie, please tag or DM @hayhaycrochet on Instagram or TikTok so I can see, like and share!
Happy Crocheting~!
what’s the measurements of the final square?
Making this as a Christmas gift for my sister, I know she’ll love it!! 🙂
is the “hdc blo” referring to the 3rd loop on the hdc?
I am in loooooooooove with all your patterns! Can’t wait to try this one out <3 <3 <3
Beautiful!! I love your patterns so much<33