🤍WELCOME HERE🤍
This post may contain affiliate links.
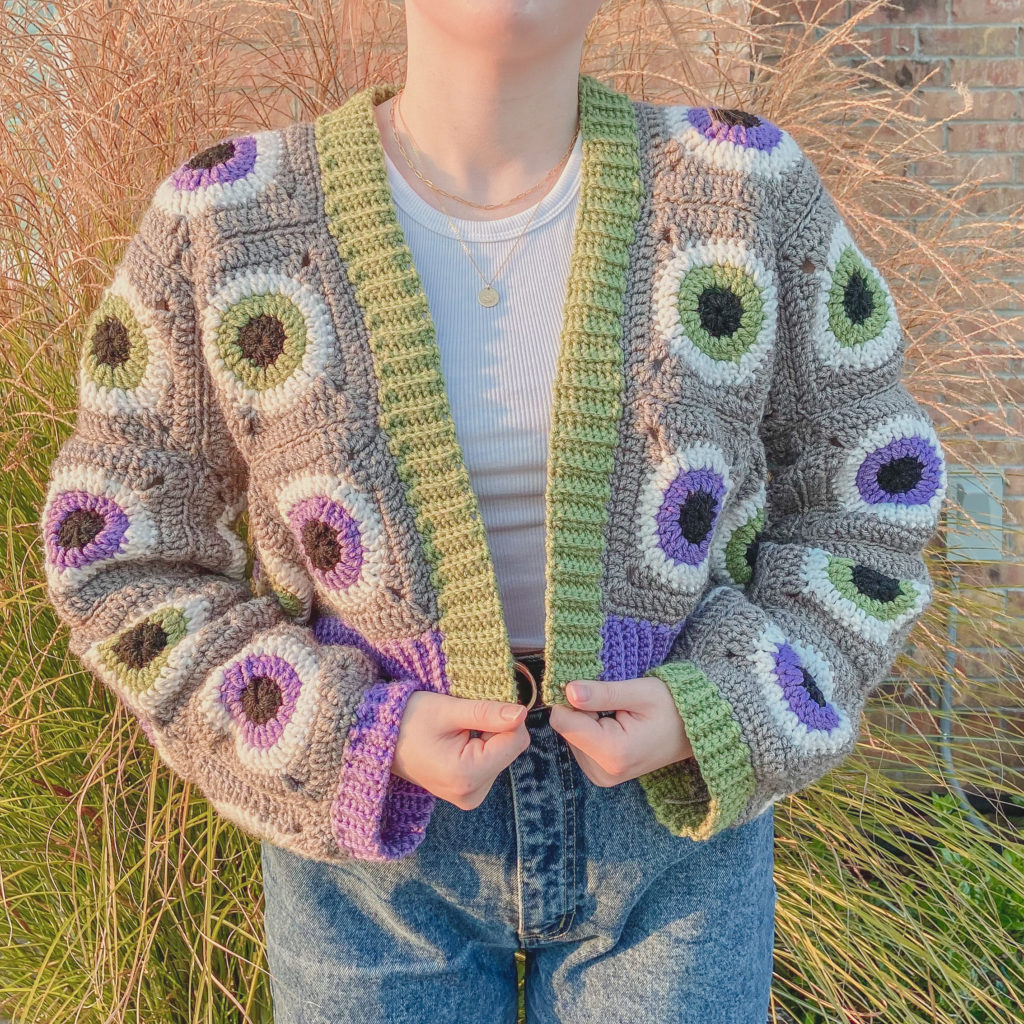
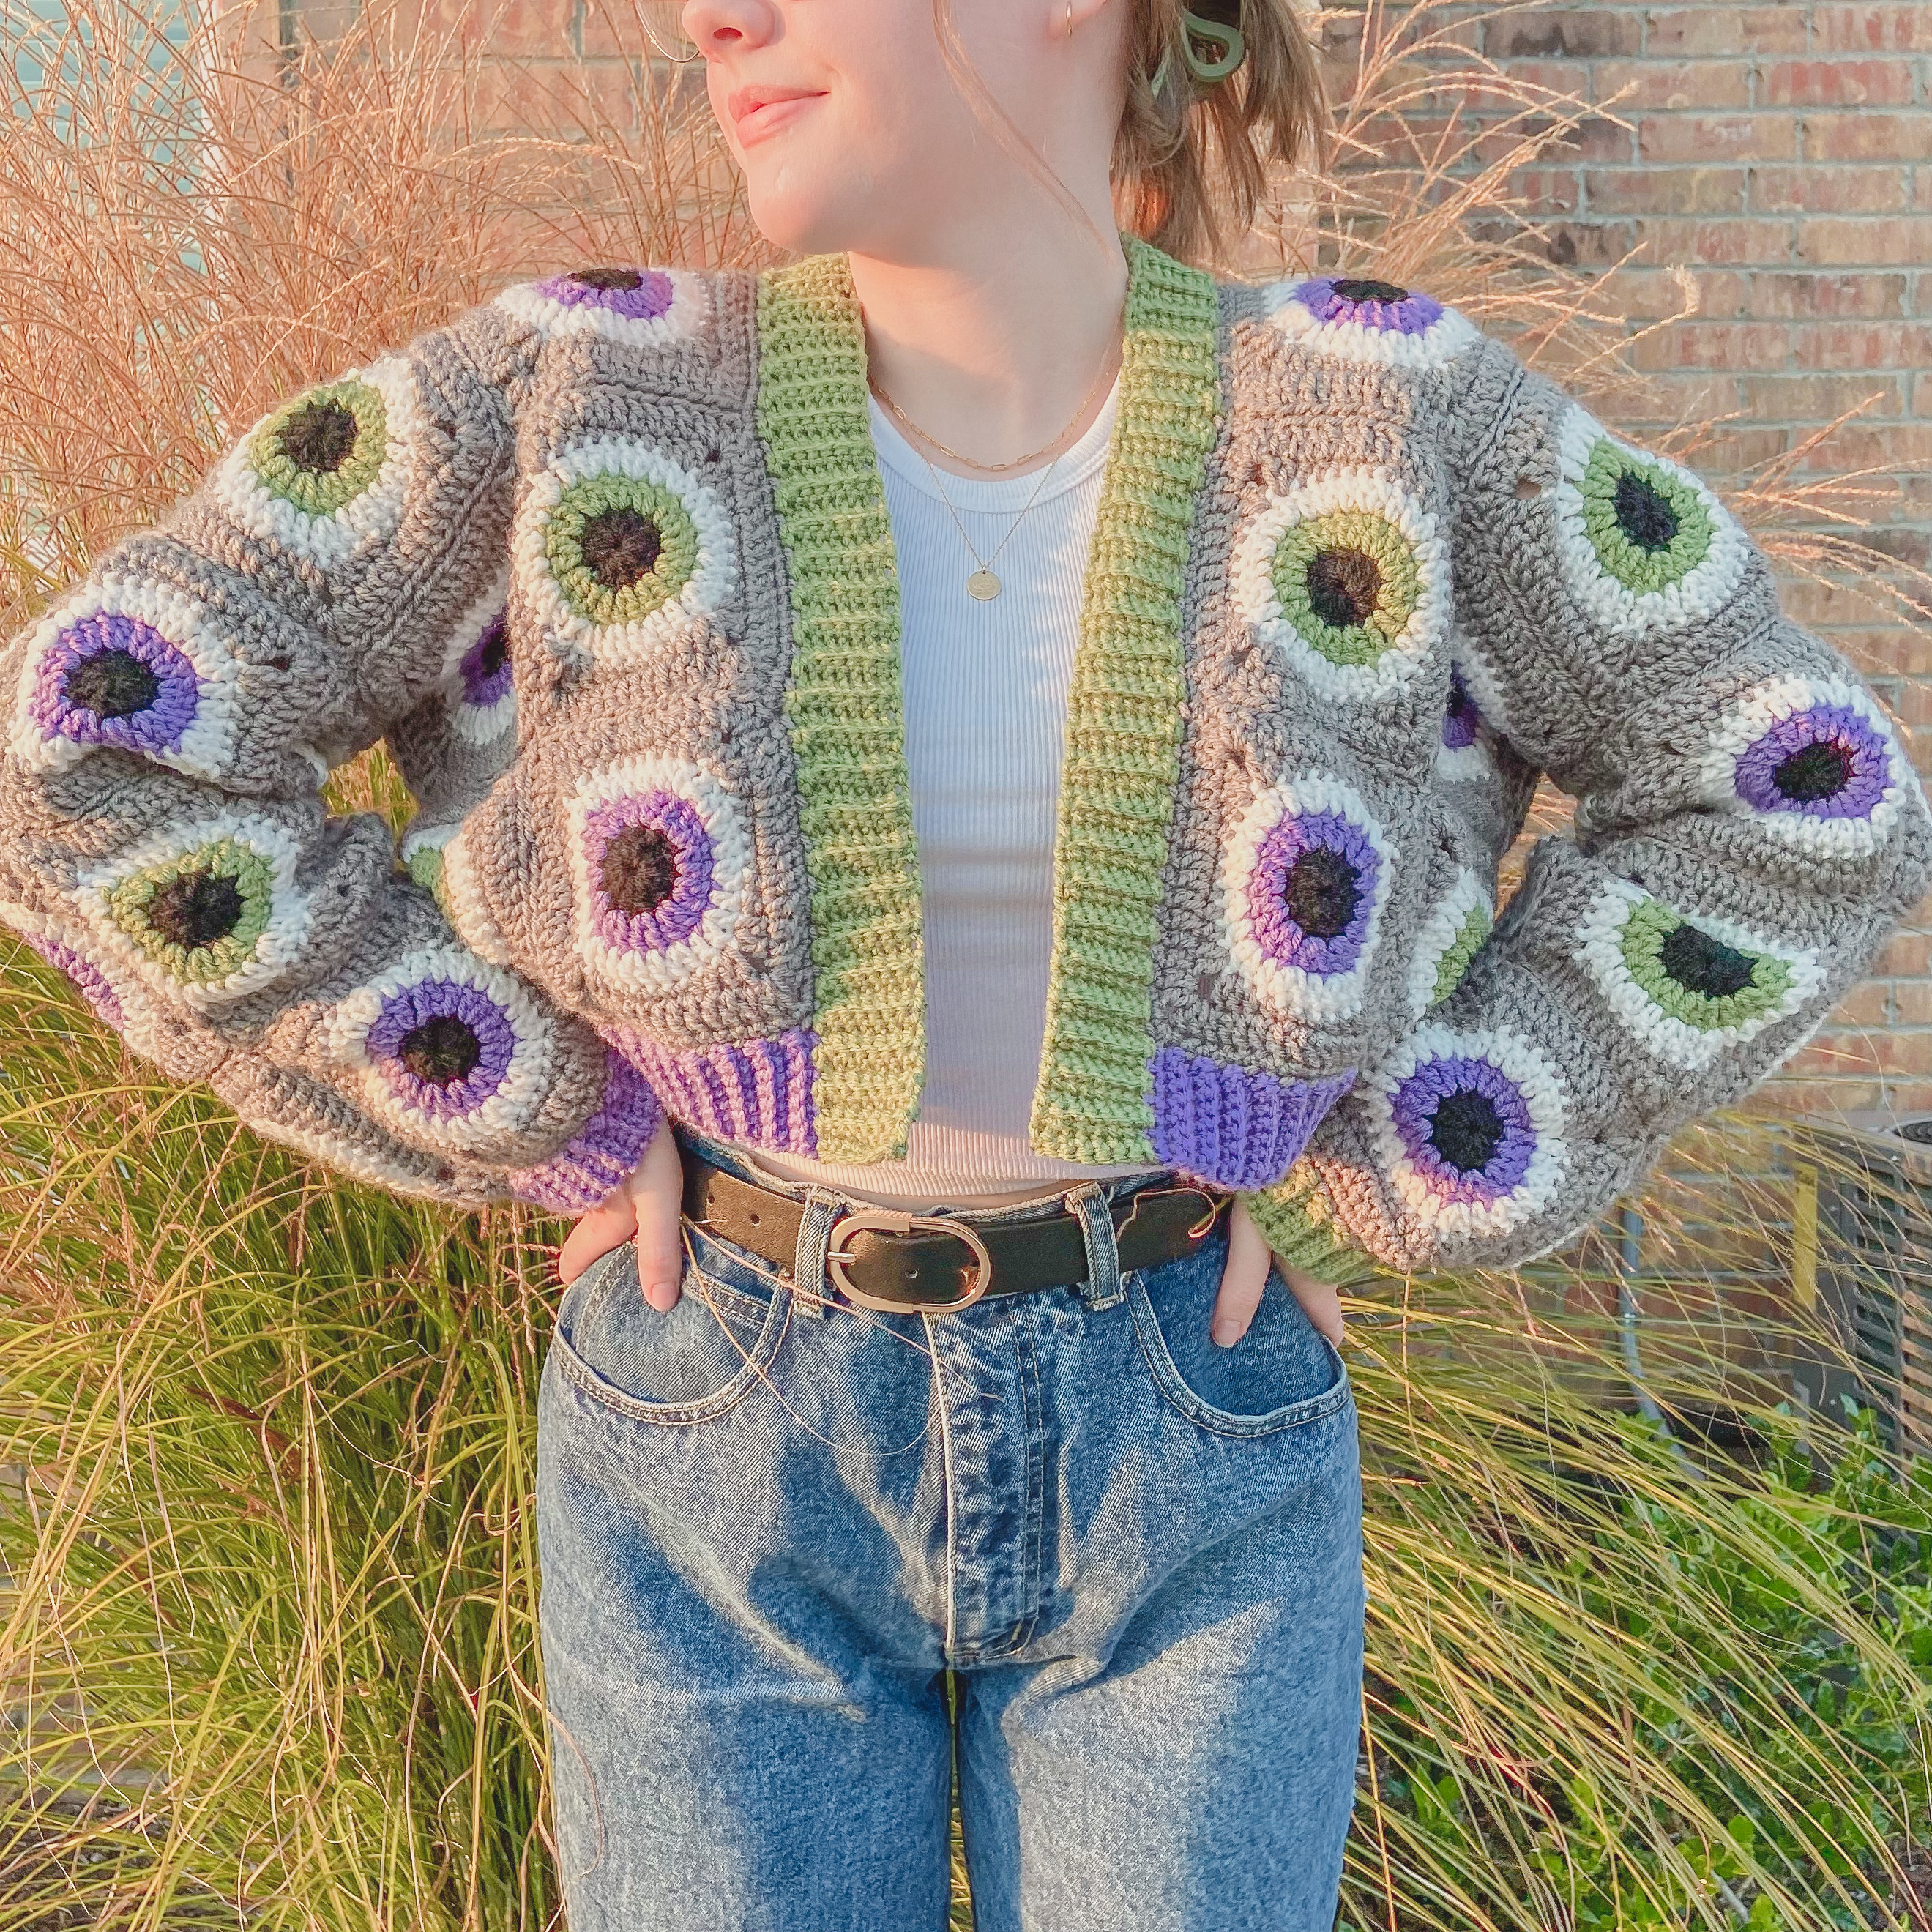
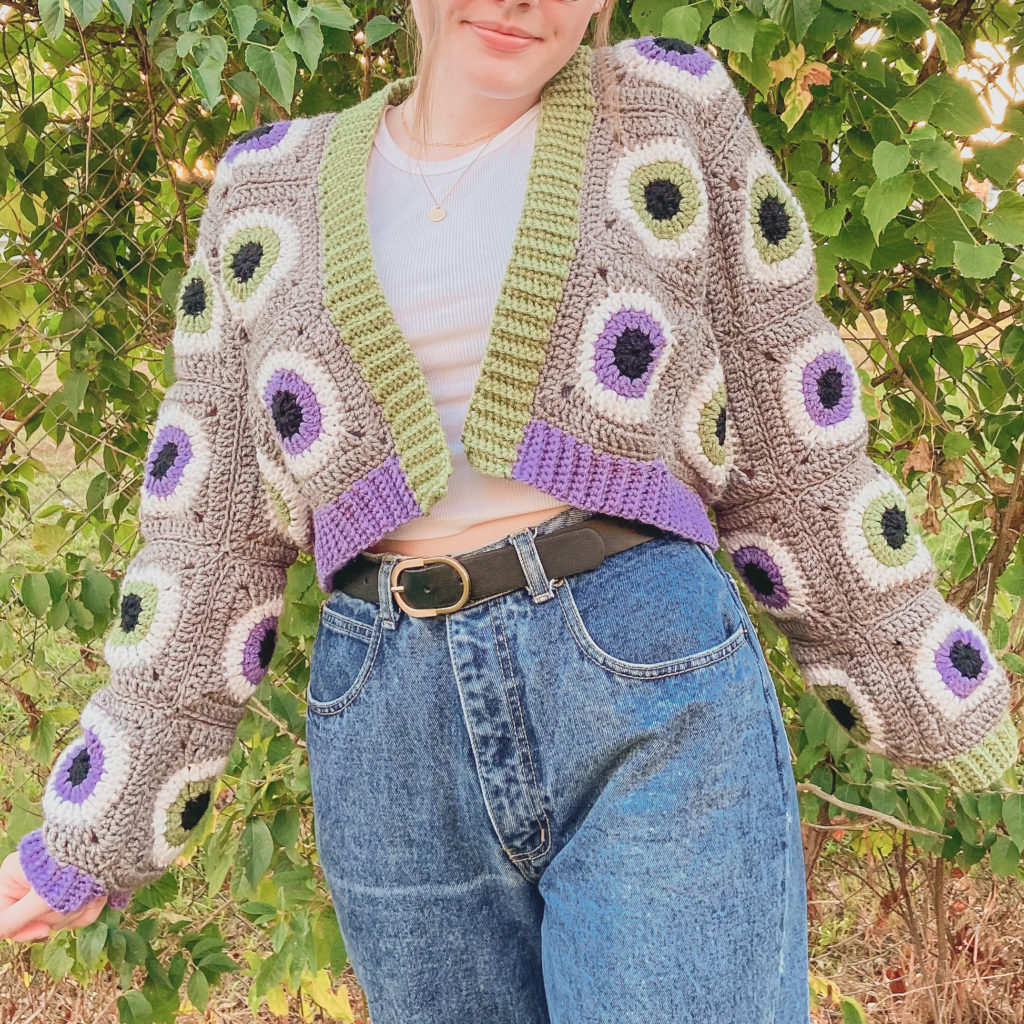
Hello there! I am so happy to share with you today the All Eyes On You Cardi Pattern 👀! I’ve worked very hard this past week to get this out for y’all, because Halloween is fast approaching and I had no time to waste!
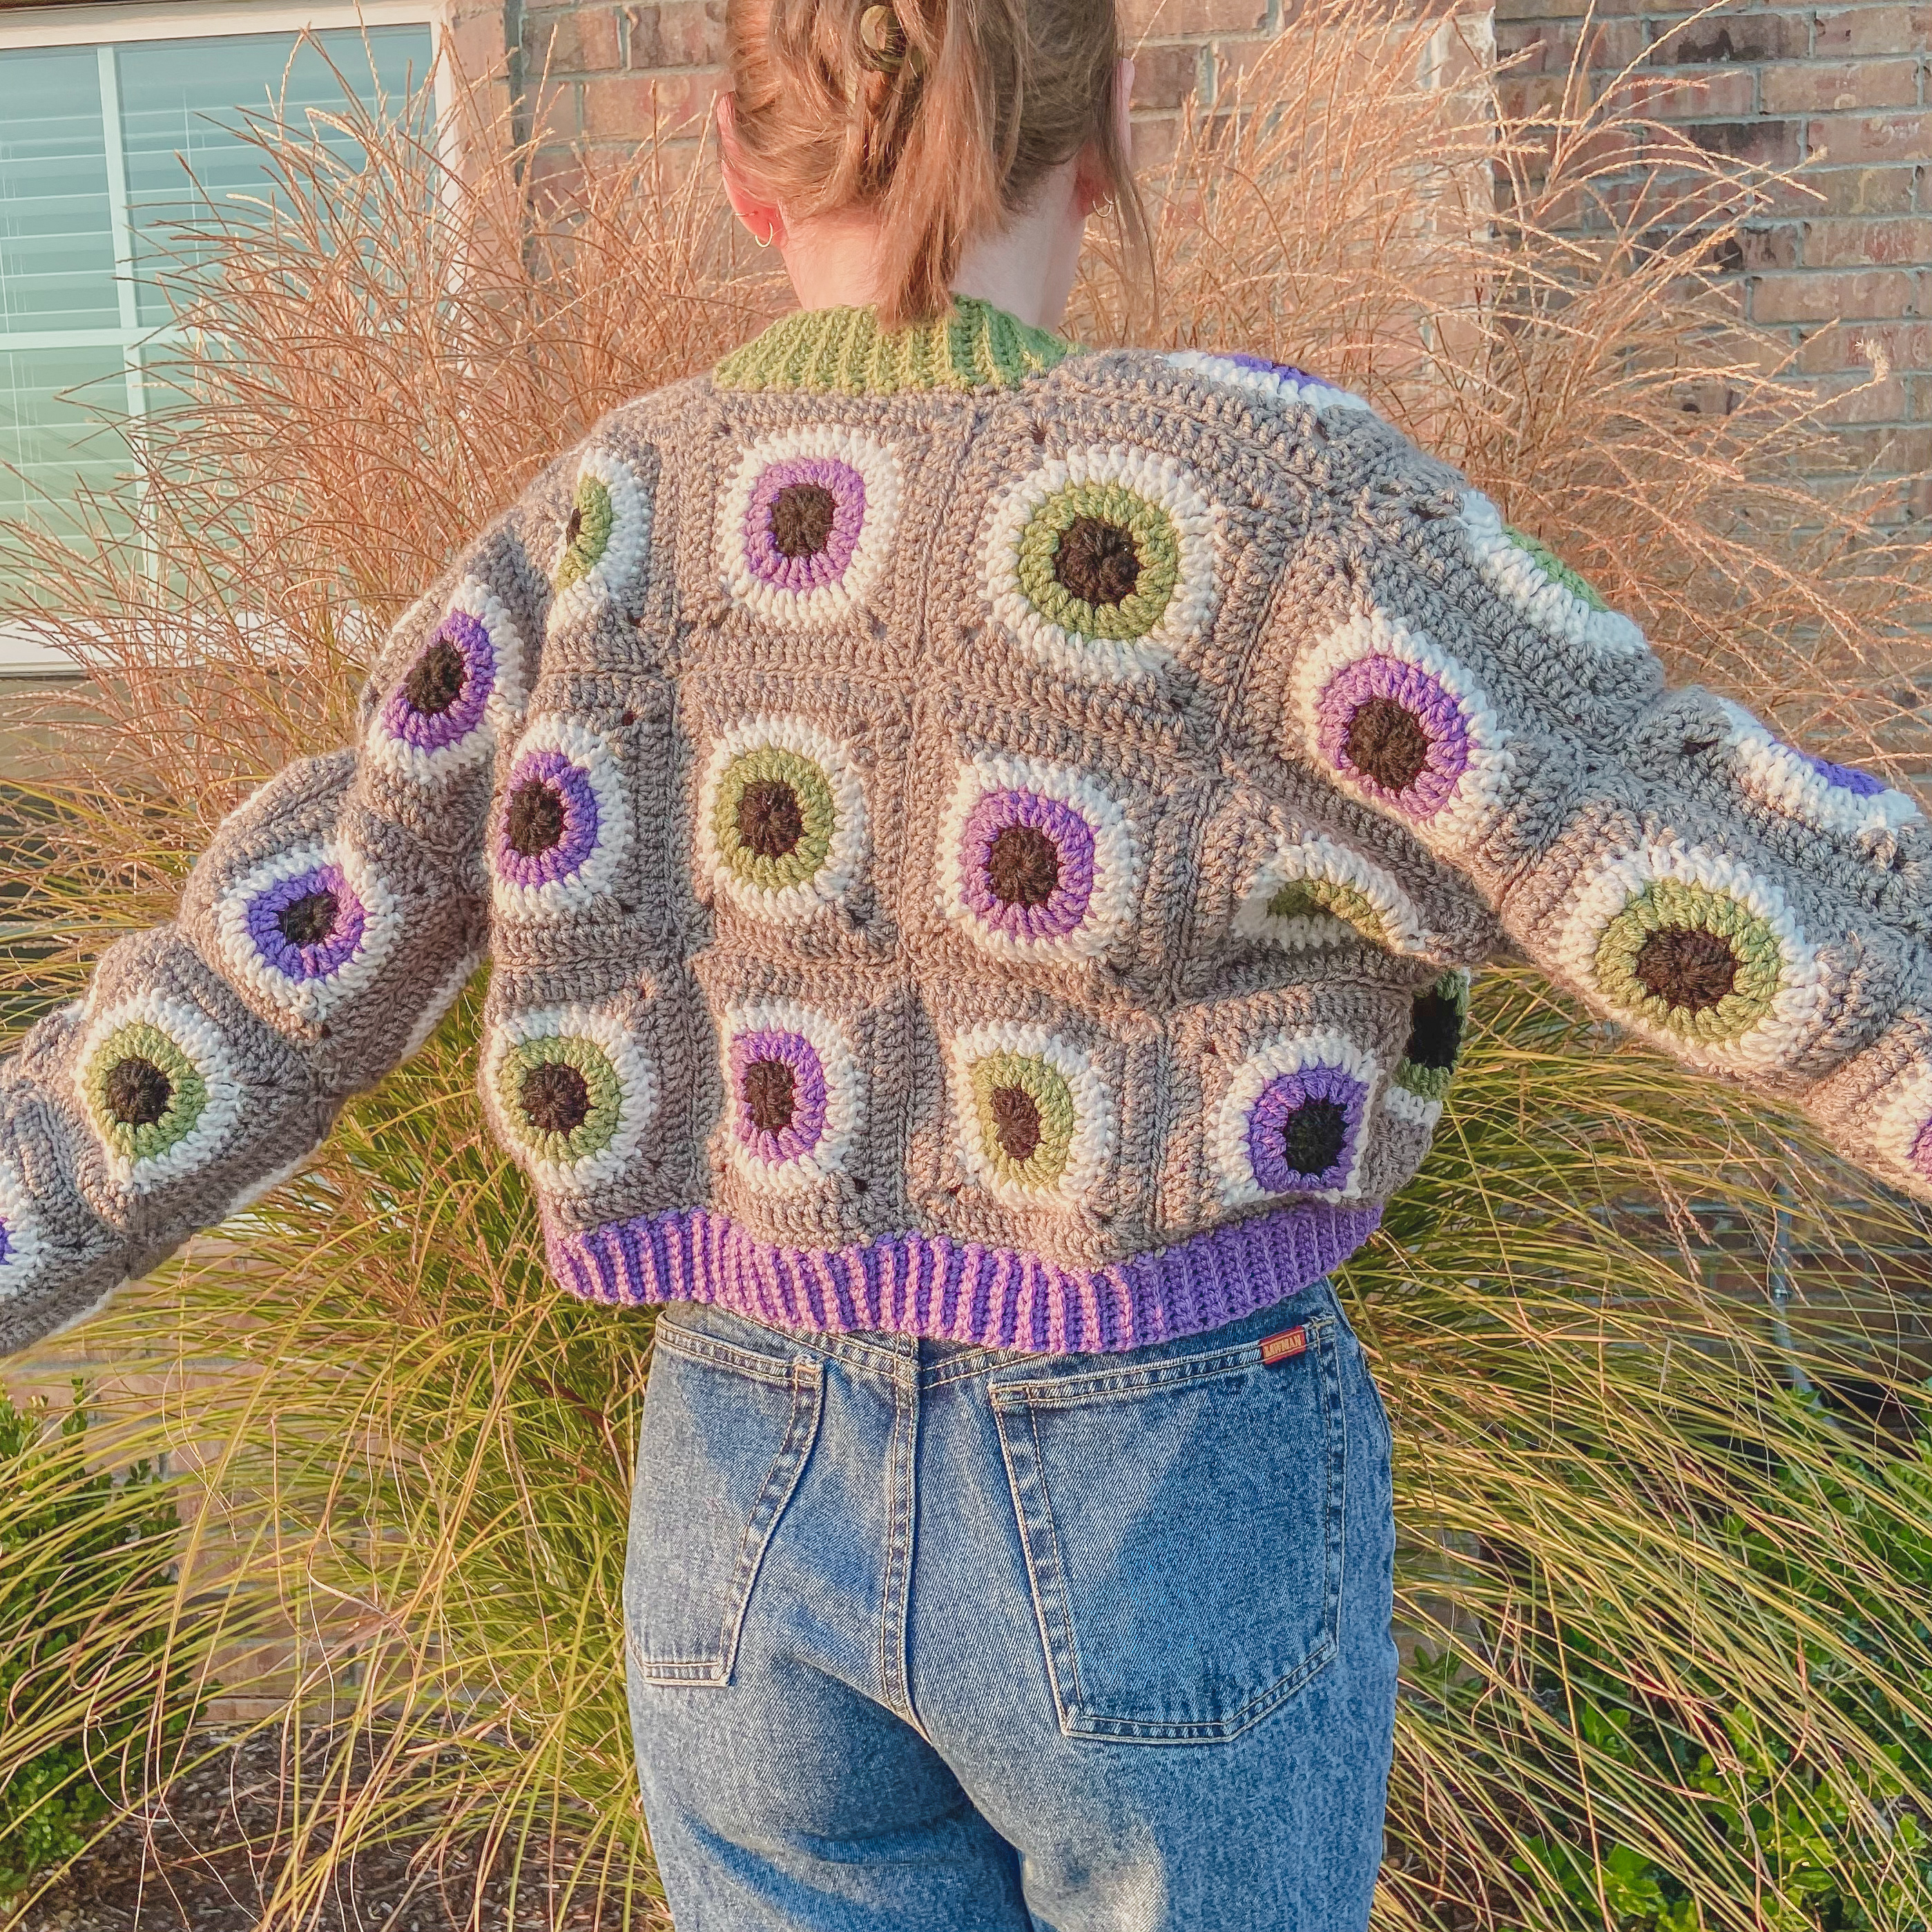
This cardigan pattern is very fun and very Halloween appropriate, I love the way it turned out!
I am kinda sadden tho, that I didn’t come up with the idea for this design sooner, so y’all would have time to make this before Halloween, BUT, better late than never,
am I right? 😅
I came up with the idea for this pattern while I was staying at my moms house for about a week. I didn’t think much about it because for some reason I thought it must have been done before and I wasn’t at my home with my yarn or supplies so I couldn’t even work on it.
Later, I did a few Google, Etsy and Pinterest searches and to my surprise, (as far as I could tell) no one has really come up with a pattern quite like this!
So, I had my mom take me to Hobby Lobby to buy some yarn and get started!
It wasn’t til about October 3rd when I really had any time to work on it, and have several times thought about not releasing it because so many other designers have already realized their spooky season designs and I felt like I was behind.. But I decided to not let that hold me back and move forward with the pattern anyways!
SO, without further ado, let’s get started!
Level: Easy
Materials
Worsted/Medium Weight Yarn (4) – in colors Black, Antique White, Grey Beard, Mid Green and Amethyst
5.00mm Crochet Hook (my FAVORITE crochet hooks!)
Stitch Marker (I personally don’t use a stitch marker for this pattern, but if you’re a beginner or lose track of where you started easily, stitch markers are very helpful.)
Gauge: 4″ square = 7 stitches wide x 7 rows tall (in double crochet)
Stitches + Abbreviations
St(s) = Stitch(es)
Ch = Chain
Sc = Single Crochet
Sl st = Slip Stitch
Dc = Double Crochet
Hdc = Half Double Crochet
Rep = Repeat
Measurements
Each square measures at 5 inches x 5 inches
Pattern Notes
*This pattern fits sizes XS-M (maybe even L) and is made up of 45 Eyeball Granny Squares. If needing a larger size, making more squares and assembling as needed should be an easy fix.
*This pattern follows US crochet terms.
*Ch 3 ALWAYS counts as a stitch in this pattern
*Number of stitches indicated between <>
*Squares measure 5″ x 5″
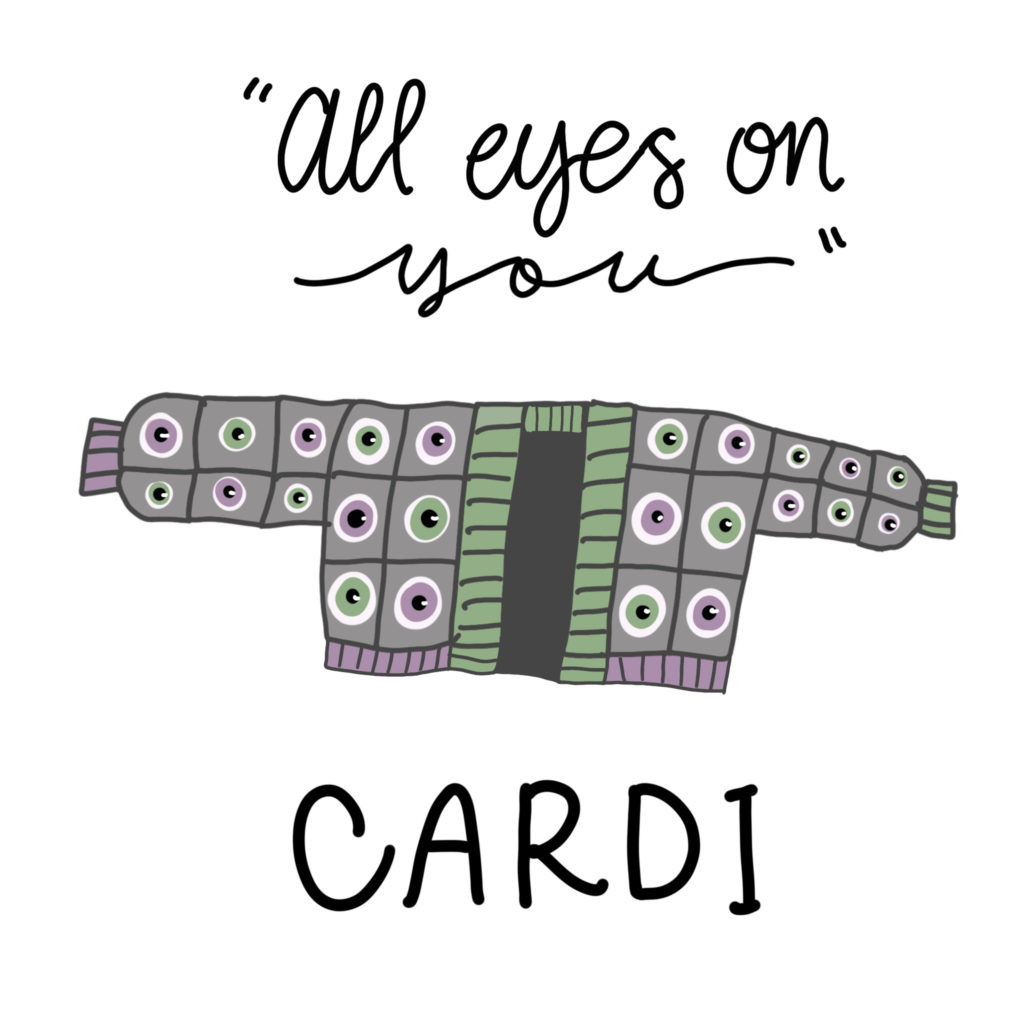
“ALL EYES ON YOU”
Cardigan Pattern
Eyeball Granny Square
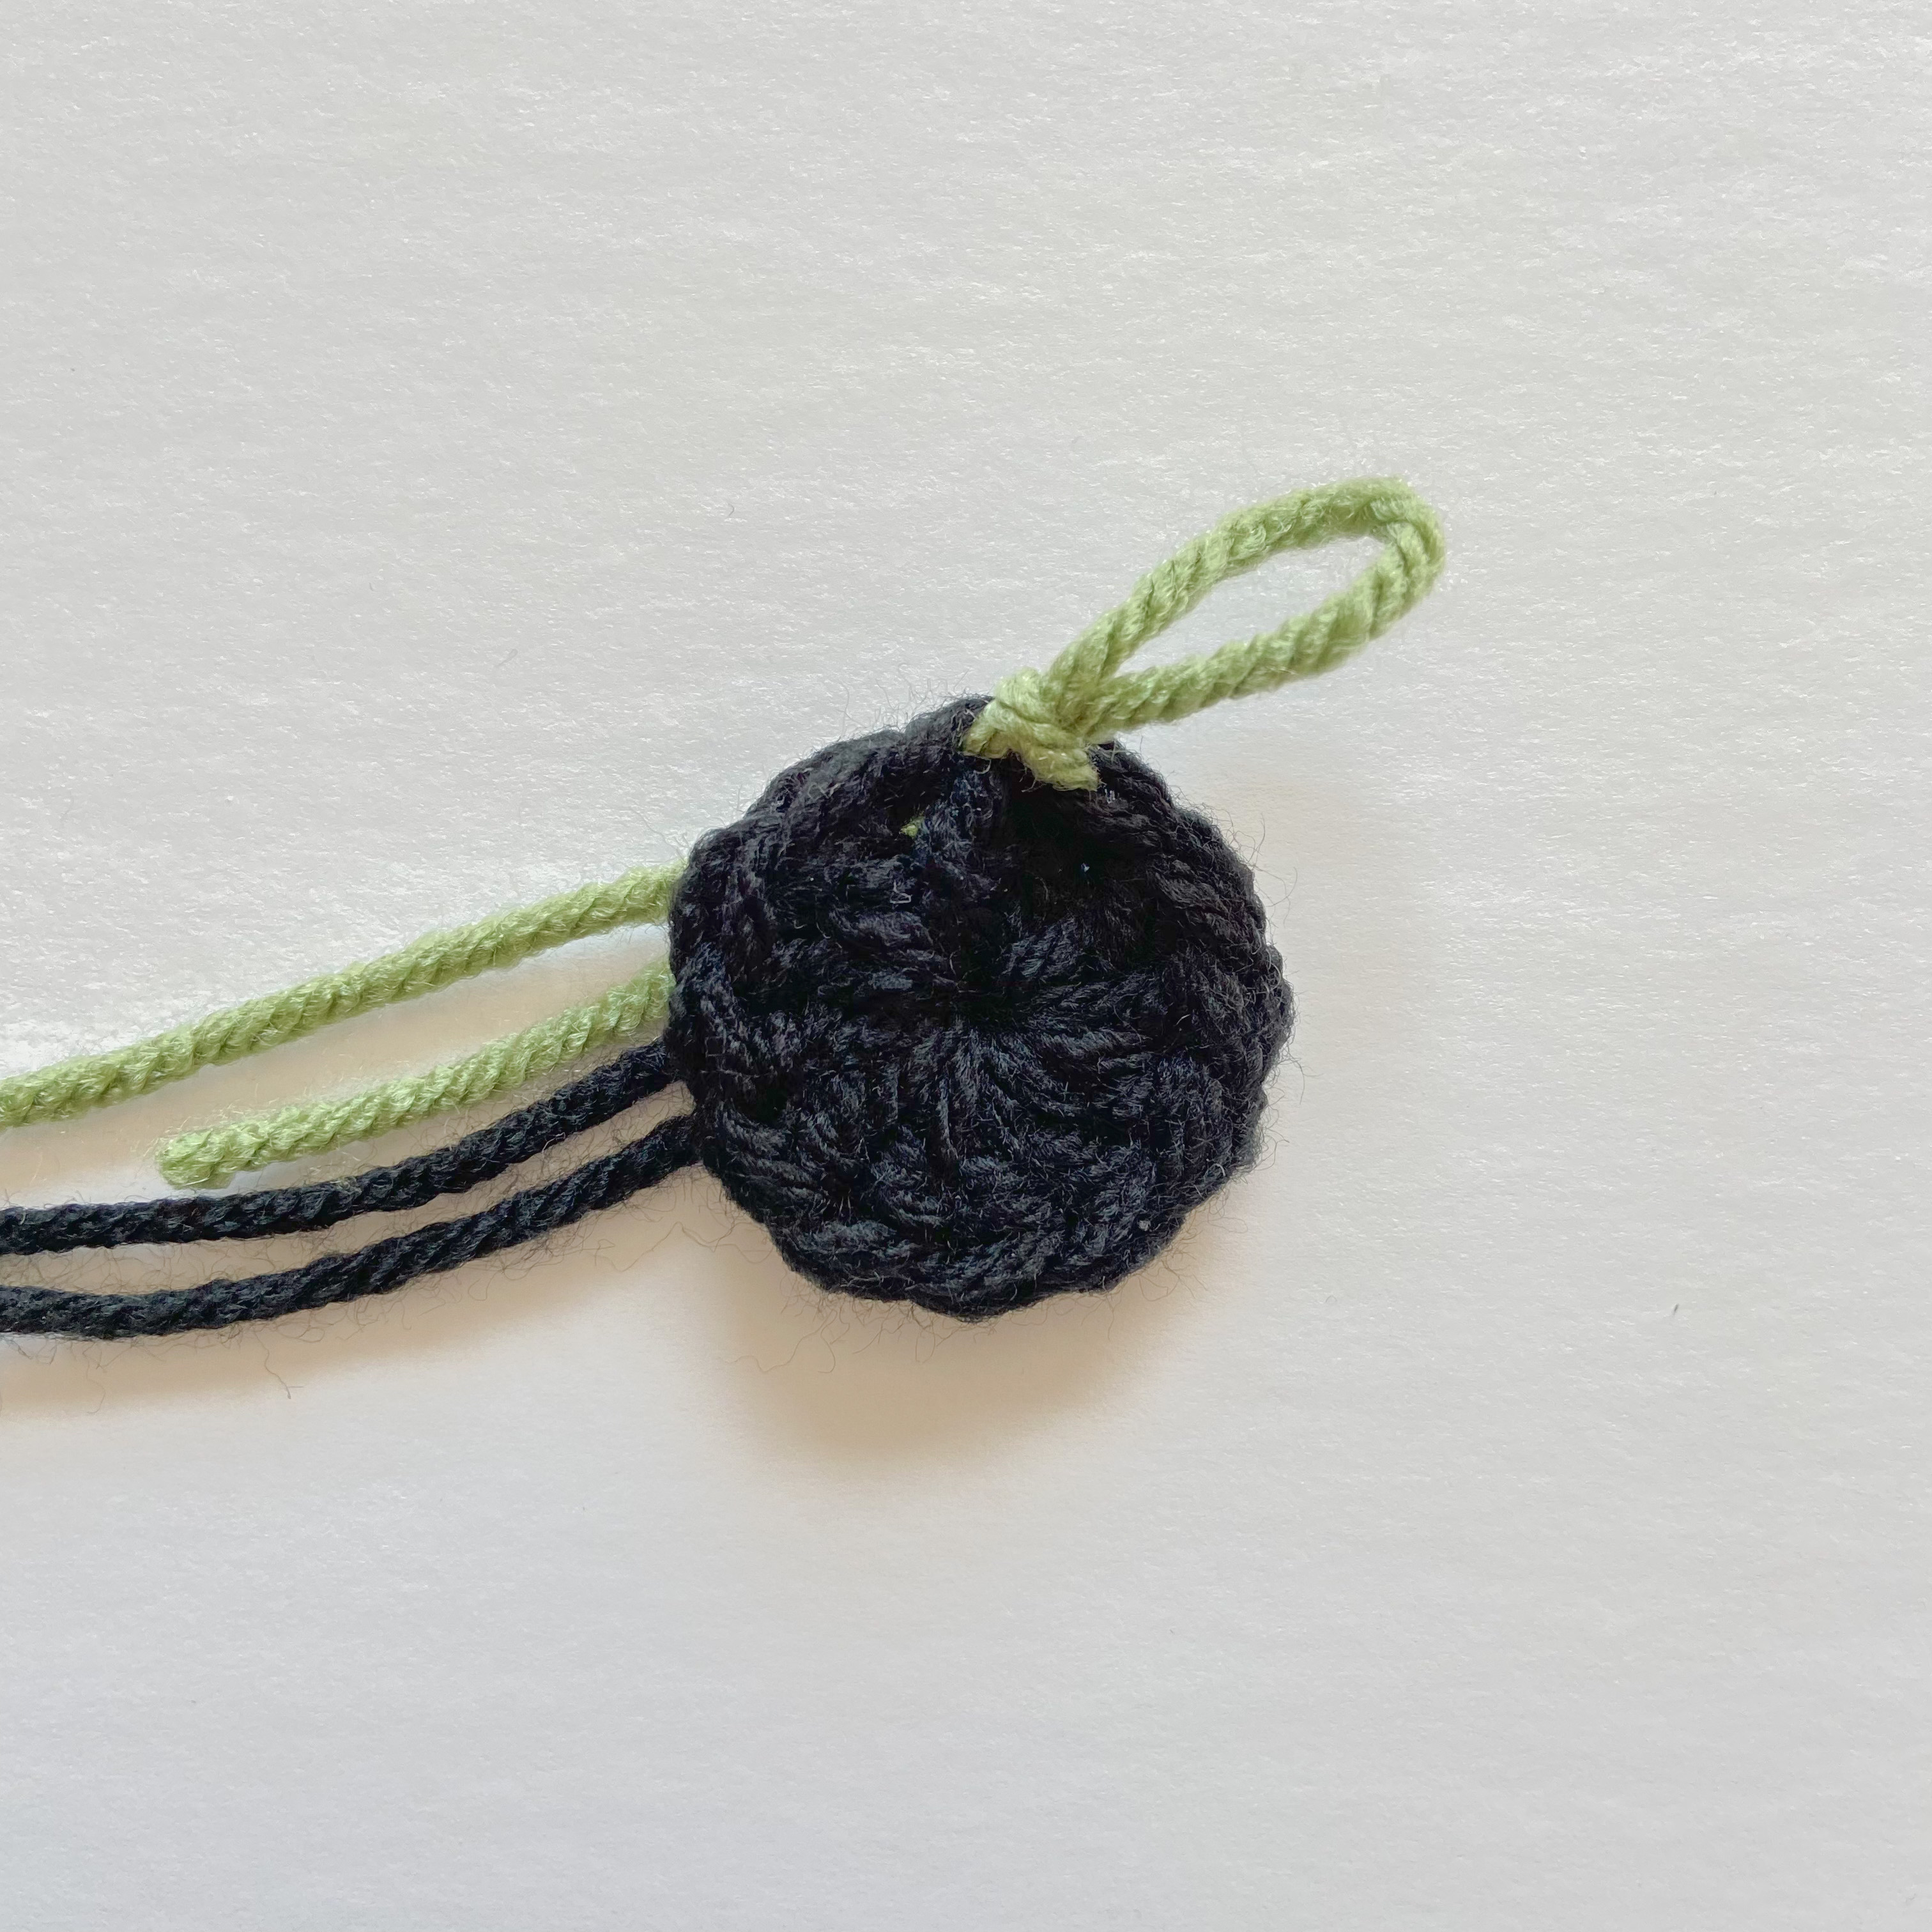
Start off by making a Magic Ring
Round 1: Ch 3 (ch 3 ALWAYS counts as a stitch in this pattern), work 11 dc into magic ring <12> (the ch 3 counts as one of the 12 sts). Before you finish your 12th dc, pick up new yarn color and pull through the last 2 loops on your hook. Sl st into the first st (the ch 3) of the round.
Round 2: Ch 3, dc into the SAME st you chained in, work 2 dc in each st until the end of the round <24>. Before finishing the last dc, pick up new yarn color and pull through the last 2 loops on your hook. Sl st into the first st of the round.
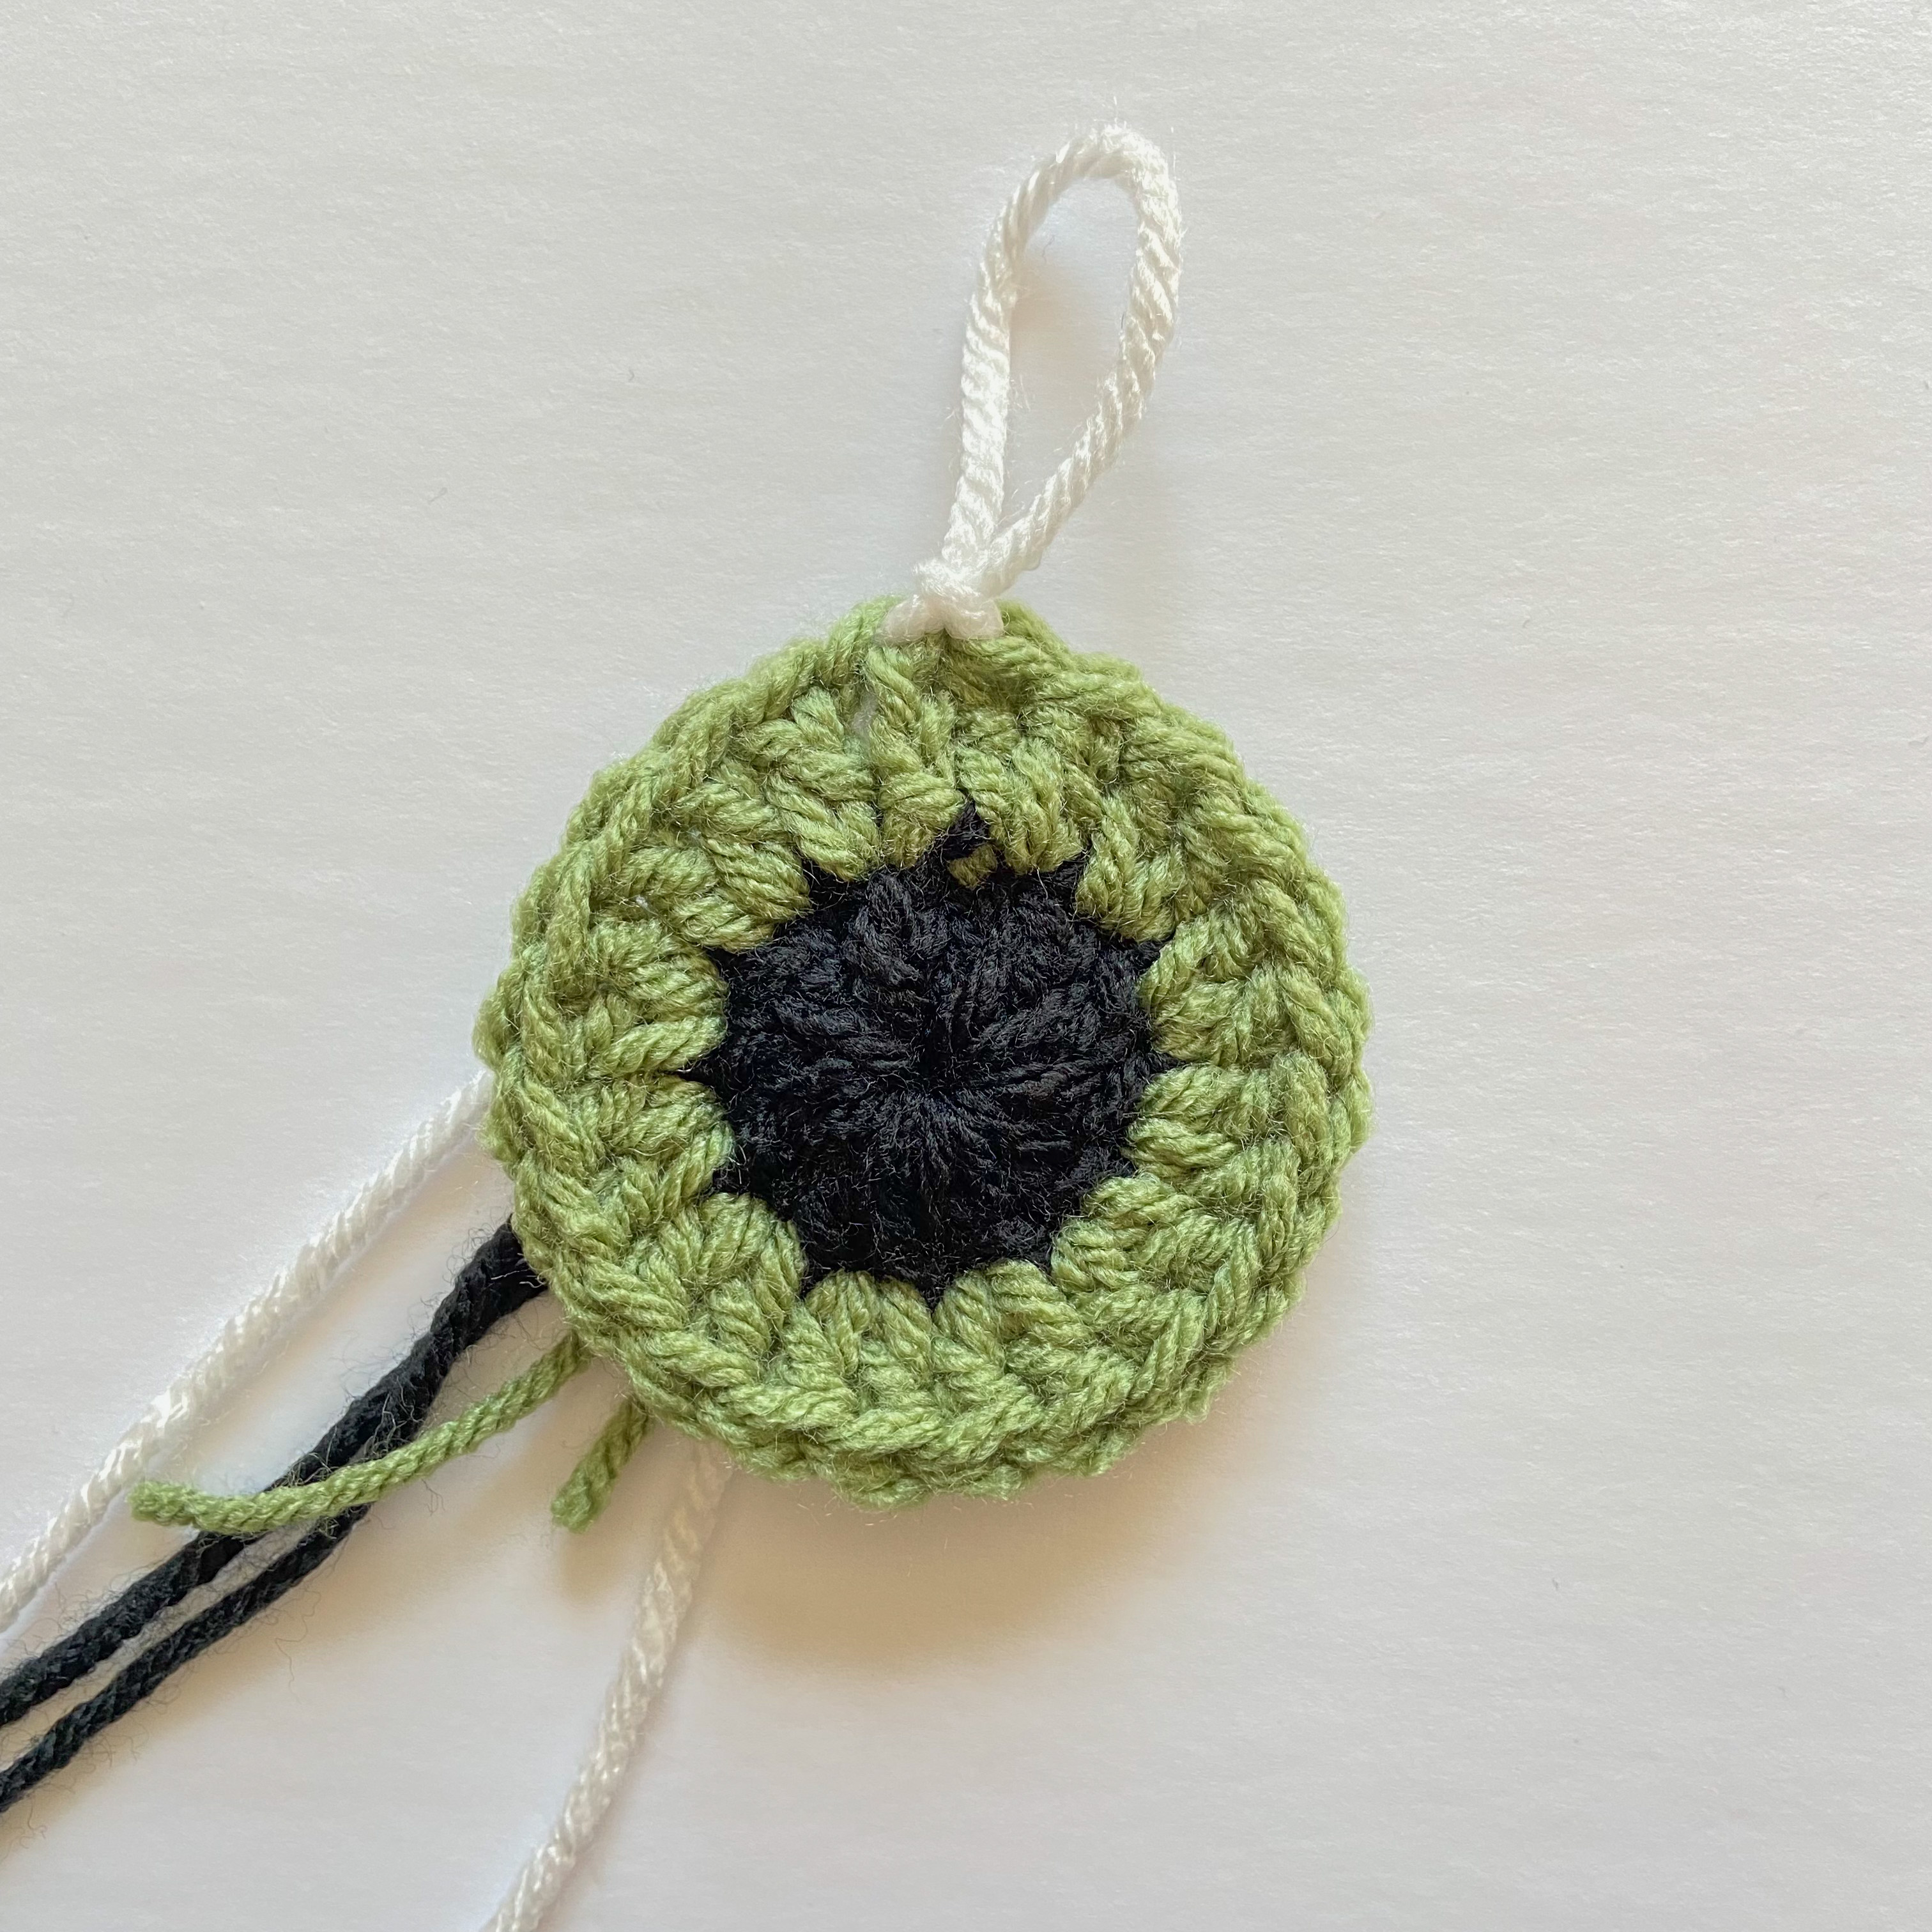
Round 3: Ch 3, dc into the same st your chained in, dc 1, *2 dc in the same st, 1 dc, *repeat until the end of the round <36>. Before finishing last dc, pick up new yarn color and pull through the last 2 loops on your hook (last color change). Sl st into the first st of the round.
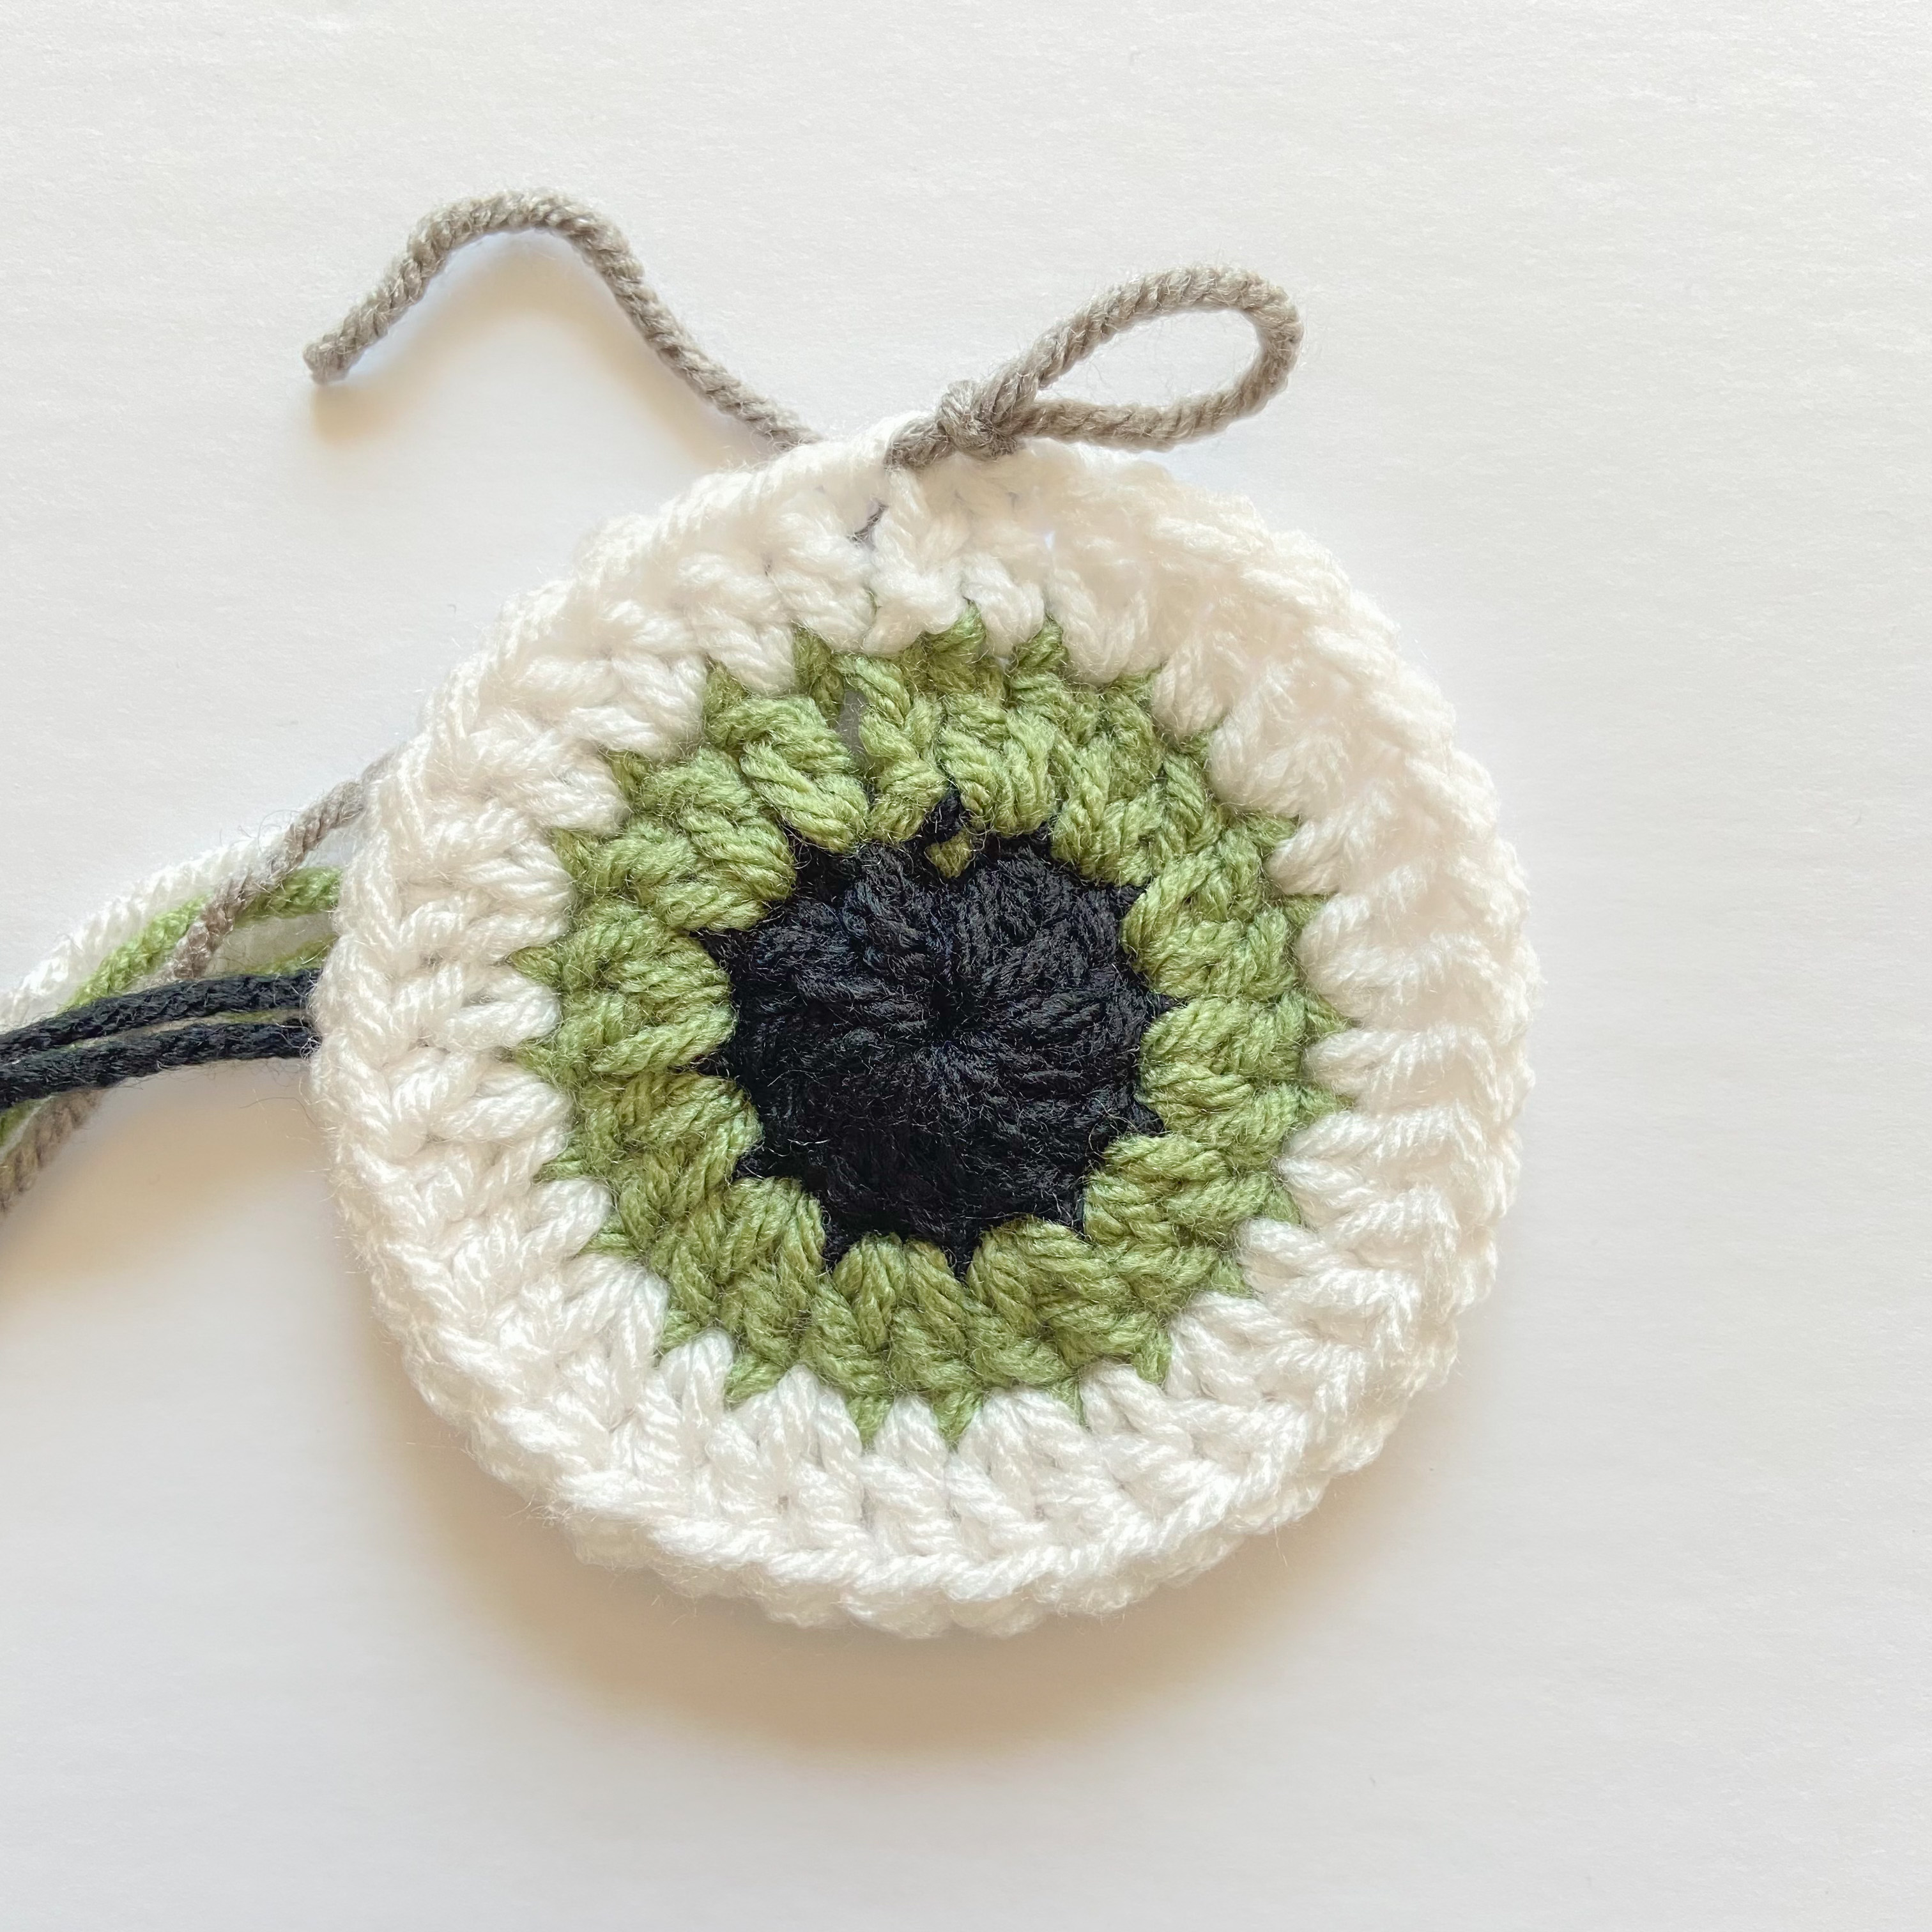
Round 4: Ch 3, dc into the same st you chained in, ch 2, 2 dc in the next st, 1 hdc in the next 2 srs, 1 sc in the next 3 sts, 1 hdc in the next 2 sts, *2 dc in the next st, ch 2, 2 dc in the next st, 1 hdc in the next 2 sts, 1 sc in the next 3 sts, 1 hdc in the next 2 sts, *rep until the end of the round <44>. Sl st into the first st of the round, THEN sl st into the next st, then sl st into that first ch from the previous round.
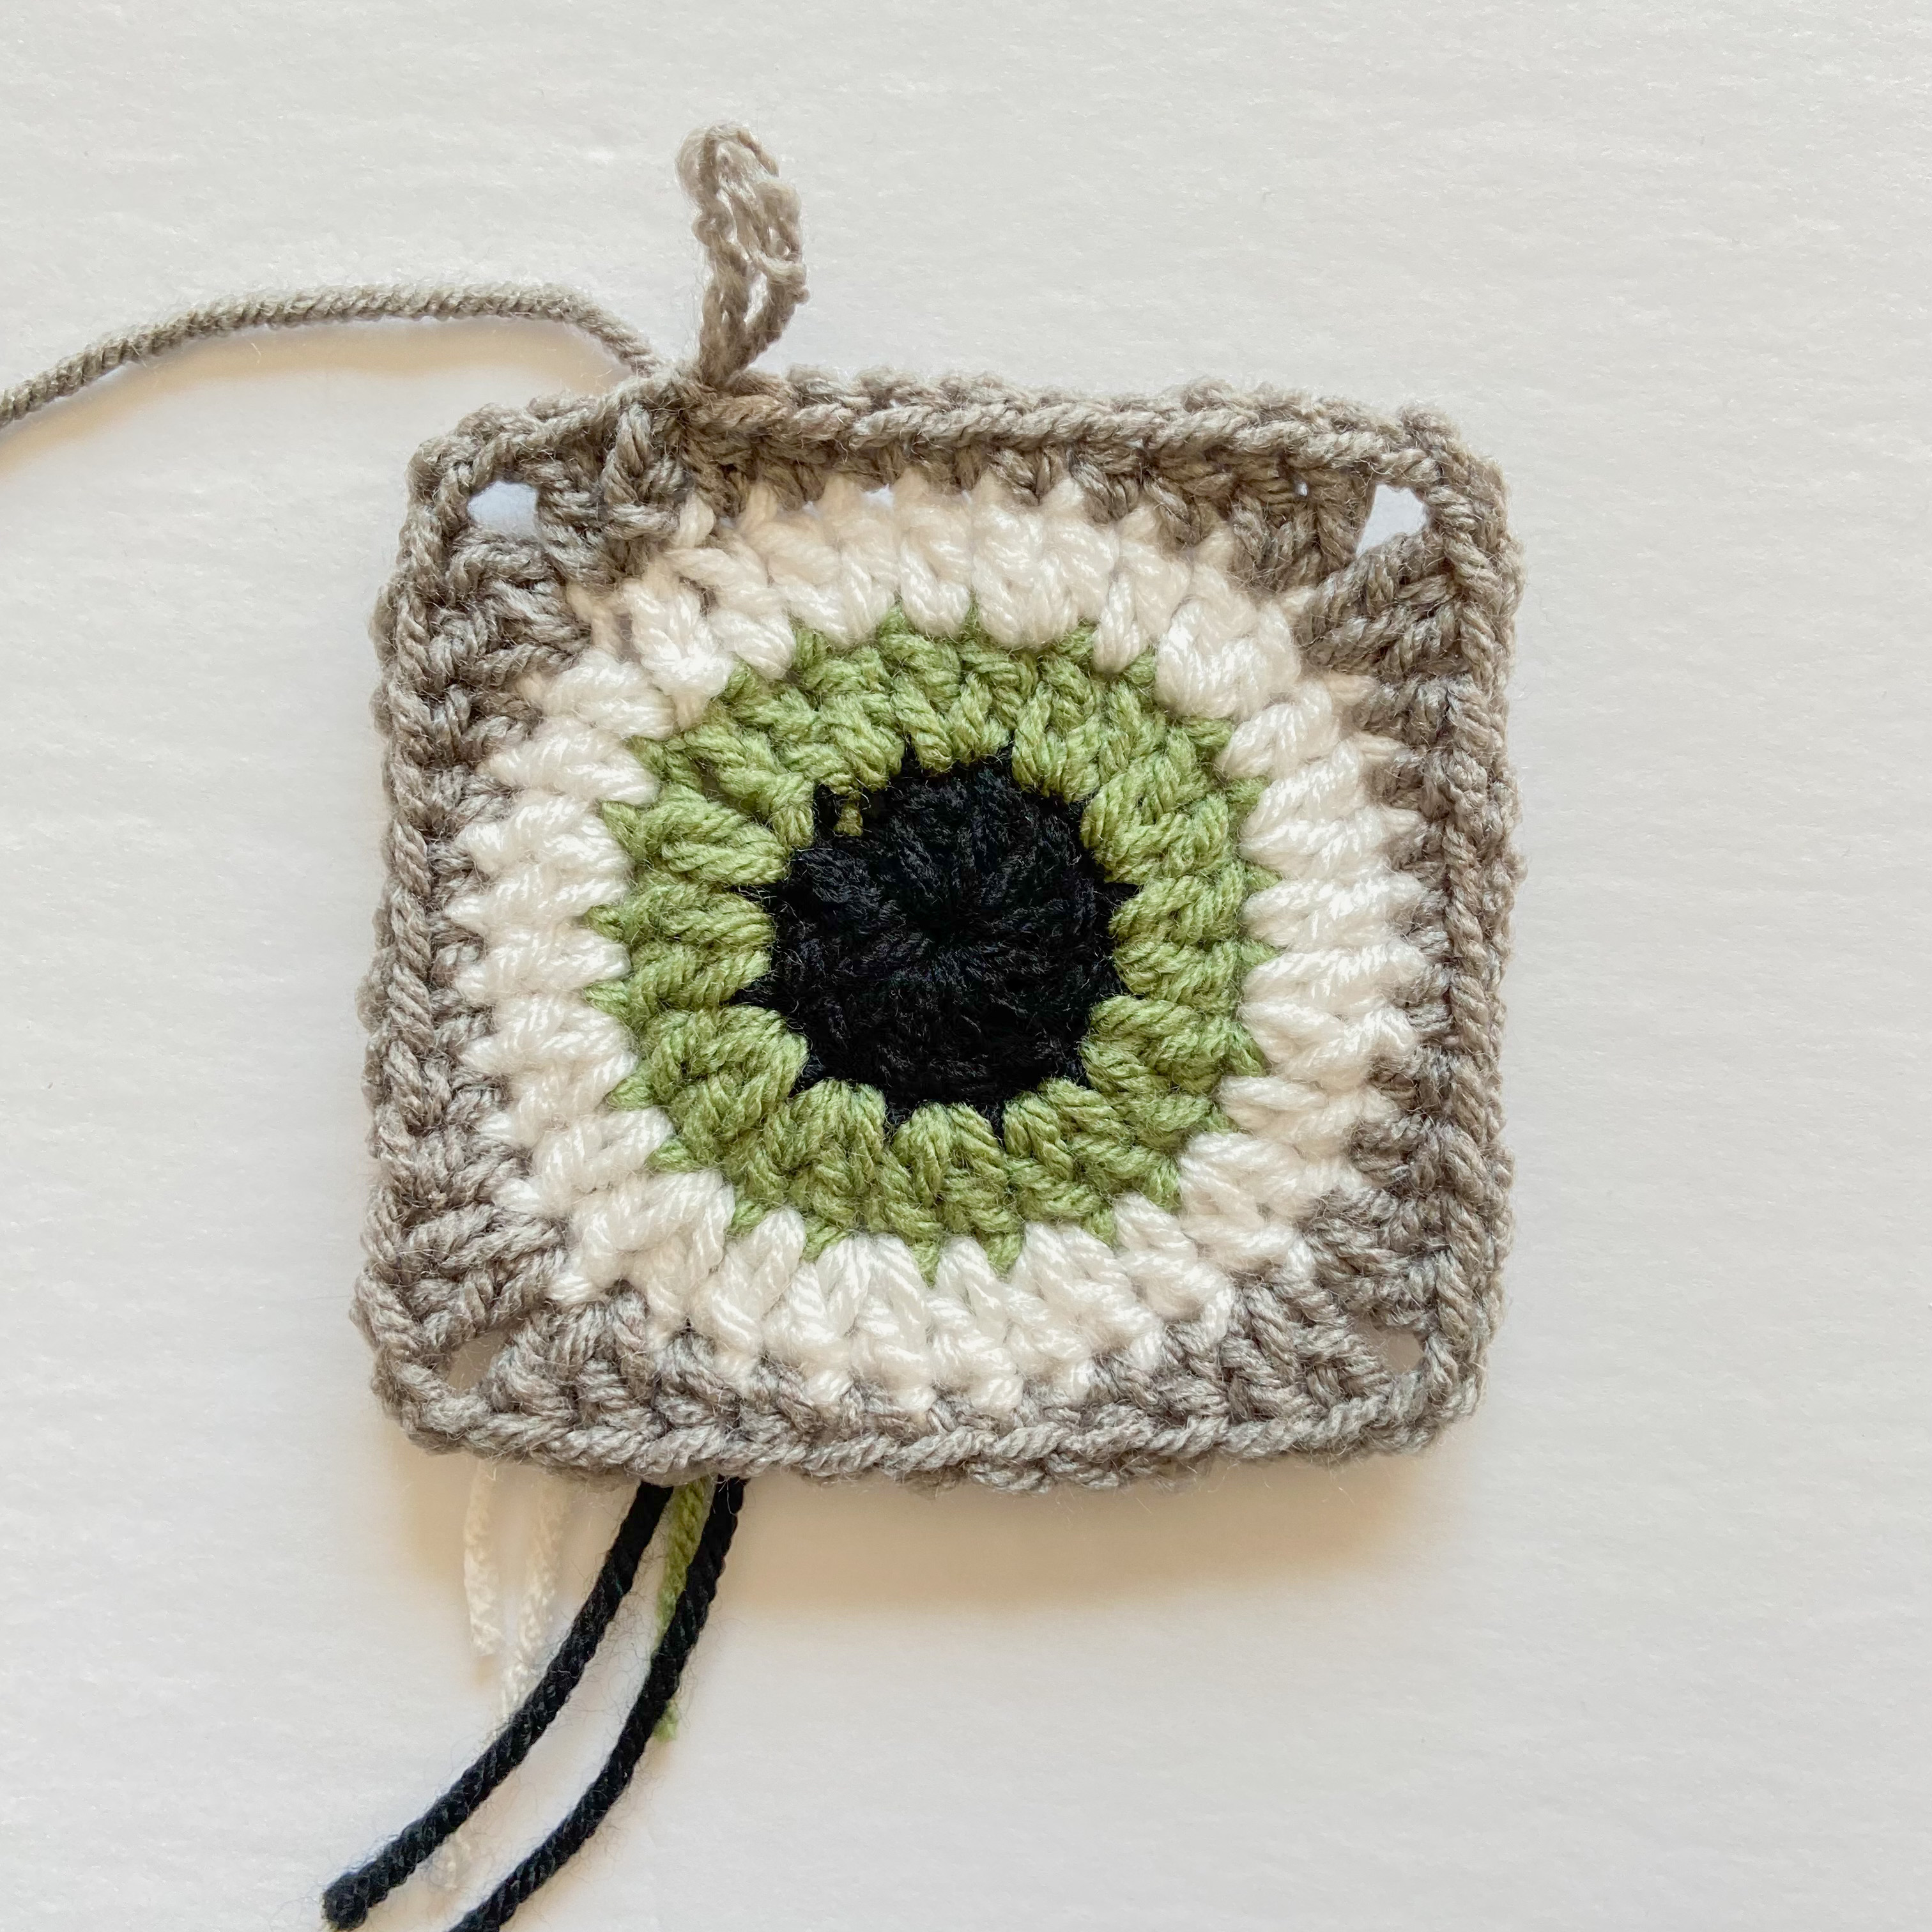
Round 5: Ch 3, dc into the ch space, ch 1, 2 dc into the same ch space, 1 dc in the next 11 sts, *2 dc in the ch space, ch 1, 2 dc in the same ch space, 1 dc in the next 11 sts, *rep until the end of the round <52>. Work your last 2 dc’s (1 dc into each)in the 2 sl sts created before the start of the round as normal. They may be a little tougher to work in, but try and push your hook through anyways.
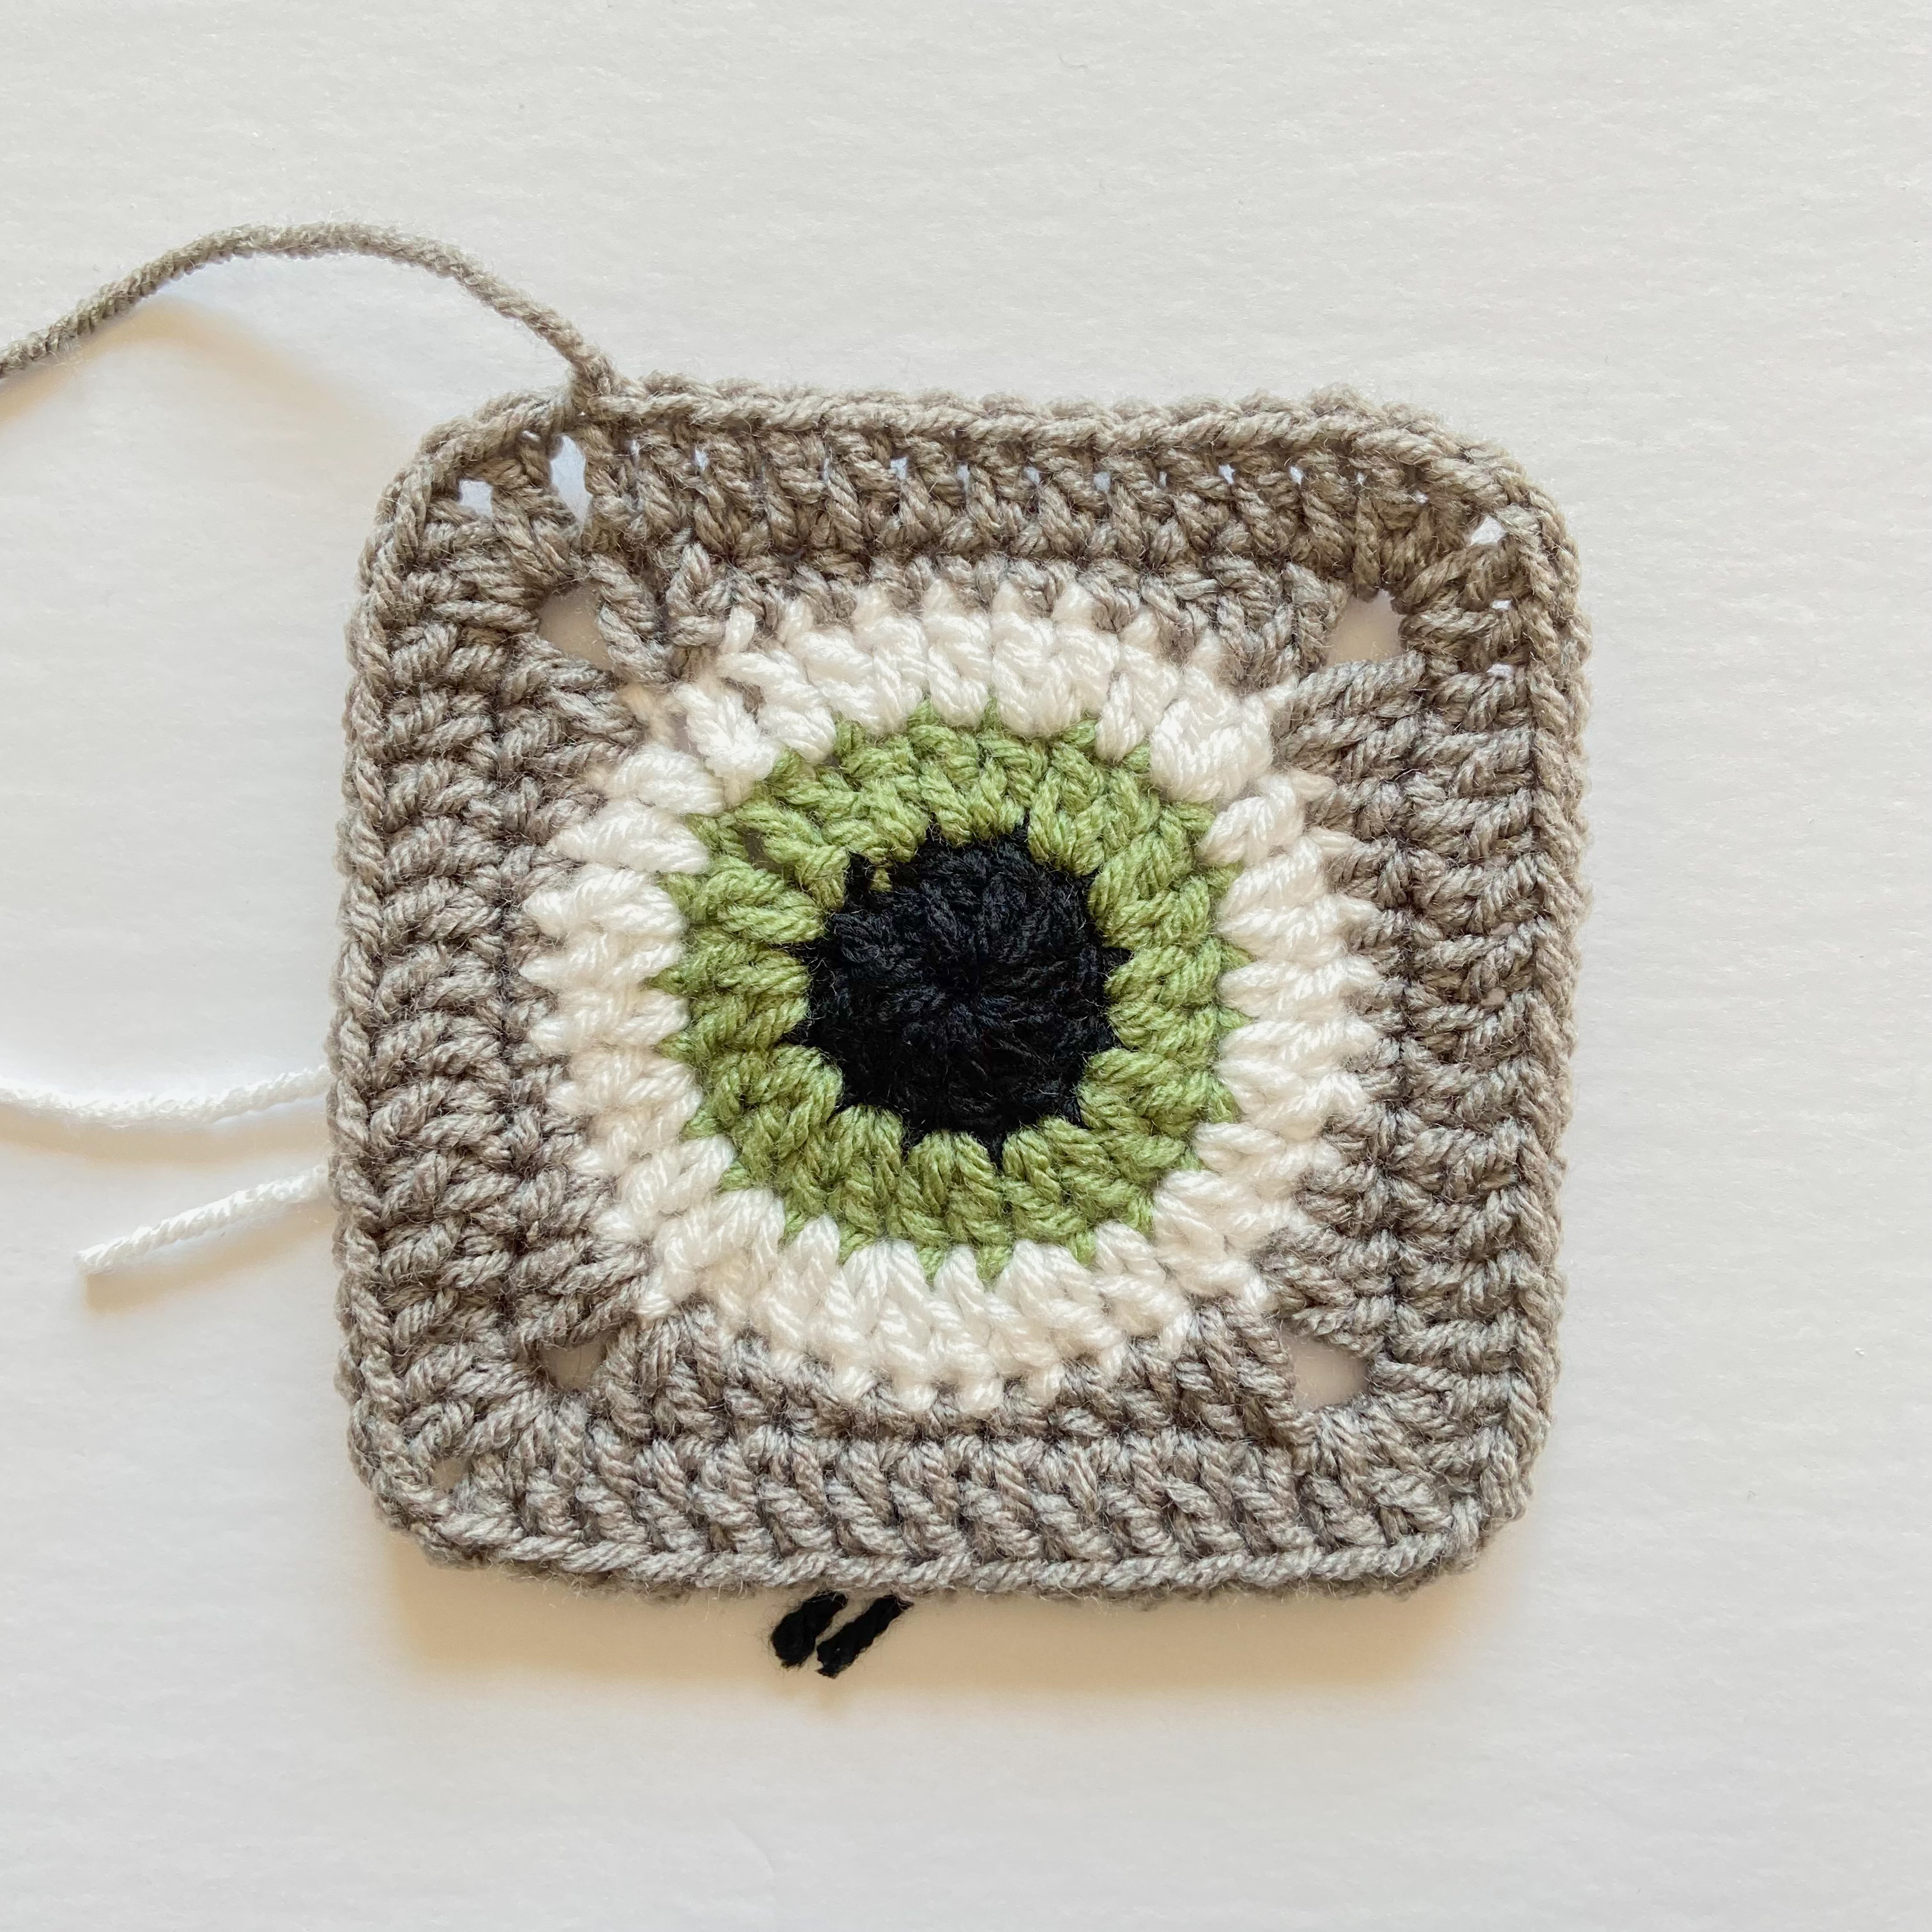
And now you have an Eyeball Granny Square! You will need 44 more squares for this cardigan. You can make as many or as few colored eyeball squares as you like. I just made purple and green eyes because those colors seemed the most Halloween-y to me! If you are having any trouble following the written pattern I also have a video tutorial here on my Youtube!
Assembly
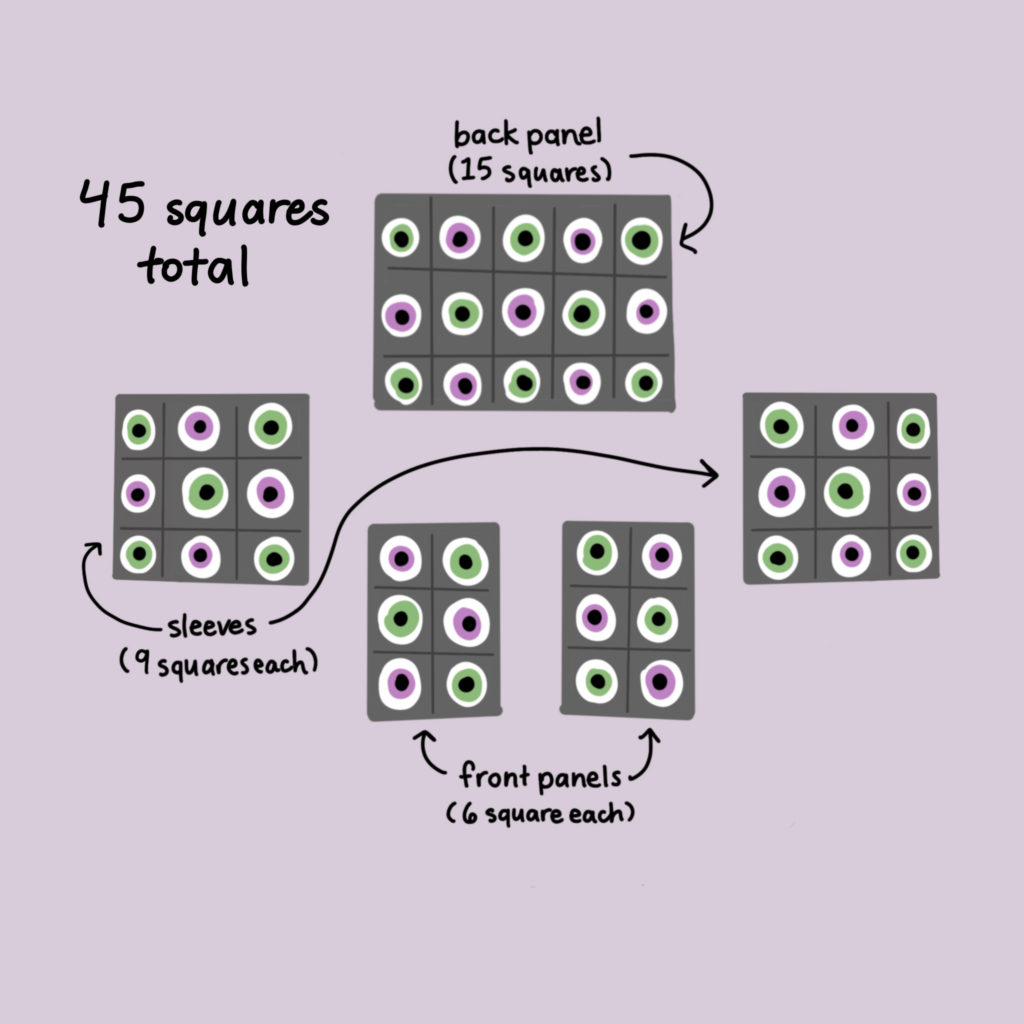
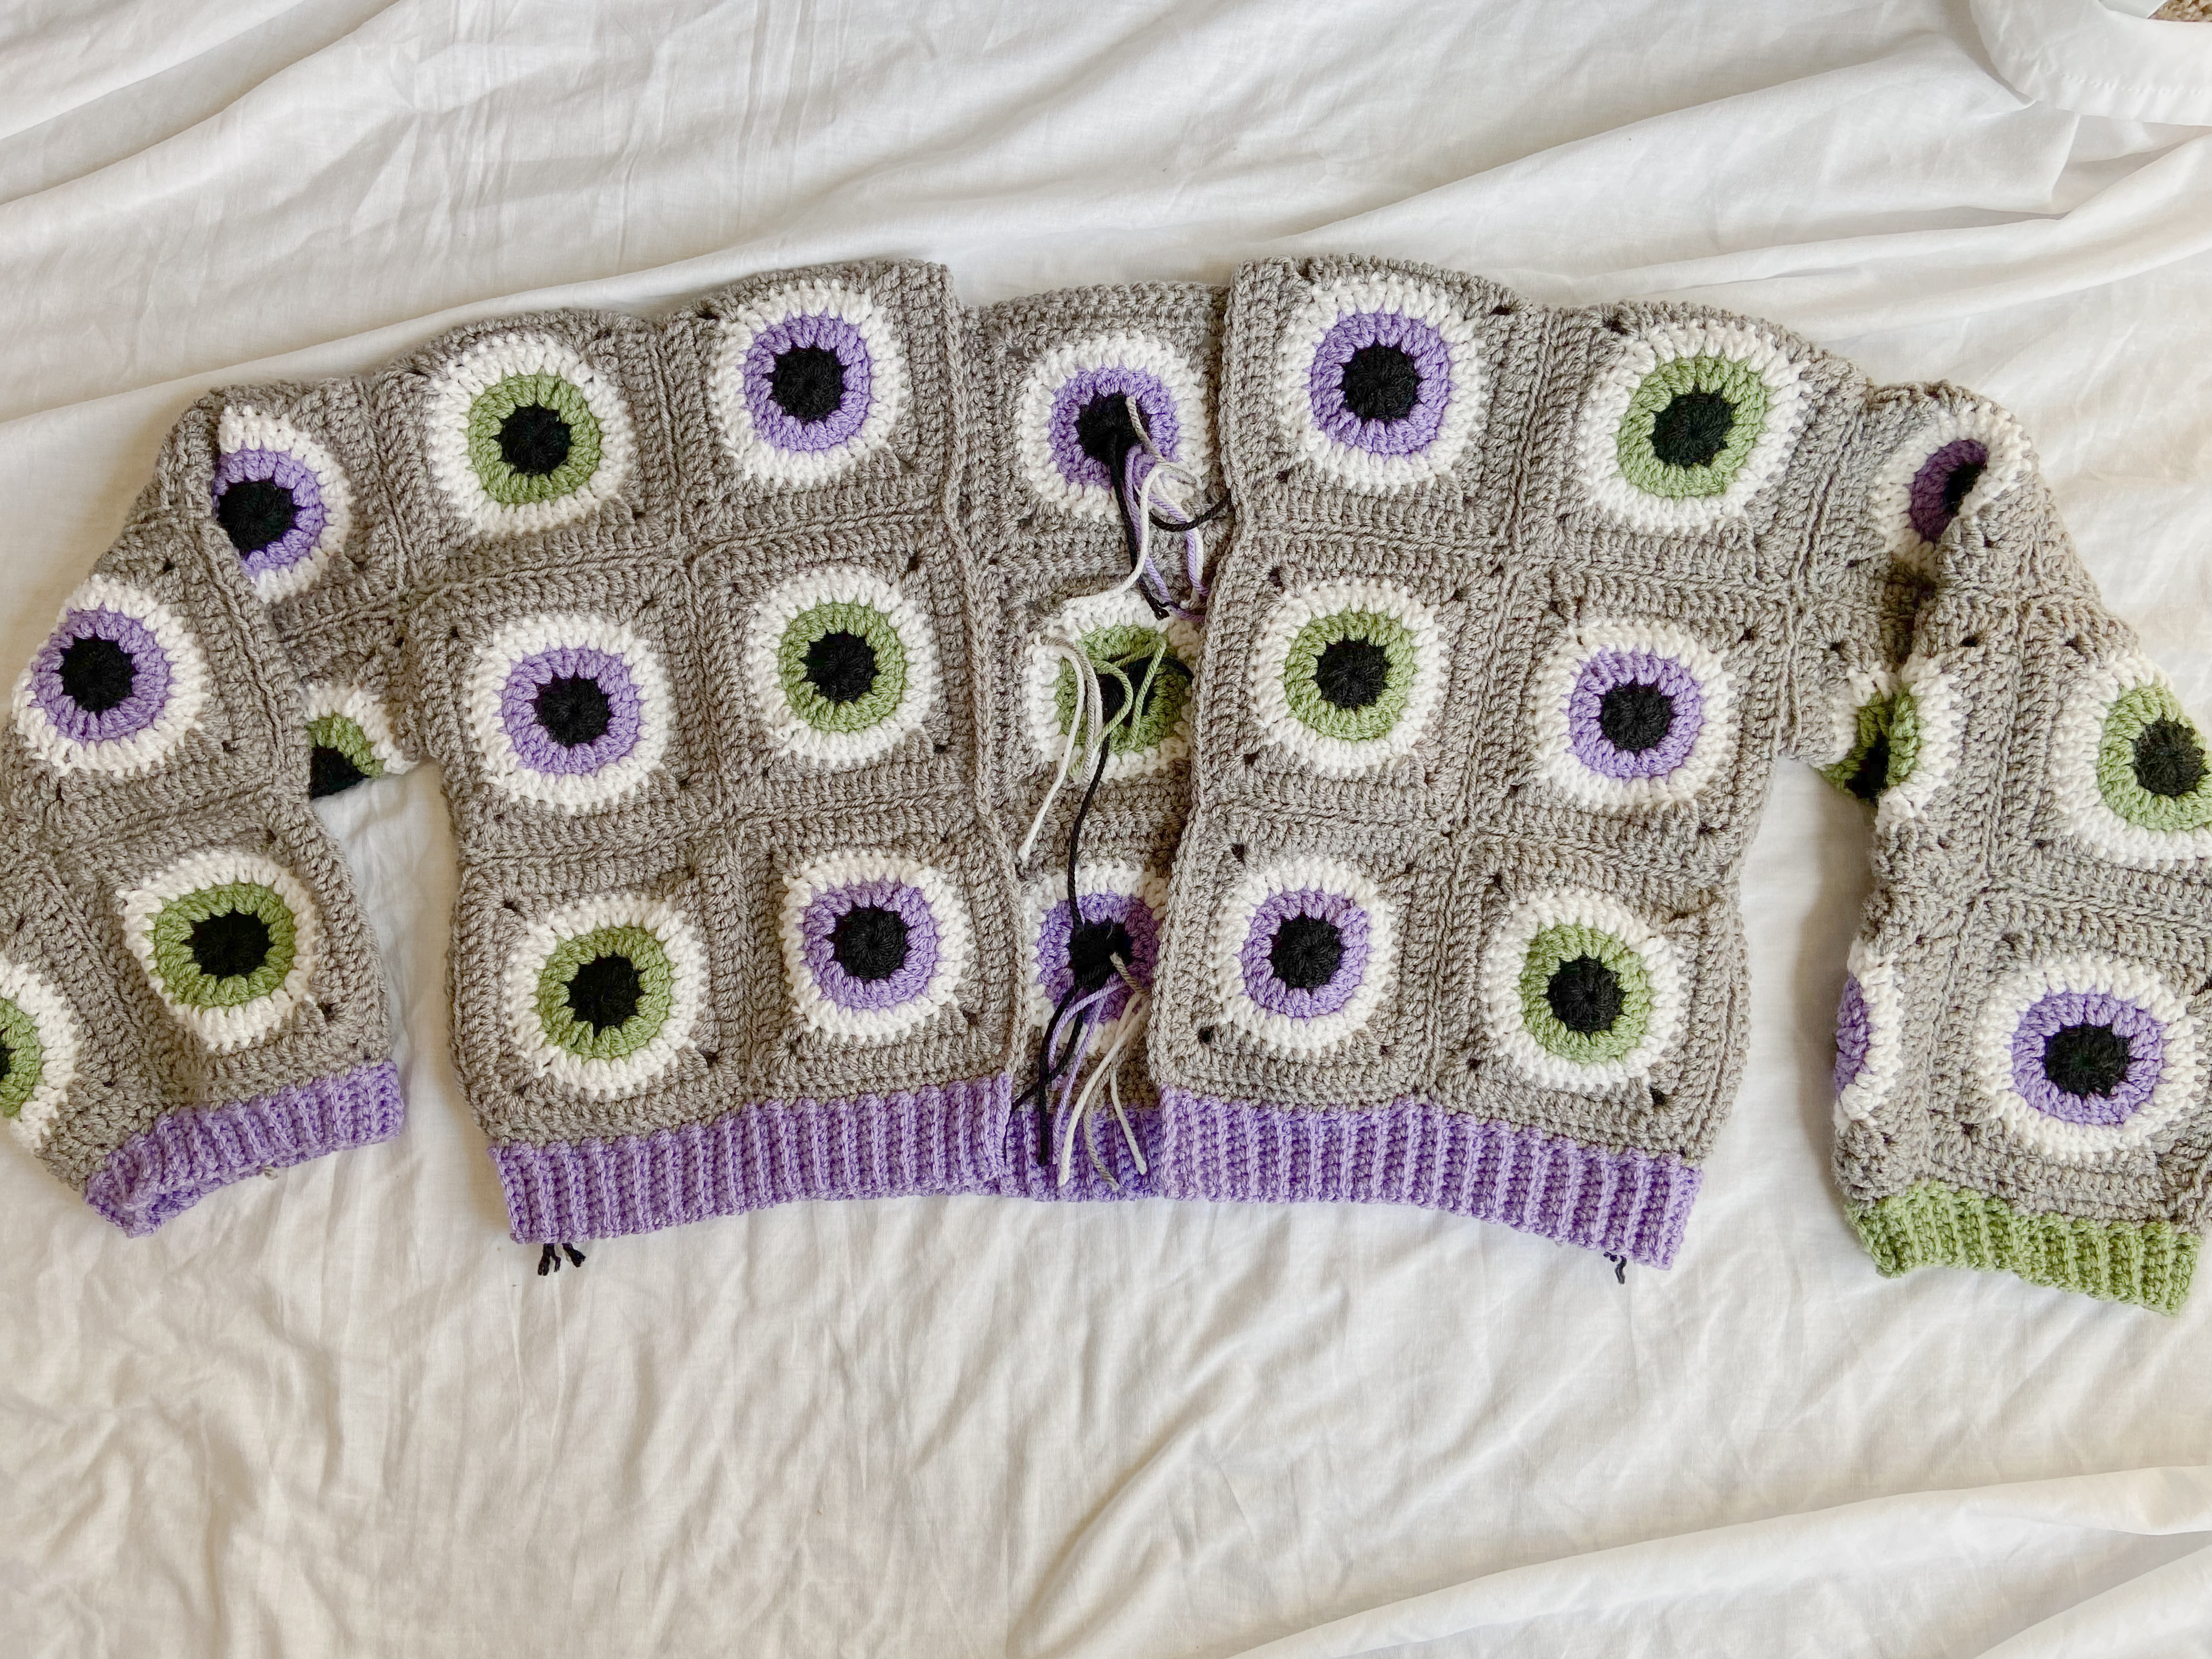
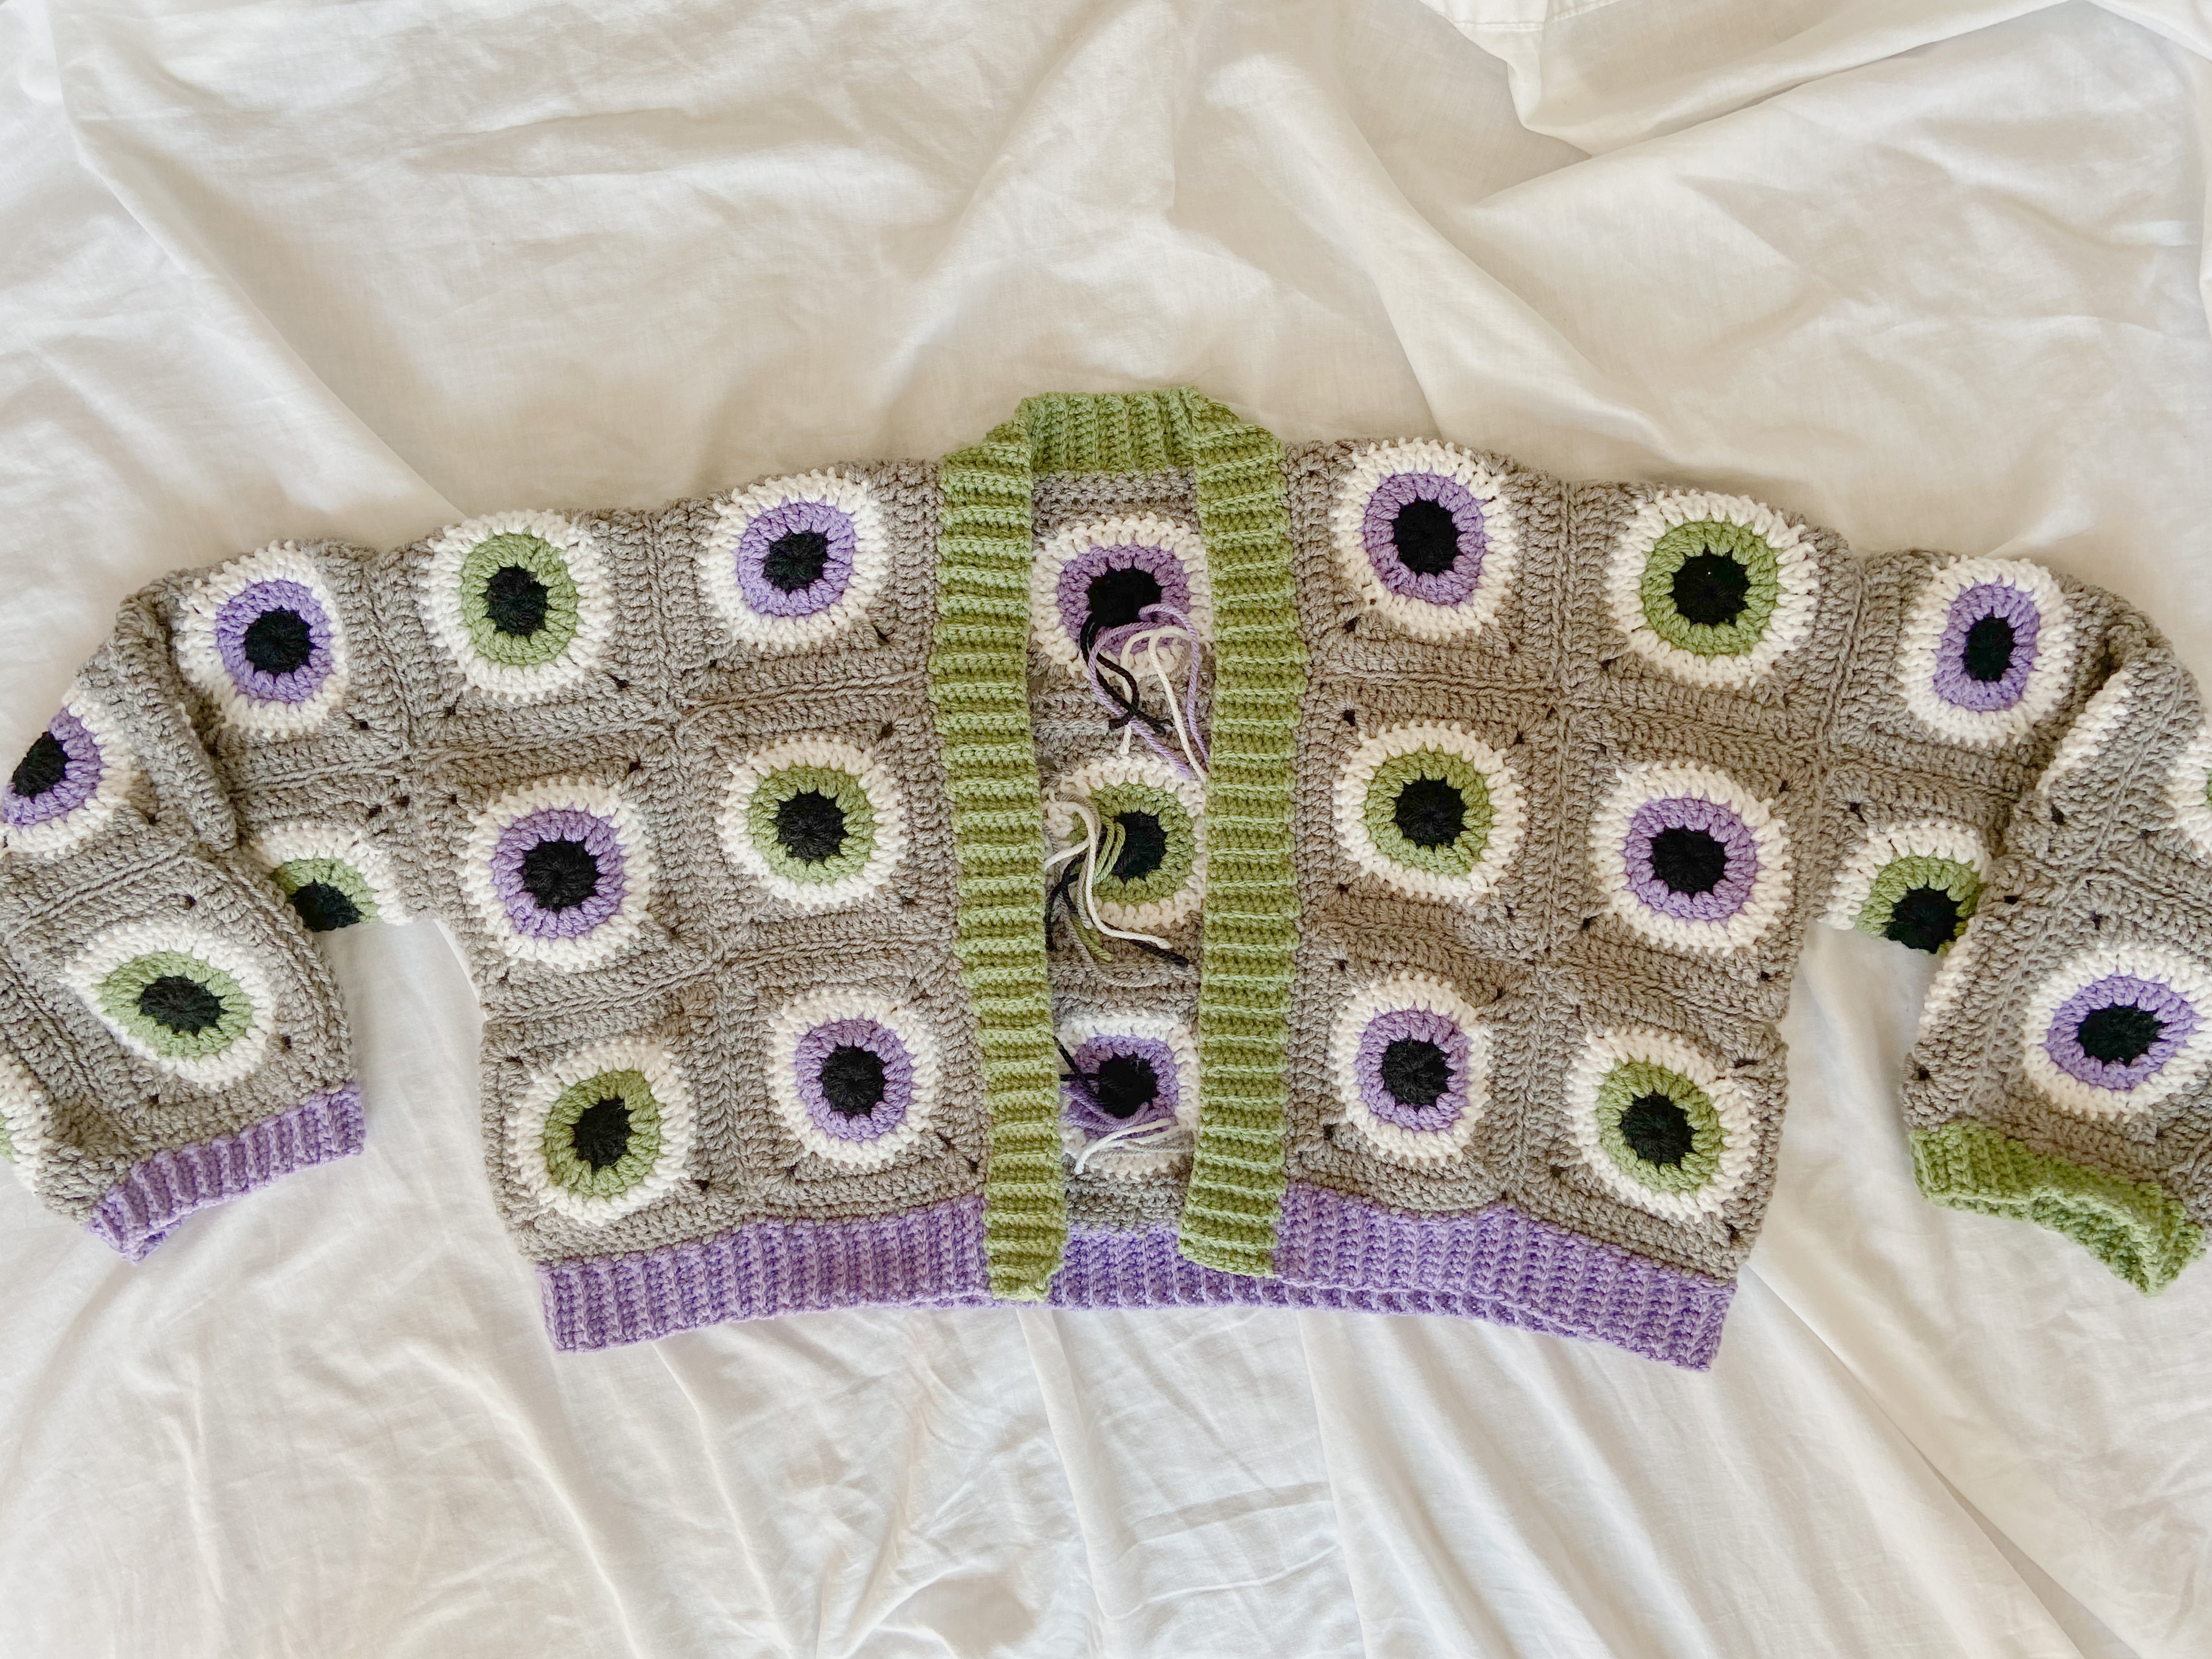
When you have all your squares, sew them together in panels like the drawing shows above.
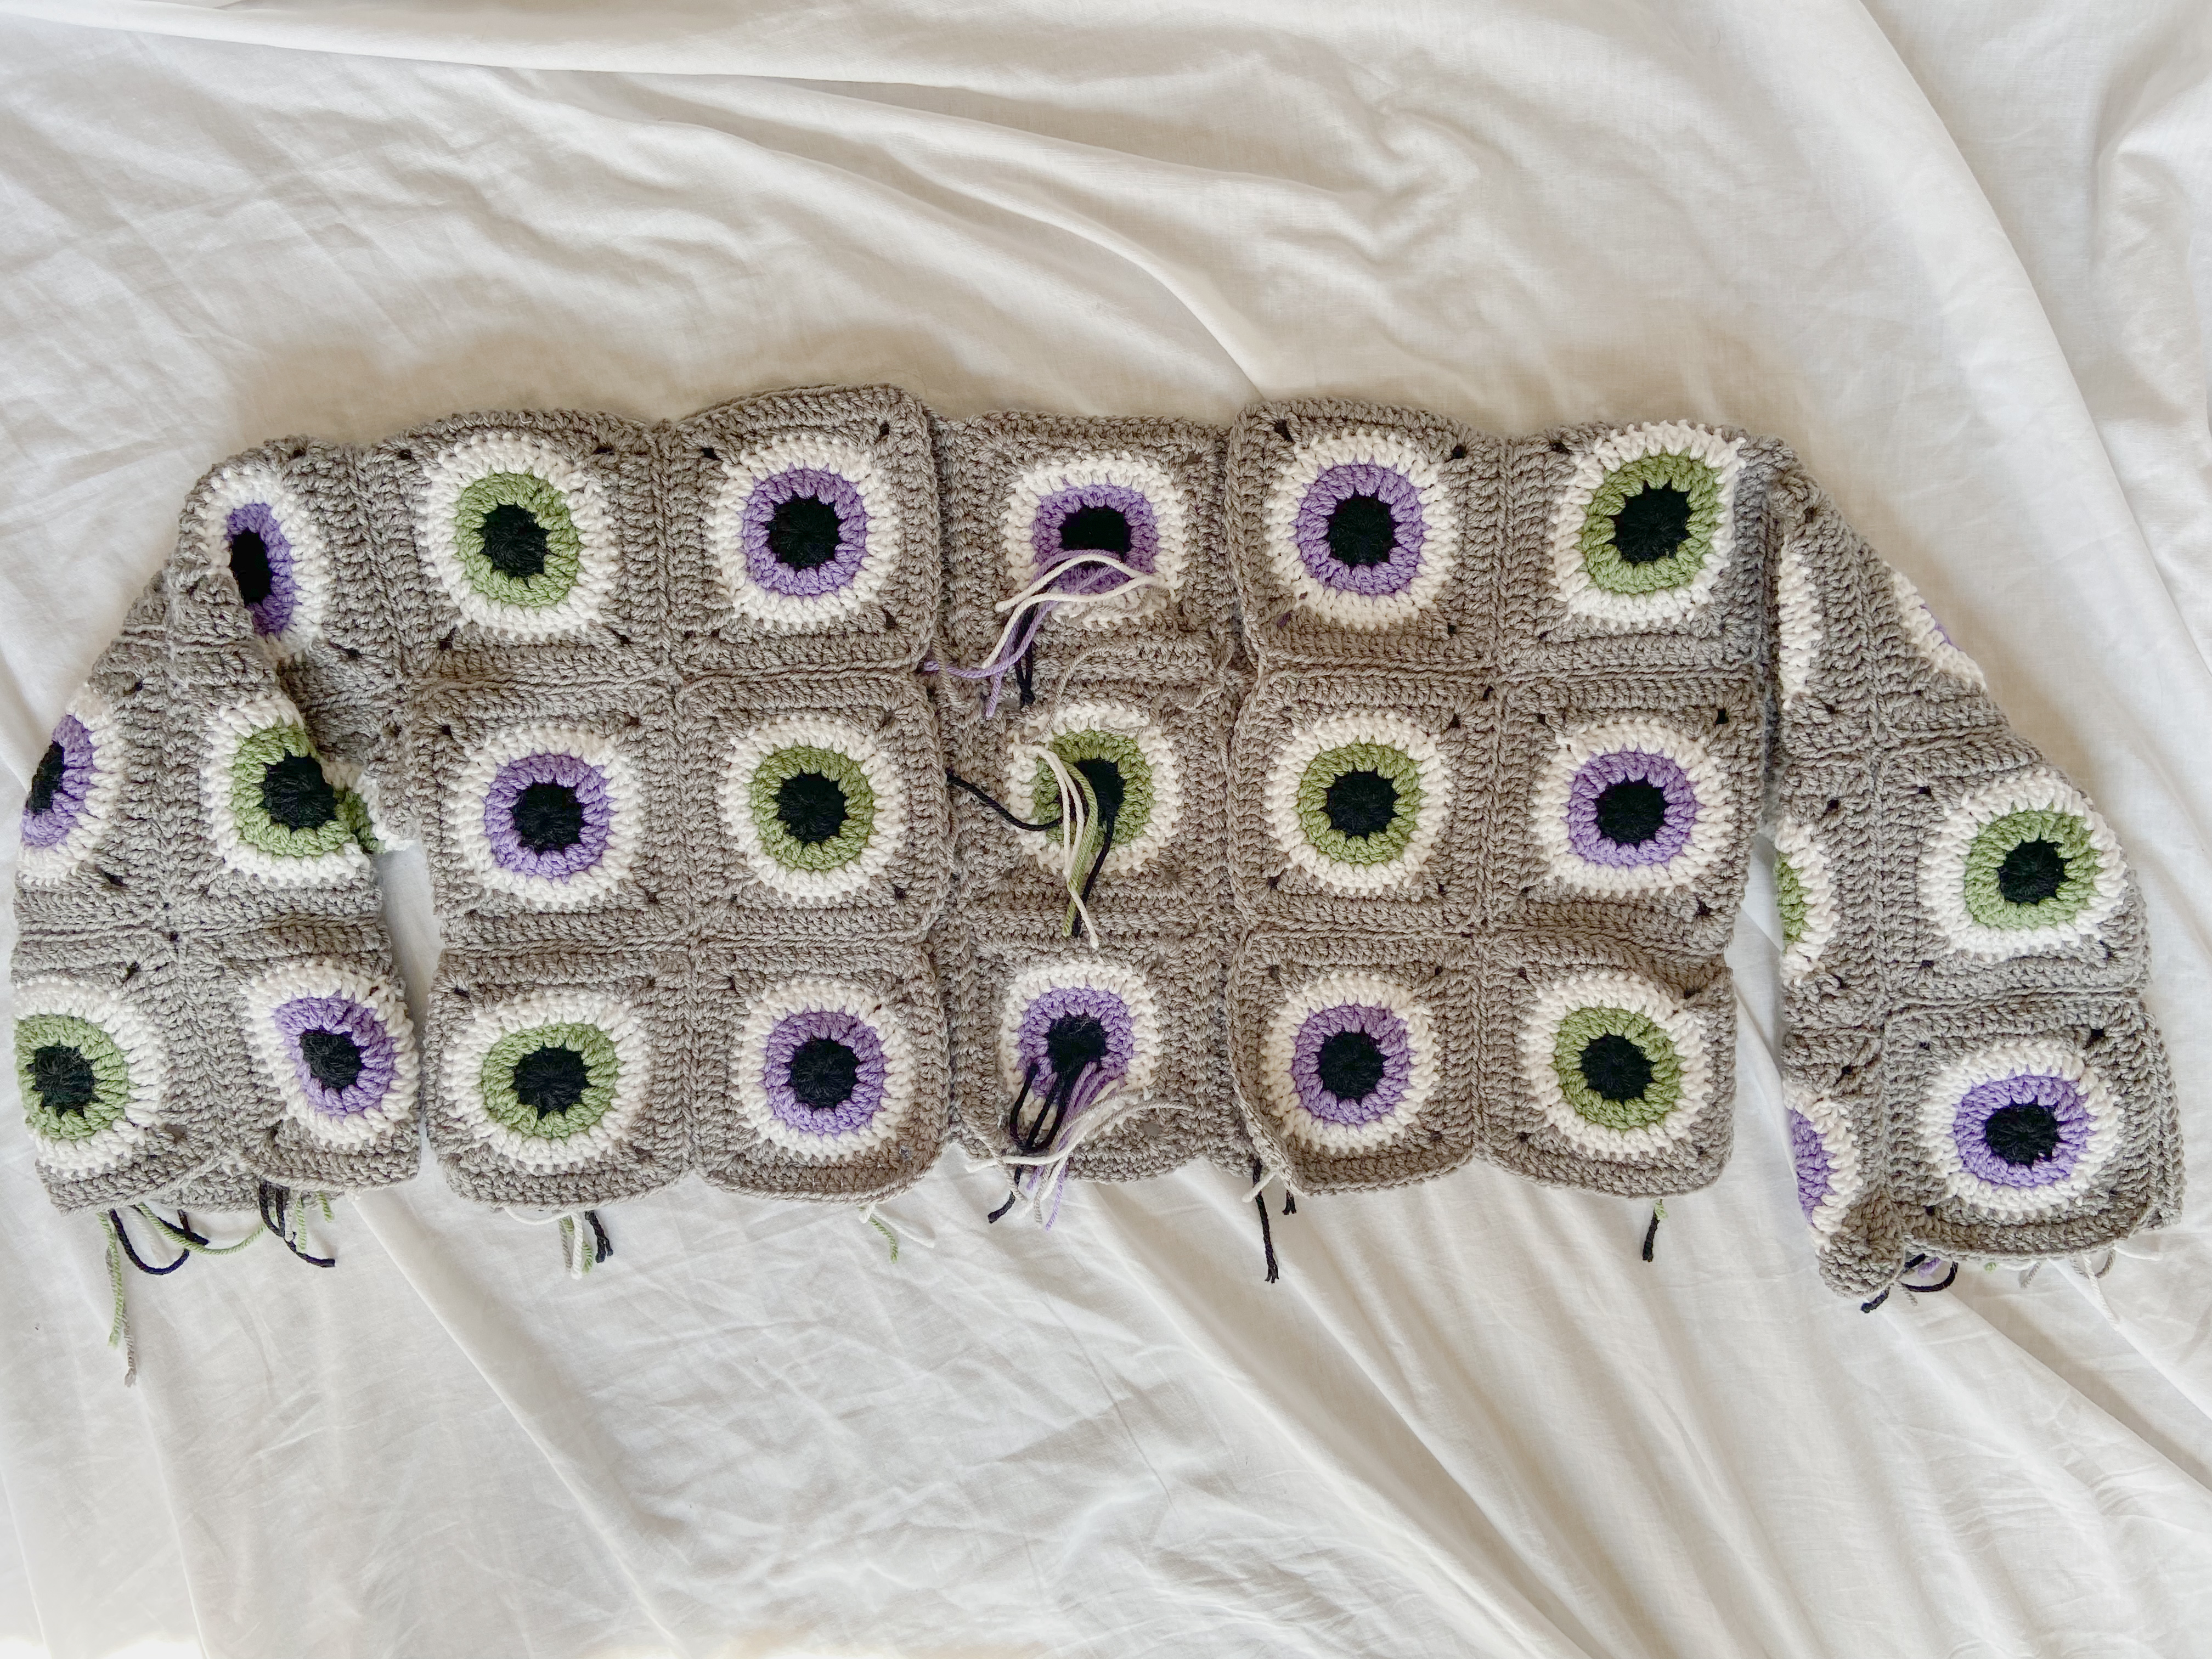
When you have your panels, sew them together like the photo above.
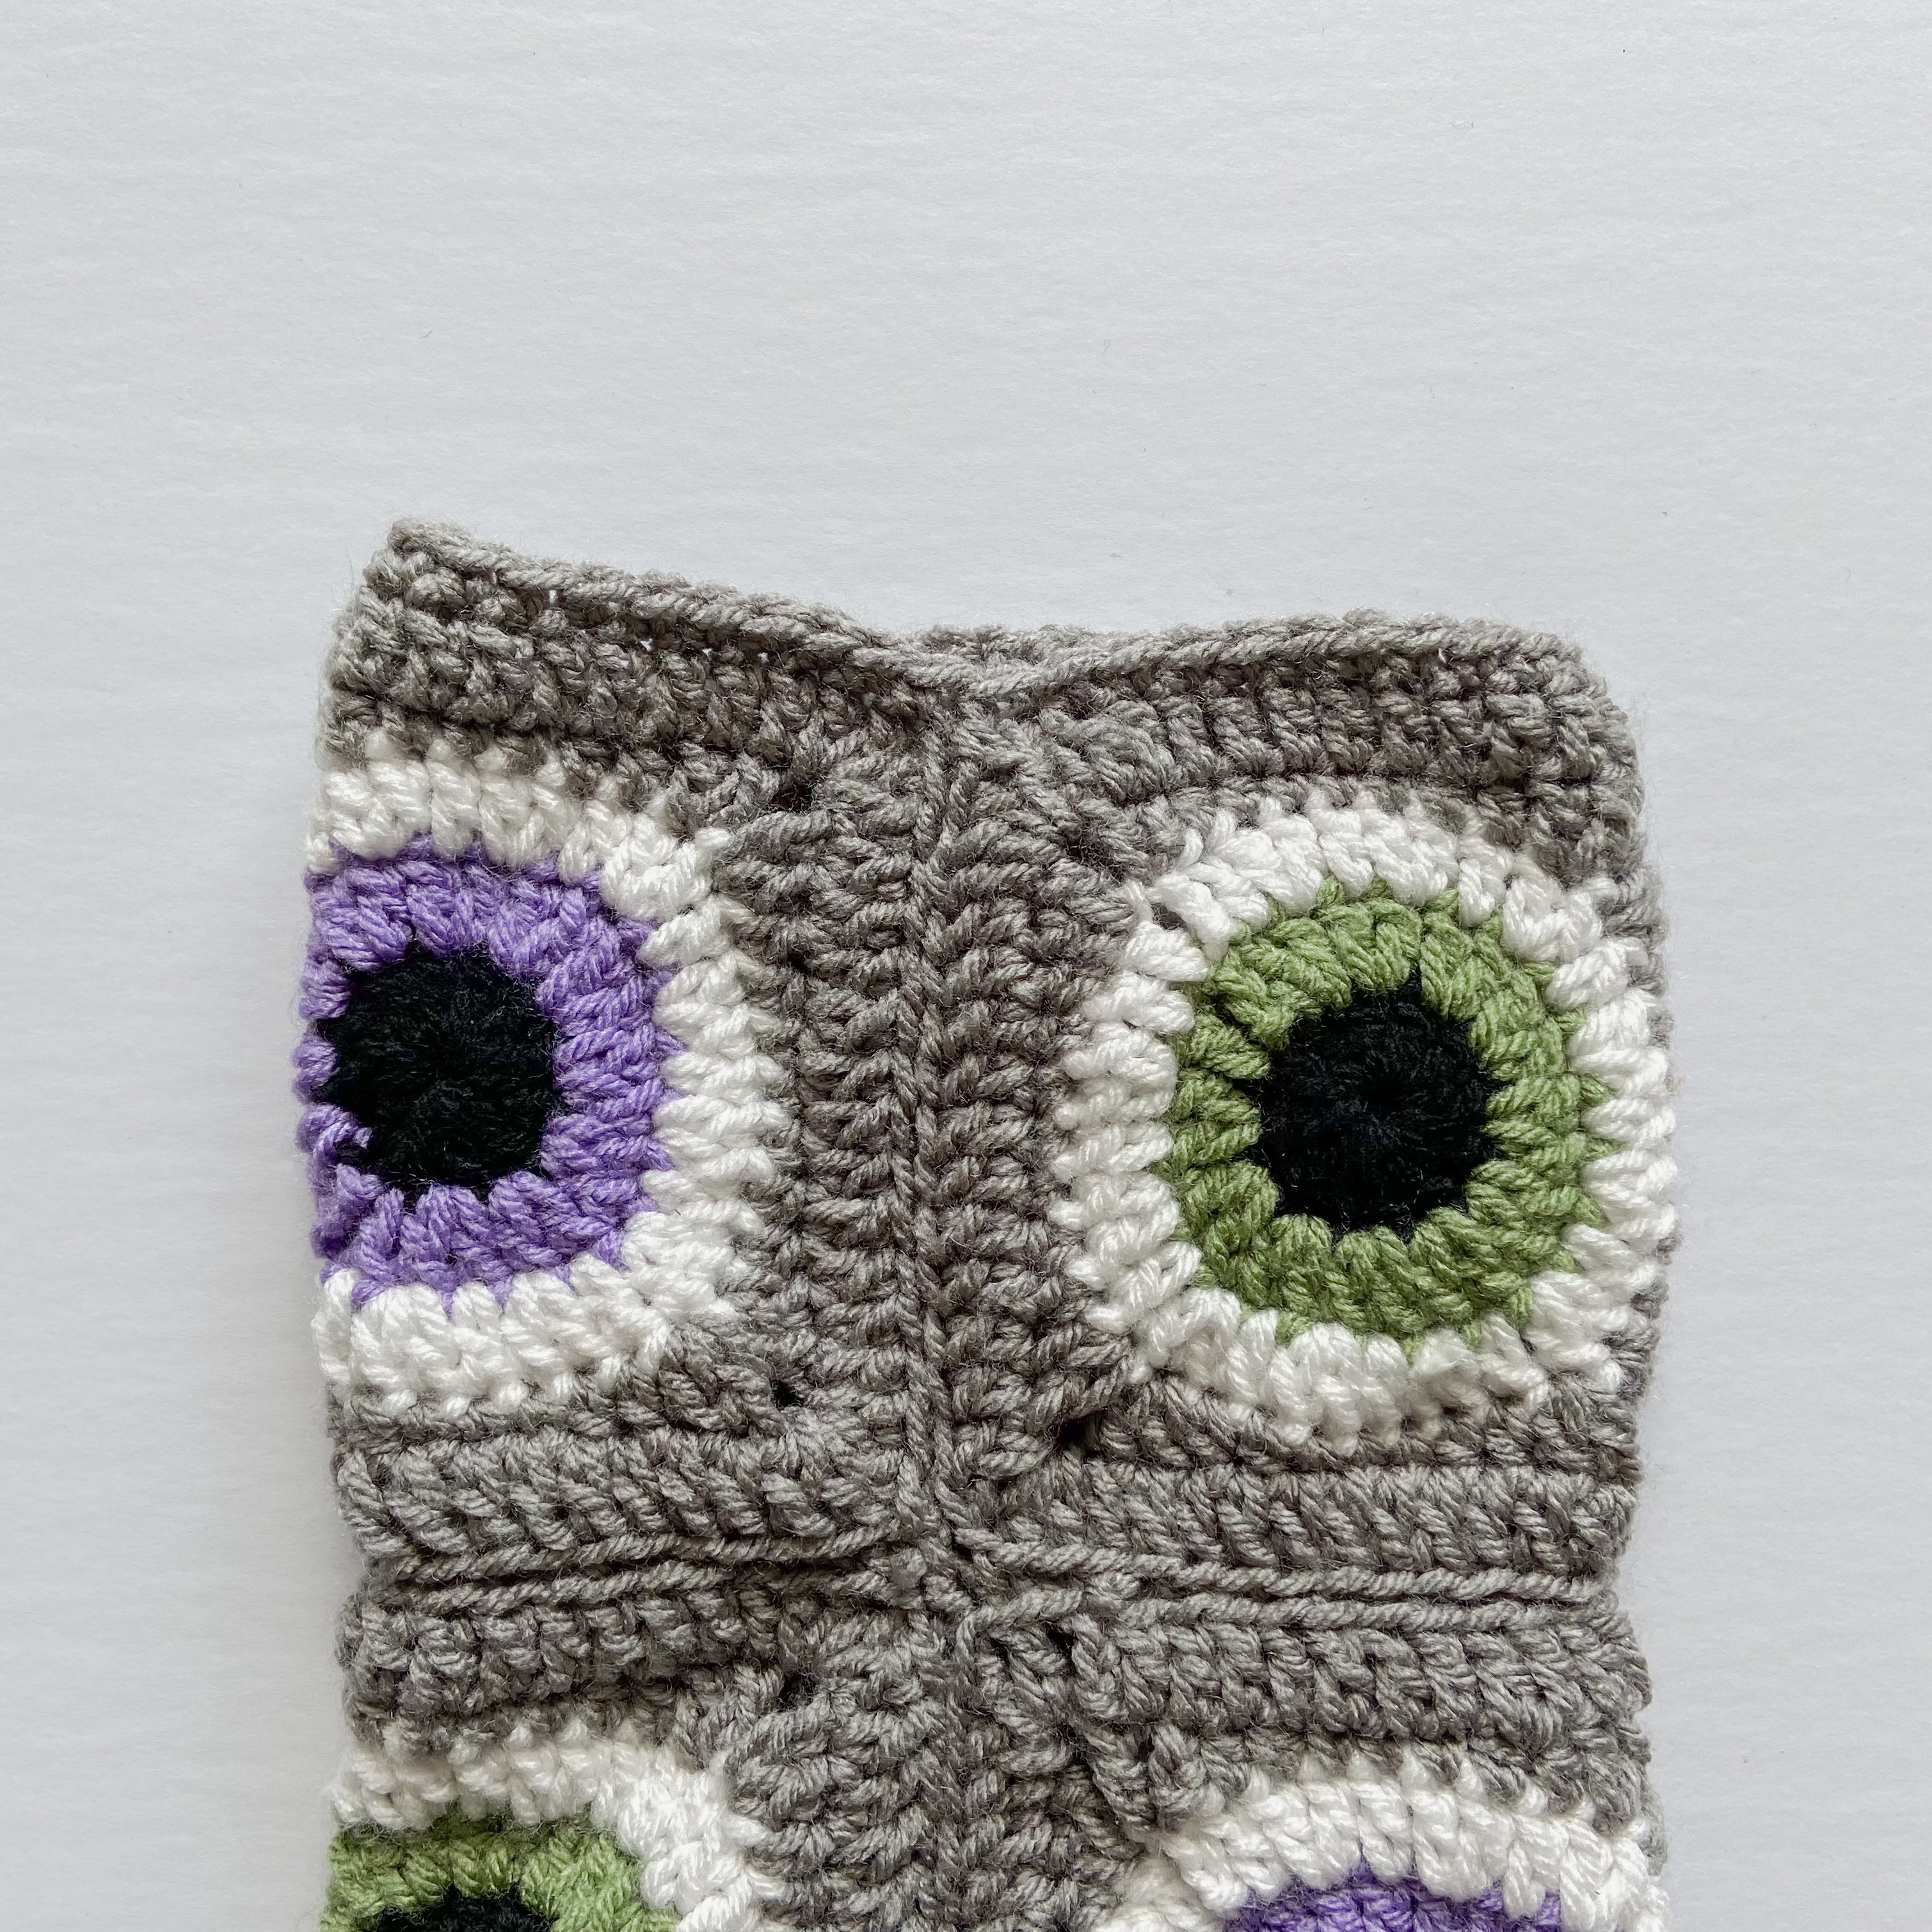
Now, sc around the openings for a cleaner look and for it to be easier to add ribbing. *Remember, when sc around the sleeve openings, make sure you end up with the same amount of sc so one sleeve won’t be bigger or smaller than the other.
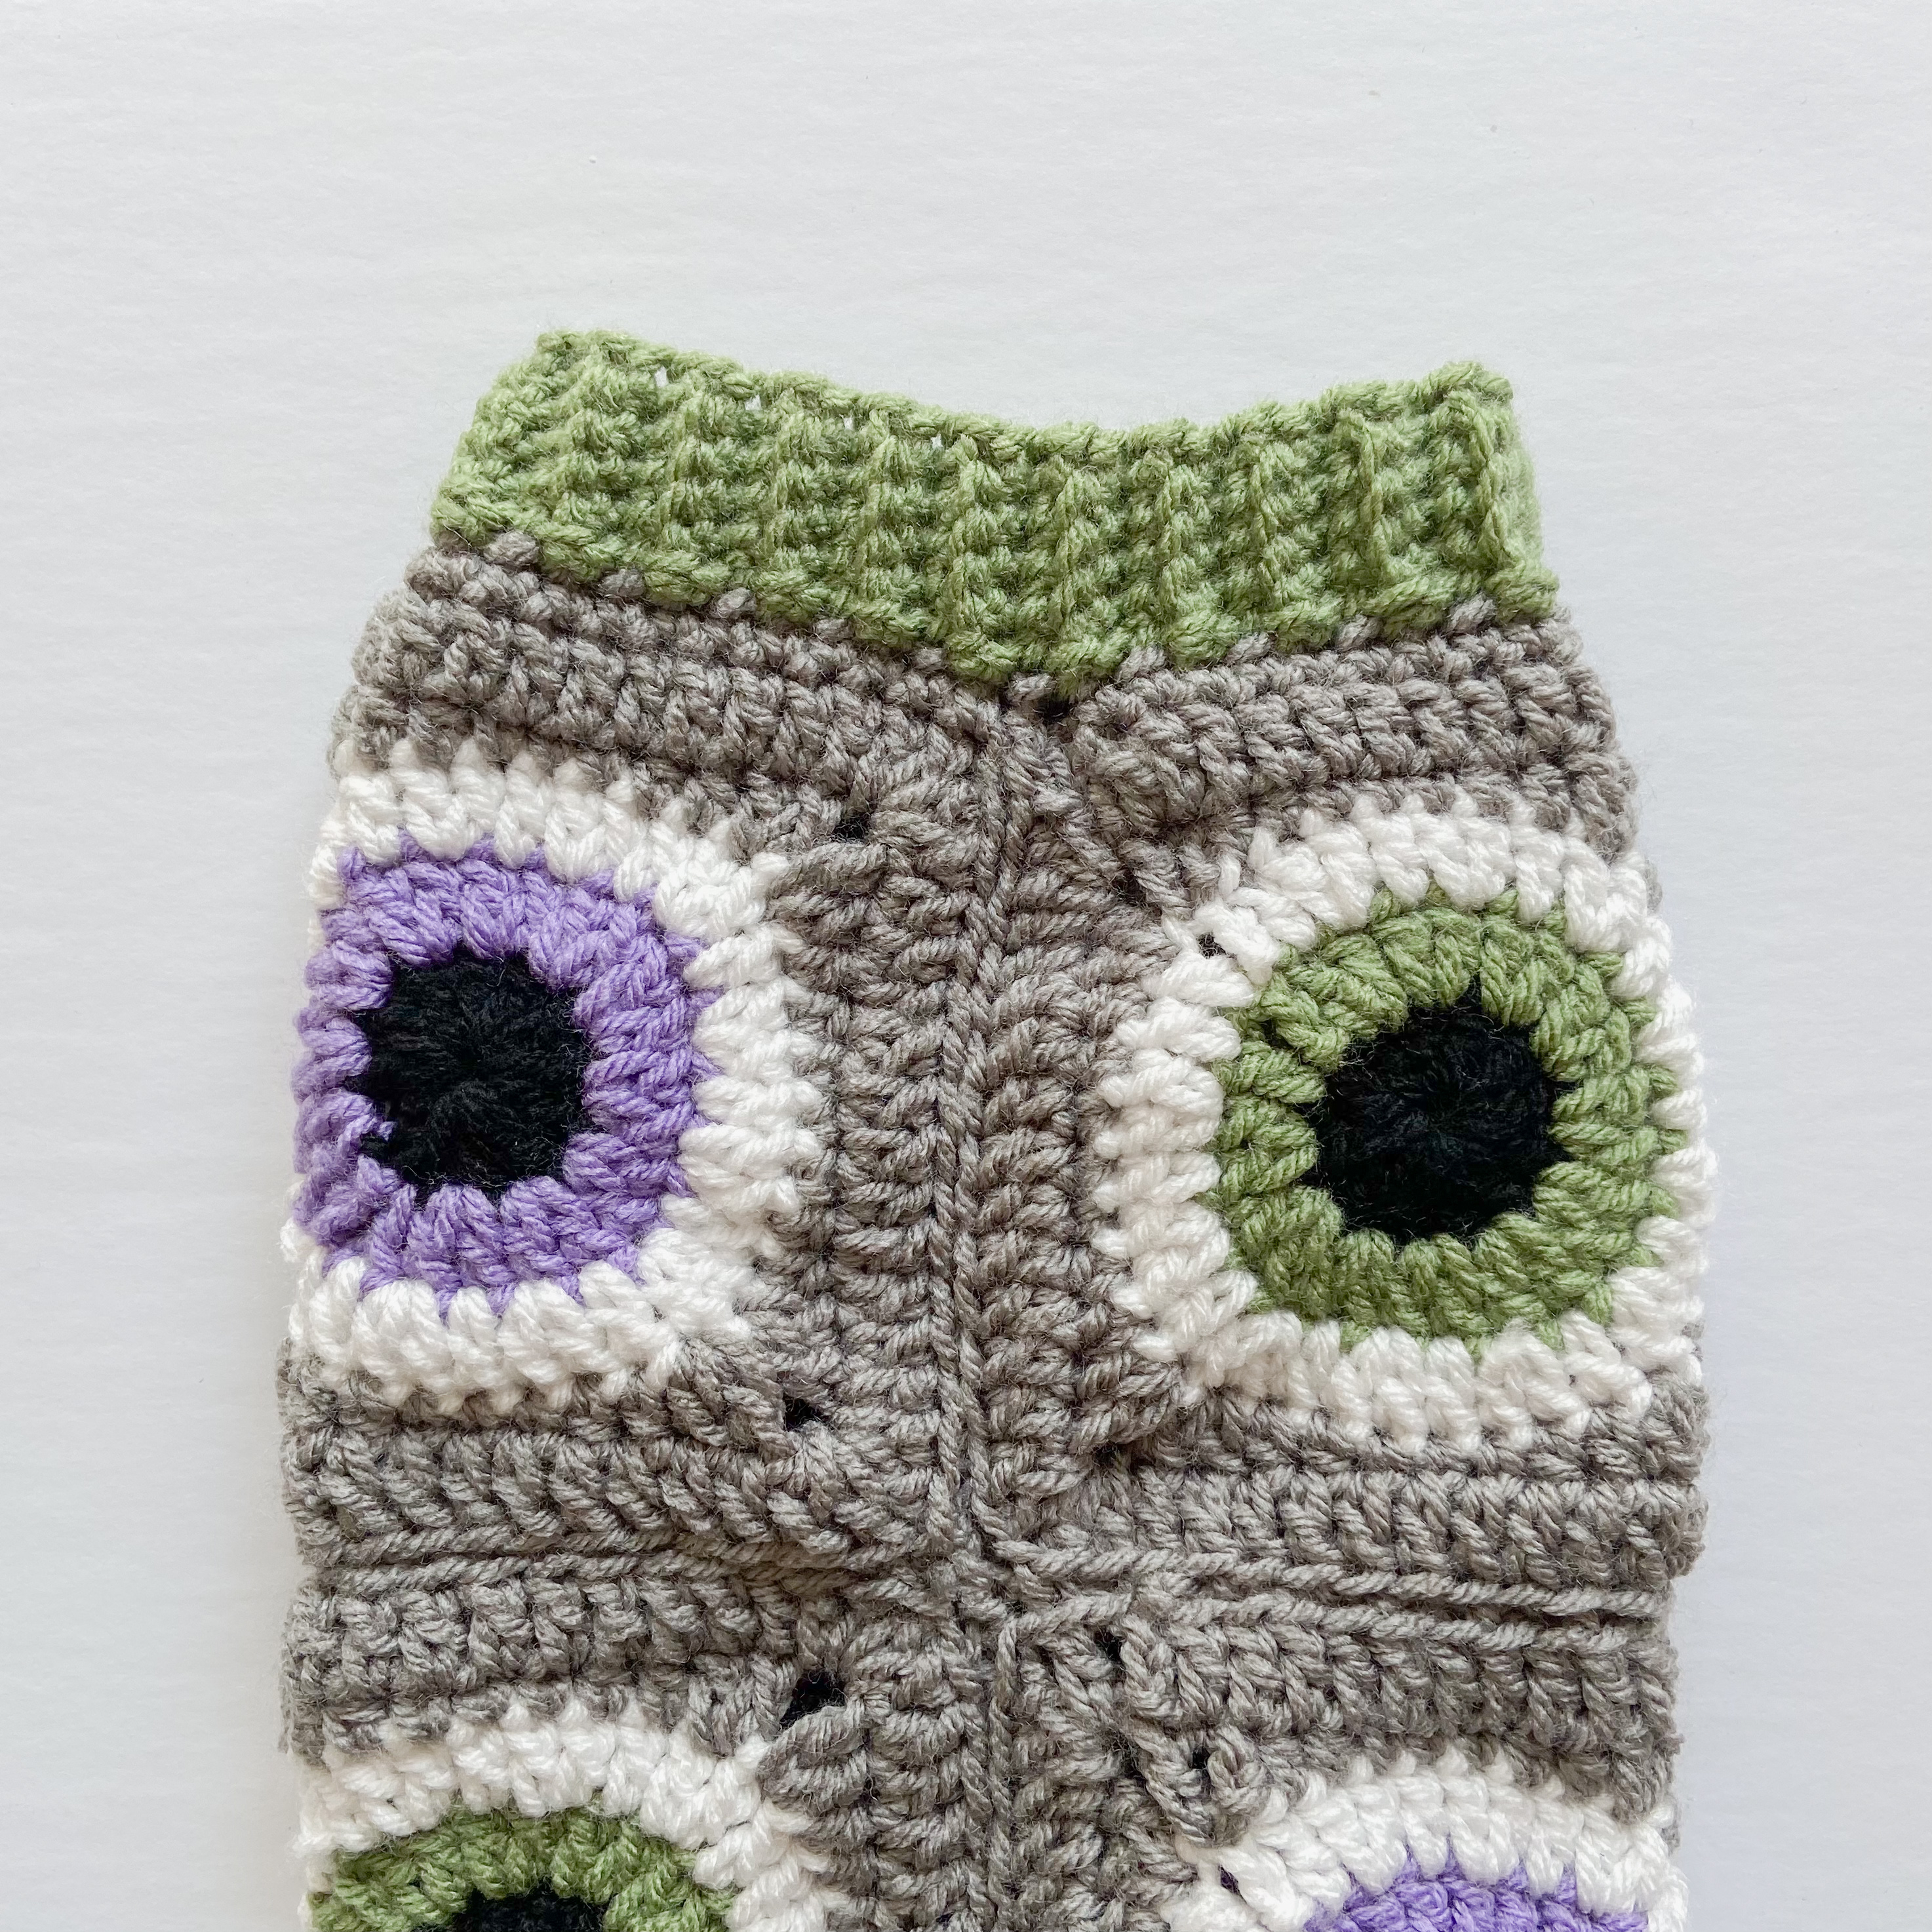
Sleeve Ribbing
In my Youtube video for this pattern, I show you how to crochet your ribbing straight to the cardigan but you don’t have to do it that way, you can just crochet 5 sts wide x as many as you need for the cuff length-wise and sew it to the sleeve.
Bottom Ribbing
Bottom ribbing will be 7 sts wide x as many as you need length-wise for the bottom of the cardigan and sew it to the bottom of the cardigan.
Front Ribbing
The same as the bottom ribbing, ribbing will also be 7 sts wide x as many as you need length-wise for the front of the cardigan and sew it to the front of the cardigan.
Weave in your ends (I may or may not have done this yet 😳) and you’re done!
If you recreate this cardigan, please tag or DM me @hayhaycrochet on Instagram or TikTok so I can see, like and share!
Happy Crocheting~!