🤍 WELCOME HERE 🤍
Hello, my name’s Heather and I’m so glad you’re here! This is my first crochet pattern that I’m sharing, and let me tell you, I am VERY nervous, but also VERY excited!
I am a self taught crocheter and really enjoy coming up with my own designs. I have so many ideas and I would love to share with anyone who might be interested!
This post may contain affiliate links.
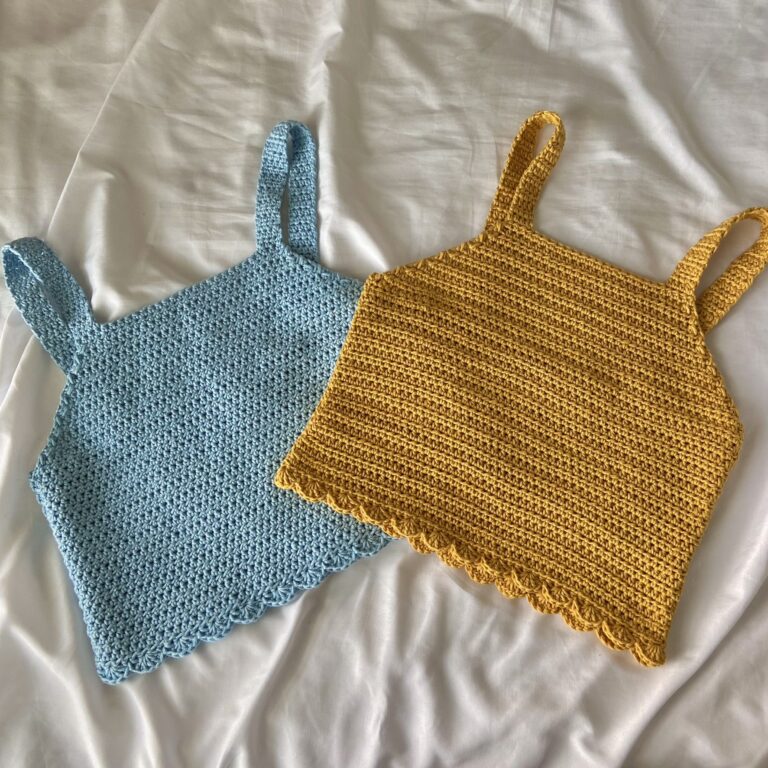
Today I’ll be sharing how to crochet this cute and easy top, great for spring and summer!
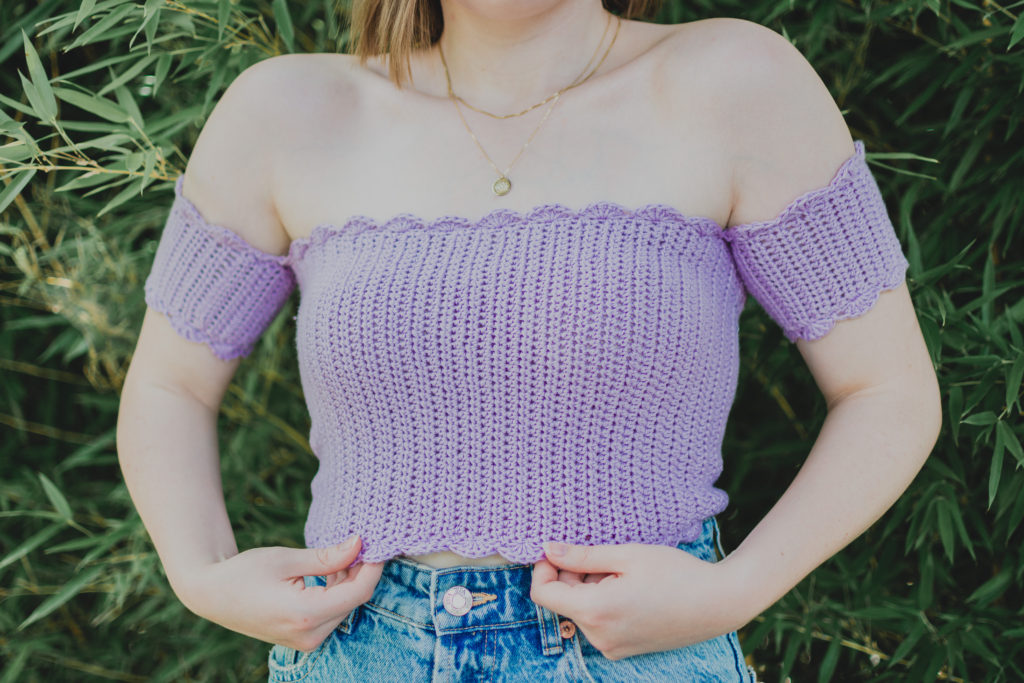
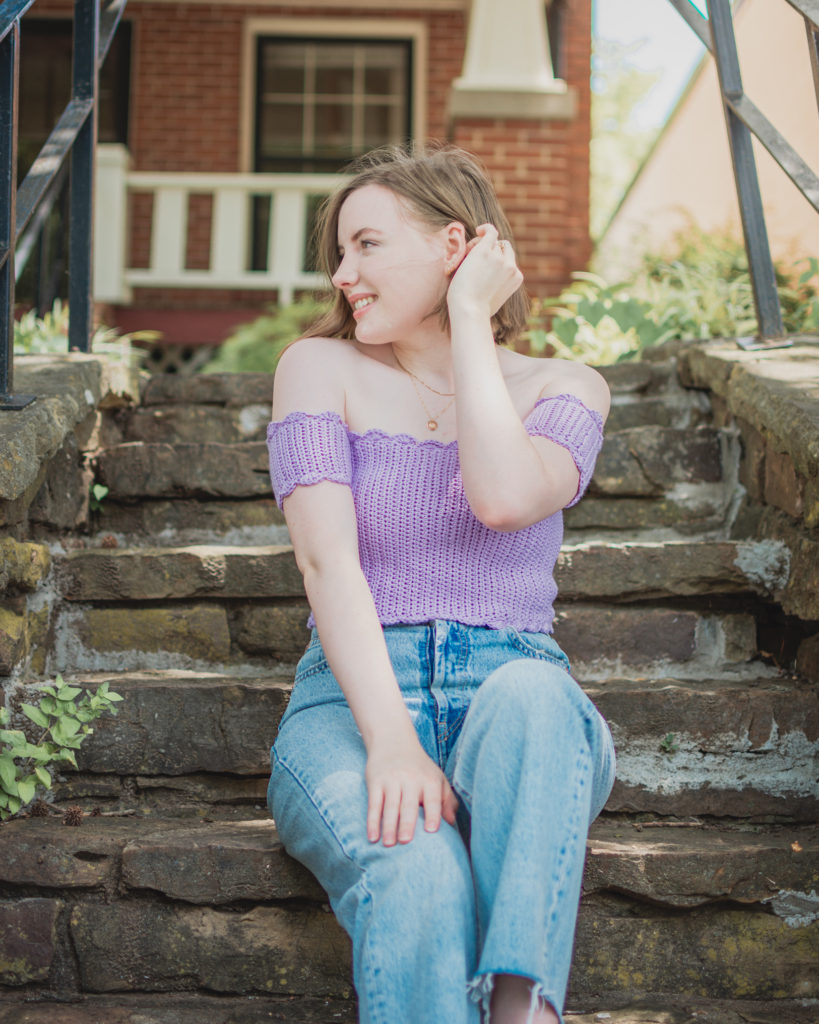
The “Audrey” Top is a sweet and flirty top perfectly paired with jeans, shorts or a skirt!! (However you wanna wear it, really.)
This is a very simple design, consisting mostly of half double crochets. The scallop edging adds a little something extra to the top, but if that’s not your thing, that step can easily be skipped over.
This top is very customizable so you can make it to fit YOUR personal preferences.
Want a longer top? Simply add to the Fhdc (or foundation chain) to make it longer.
Want a shorter top? More of a bralette style? Decrease the number of chains you make. 🙂
SO, without further ado, let’s get started!
Level: Easy
MATERIALS
DK/Light Yarn (3)
Hook – 4.00mm (my FAVORITE crochet hooks!)
Scissors
Darning Needle
Stitch Marker (I personally don’t use a stitch marker, but if you lose track of where you started easily or are a beginner, stitch markers can be very helpful!)
Number of skeins: 2 (2, 2, 2, 3, 3)
Gauge: 4″ square = 18 stitches wide x 14 rows tall in half double crochet
STITCHES & ABBREVIATIONS:
Ch = Chain
St(s) = Stitch(es)
Sc = Single Crochet
Dc = Double Crochet
Hdc = Half Double Crochet
Sl st = Slip Stitch
Sk st = Skip Stitch
Rep = Repeat
Fhdc = Foundation Half Double Crochet*
(To start, ch 2, yarn over and insert hook into the second ch from the hook, pull up a loop, you should have 3 loops on your hook, yarn over and go through on to create the bottom ch, yarn over and pull through all 3. To continue to make foundation ch longer, yarn over and insert hook into the bottom ch space you created and rep.)
Scallop = Sl st, sk st, 5dc in 1 st, sk st, rep as needed.
(The scallop st is done over 4 sts)
Pattern Notes
*Pattern sizes in XS-XXL
*The pattern follows US crochet terms.
*Turning ch 1 does NOT count as a stitch in this pattern
*If using, I recommend looking up how to properly do the foundation half double crochet (fhdc) before moving forward with this pattern. There are loads of tutorials online to easily learn from!
THE “AUDREY” TOP PATTERN
BODICE
Row 1: Fhdc 42* (this will determine the length of your top. Fhdc less if you want a shorter top, or more if you want a longer top.) *If the fhdc is too complicated, no worries! Simply chain the number instead and work your hdc into that, adding 1 extra ch for turning.
Row 2: Hdc in each st until the end of the row.
Row 3-96 (88 for XS, 104 for M, 112 for L, 120 for XL, 128 for 2XL): Hdc in each st until the end of the row. (You can customize the width of this top to make a perfect fit for YOU, but you will need to increase or decrease the number of rows by multiples of 4 for the scallop detailing*.)
*If you prefer to make this top without the scallop edging, then this doesn’t apply.
Fasten off. Leave a long tail to sew both sides together.
Sew together both sides of the top.
Top Scallop edging for bodice
Attach yarn on either end of the openings and ch 1.
Round 1: Sc in each row (work as many sc as rows that you have), sl st into the first sc of the round. Ch 1. (88 for XS, 96 for S, 104 for M, 112 for L, 120 for XL, 128 for XXL)
Round 2: Scallop st 5 times (4 for XS, 6 for M, 7 for L, 8 for XL, 9 for XXL), sc in next 8 sts, rep scallop 10 more times (8 fro XS, 12 for M, 14 for L, 16 for XL, 18 for XXL), sc in next 8 sts, scallop 5 times (4 for XS, 6 for M, 7 for L, 8 for XL, 9 for XXL), sl st into first sl st of the round.
Fasten off.
Bottom Scallop edging for bodice
Round 1: Sc in each row (work as many sc as rows that you have), sl st into the first sc of the round. Ch 1.
Round 2: Scallop st 24 times (20 for XS, 28 for M, 32 for L, 36 for XL, 40 for XXL). Sl st in the first sl st of the round.
Fasten off.
Sleeves
Row 1: Hdcfc 15 (depending on how long you want your sleeve, you can adjust this however you like.)
Row 2: Hdc in each st until the end of the row.
Row 3-32 (28 for XS, 36 for M, 40 for L, 44 for XL, 48 for XXL): Hdc in each st until the end of the row. (You can customize the sleeve width by increasing or decreasing in multiples of 4s.)
Fasten off.
Leave a tail for sewing both ends together.
Scallop edging for top of sleeve
Attach yarn and ch 1.
Round 1: Sc in each row (work as many sc as rows that you have), sl st into the first sc of the round.
Round 2: Scallop st 6 times (5 for XS, 7 for M, 8 for L, 9 for XL, 10 for XXL), sc in remaining 8 sts, sl st into the first sl st of the round.
Fasten off.
Scallop edging for bottom of sleeve
Attach yarn and ch 1.
Round 1: Sc in each row (work as many sc as rows that you have), sl st into the first sc of the round.
Round 2: Scallop st 8 times (7 for XS, 9 for M, 10 for L, 11 for XL, 12 for XXL), sl st into the first sl st of the round.
Fasten off.
Leave a tail for sewing.* *Repeat for the second sleeve.
Line up the 8 sc from the sleeves with the bodice piece and sew sleeves to bodice and…
...YOU’RE DONE!

If you recreate this sweater vest, please tag or DM me @hayhaycrochet on Instagram or TikTok so I can see, like and share!
Happy Crocheting~!