🤍WELCOME HERE🤍
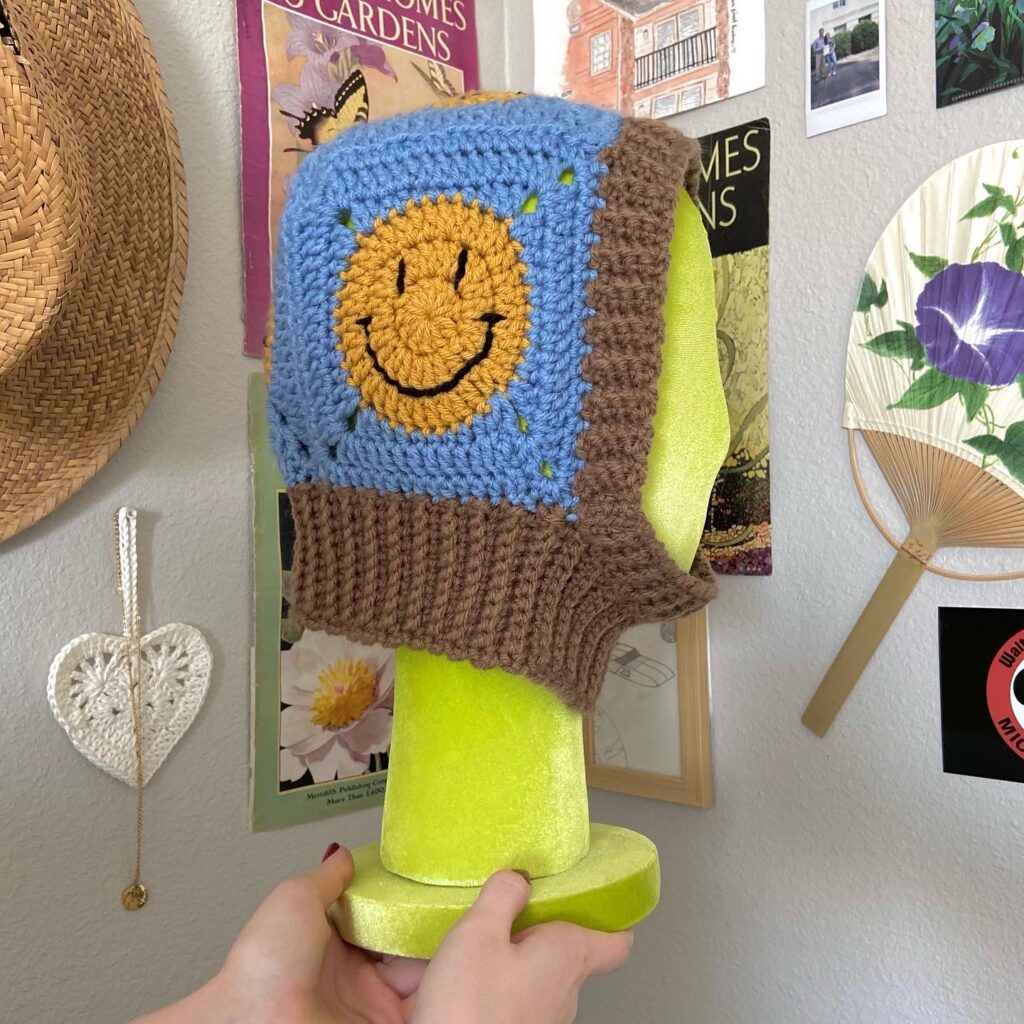
HI there! Today, after a bit of a break releasing a pattern, I am back at it today showing you a design that has been in the works for awhile now and its the “ULTIMATE Balaclava” pattern!
This post may contains affiliate links.
I call this the “Ultimate Balaclava” because it is SOOO very customizable! Though I will be showing you how to make a very basic version of a granny square, you can use ANY granny square you would like for your Balaclava! (I have a Playlist on my YouTube were I compiled lots of squares and appliqués from other amazing creators you can follow to customize your Balaclava if you want to spice it up a bit!)
Another fun thing about this pattern is that is can practically be made into any size as well! Bigger head? Add an extra row or so to your granny squares! Smaller/child’s head? Work 1 (or 2) rows less with your granny squares! I’ll show and instruct you how in this pattern and my video tutorial that’s up on my YouTube Channel!
SO, without further ado, LET’S GET STARTED!
MATERIALS
Weight 4 Yarn – You will need approximately 135grams of yarn. (Really ANY will do! I used up lots of scrap yarn for many of the balaclavas I made.)
5.00mm Hook and 4.00mm Hook (4.0mm is optional)
Scissors – Small, cute and sharp!
Stitch Markers – I don’t personally use these in this pattern, but if you have a hard time knowing where you started, these are my favorite!
Darning Needle – my FAVES 💕
STITCHES + ABBREVIATIONS
Ch = Chain
St(s) = Stitch(es)
Sl St = Slip Stitch
Sc = Single Crochet
Dc = Double Crochet
MR = Magic Ring
BLO – Back Loop Only
Gauge
ALL the squares I made ended up measuring out from 5″-5 1/2″ inches. As I was experimenting with the sizes of squares, I came to notice that the 5″ inch square balaclavas fit me PERFECTLY (my head measures 22″ inches) and the 5 1/2″ inch square balaclavas were a bit big on me, but were still fine!
So, I’d say…
For Children: 3 1/2″-4″ inch squares
For Adult: 5″-5 1/2″ inch squares
For Adults with larger heads: 5 1/2″-6″ inch squares
Pattern Notes
*This pattern uses US crochet terms.
*Turning ch 3 DOES count as a dc stitch in this pattern.
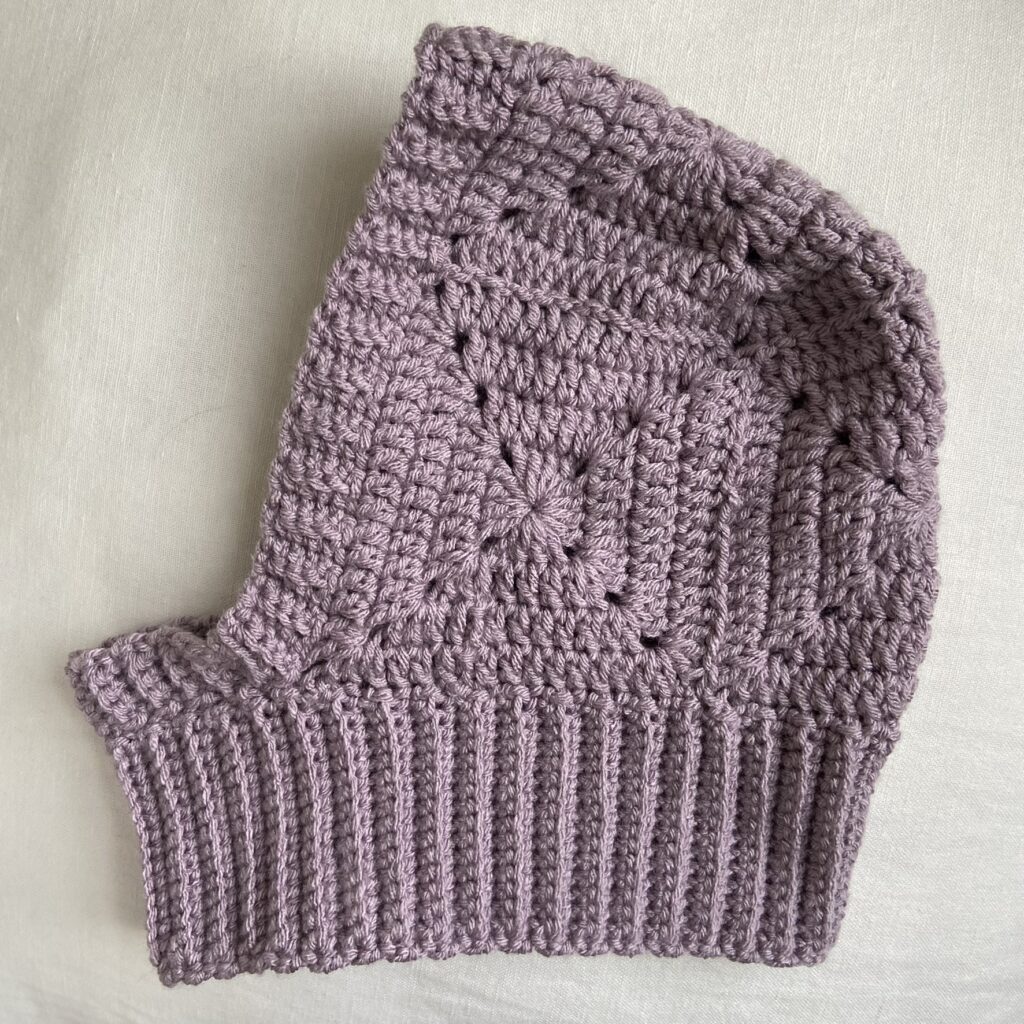
The Ultimate Granny Square Balaclava Pattern
With your 5.00mm Hook,
Start off by making a Magic Ring.
Round 1: Ch 3 (first ch 3 of every round COUNTS as a st) and work 3 more dc into the MR, ch 2, work 4 dc into the MR, ch 2, work 4 dc into the MR, ch 2, work 4 more dc into the MR, ch 2 and then sl st into the first dc (the top of the ch 3) of the round.
Round 2: Ch 3 and work 1 dc into the next 3 sts, work 2 dc into the ch space from the previous round, ch 2 and work 2 more dc into that same ch space, *work 1 dc into the next 4 sts, work 2 dc into the ch space from the previous round, ch 2 and work 2 more dc into that same ch space, *repeat until the end of the round, sl st into the first dc of the round.
Round 3: Ch 3 and work 1 dc into the next 5 sts, work 2 dc into the ch space from the previous round, ch 2 and work 2 more dc into that same ch space, *work 1 dc into the next 8 sts, work 2 dc into the ch space from the previous round, ch 2 and work 2 more dc into that same ch space, *repeat until you have 2 sts left, work 1 dc into the last 2 sts and then sl st into the first dc of the round.
Round 4: Ch 3 and work 1 dc into the next 7 sts, work 2 dc into the ch space from the previous round, ch 2 and work 2 more dc into that same ch space, *work 1 dc into the next 12 sts, work 2 dc into the ch space from the previous round, ch 2 and work 2 more dc into that same ch space, *repeat until you have 4 sts left, work 1 dc into the last 4 sts and then sl st into the first dc of the round.
Continue increasing with more rounds if you are wanting your squares bigger.
From here, my square measure at 5″ inches and that is PERFECT for my 22″ inch head (TIP!: even if your head is slightly bigger, these balaclavas will stretch).
If you need your squares bigger (or smaller), work an extra (or take out a) row!
OR if you are trying to get your squares to meet 5″ inches (or whatever size you are trying to meet) you can always replace Double Crochet rows with Half Double Crochet or Single Crochet rows! I did this with several of my squares to meet the 5″-5 1/2″ inches I wanted. You can also size down or up a hook size.
After you have the right size you need for your square REPEAT the process 3 more times!
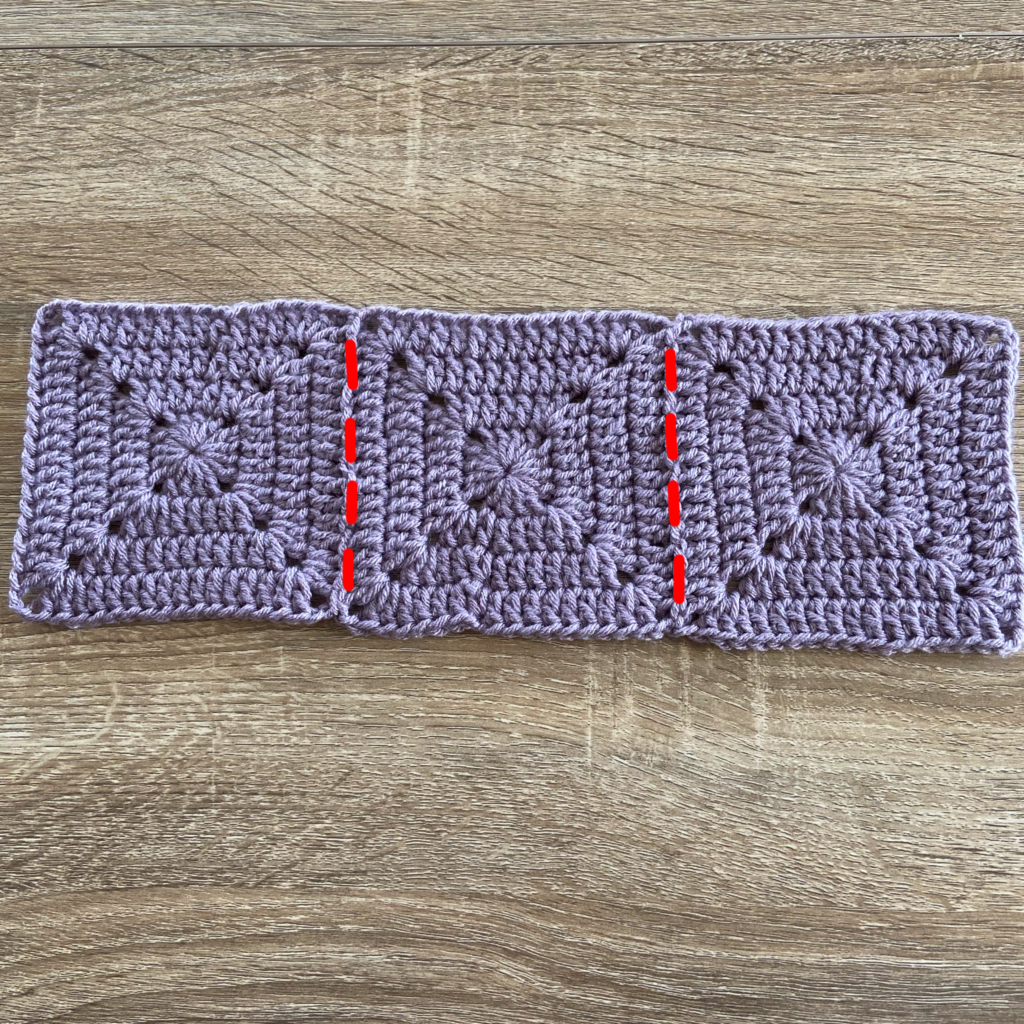
Seaming
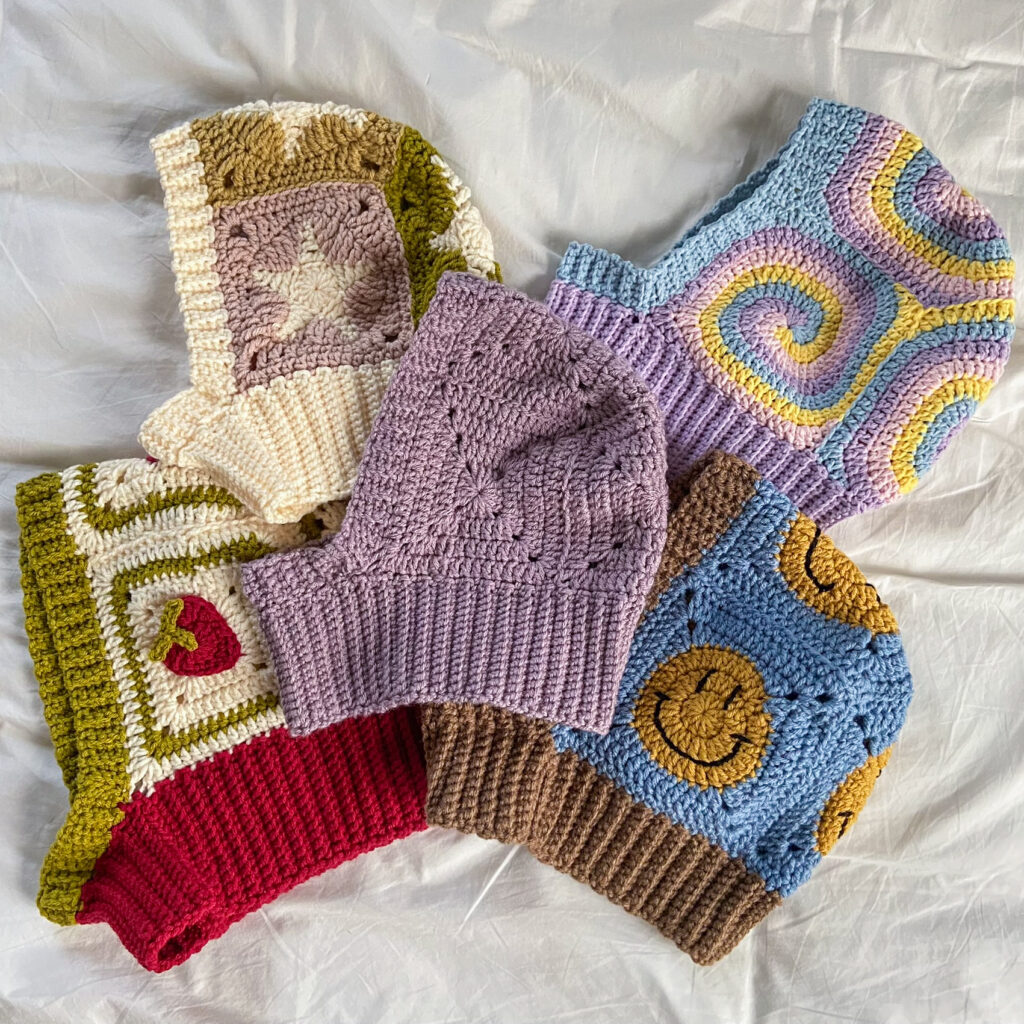
With your 4 squares done, you will need to seam your squares together as shown in the photo below. You can use any seaming method you’d like!
I used the “Invisible Join”, you can watch a video here on how to do it!
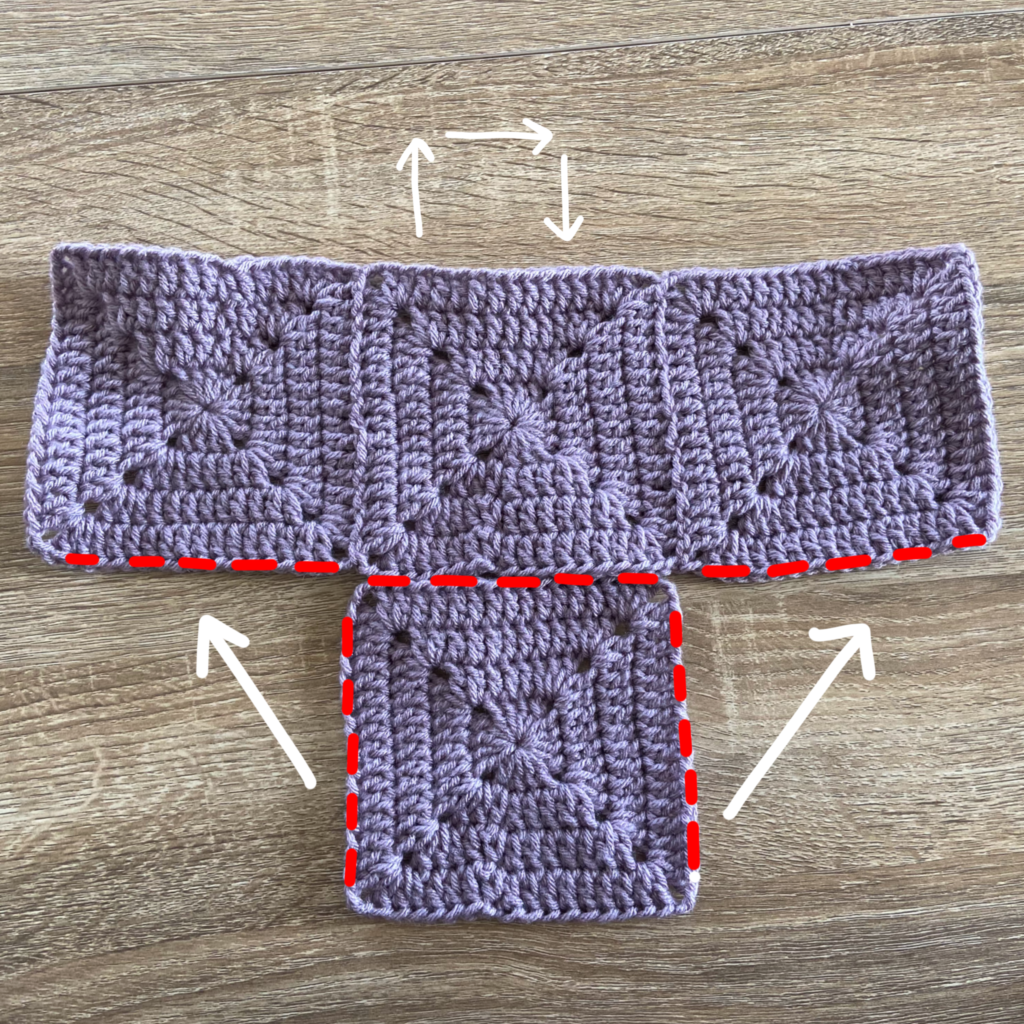
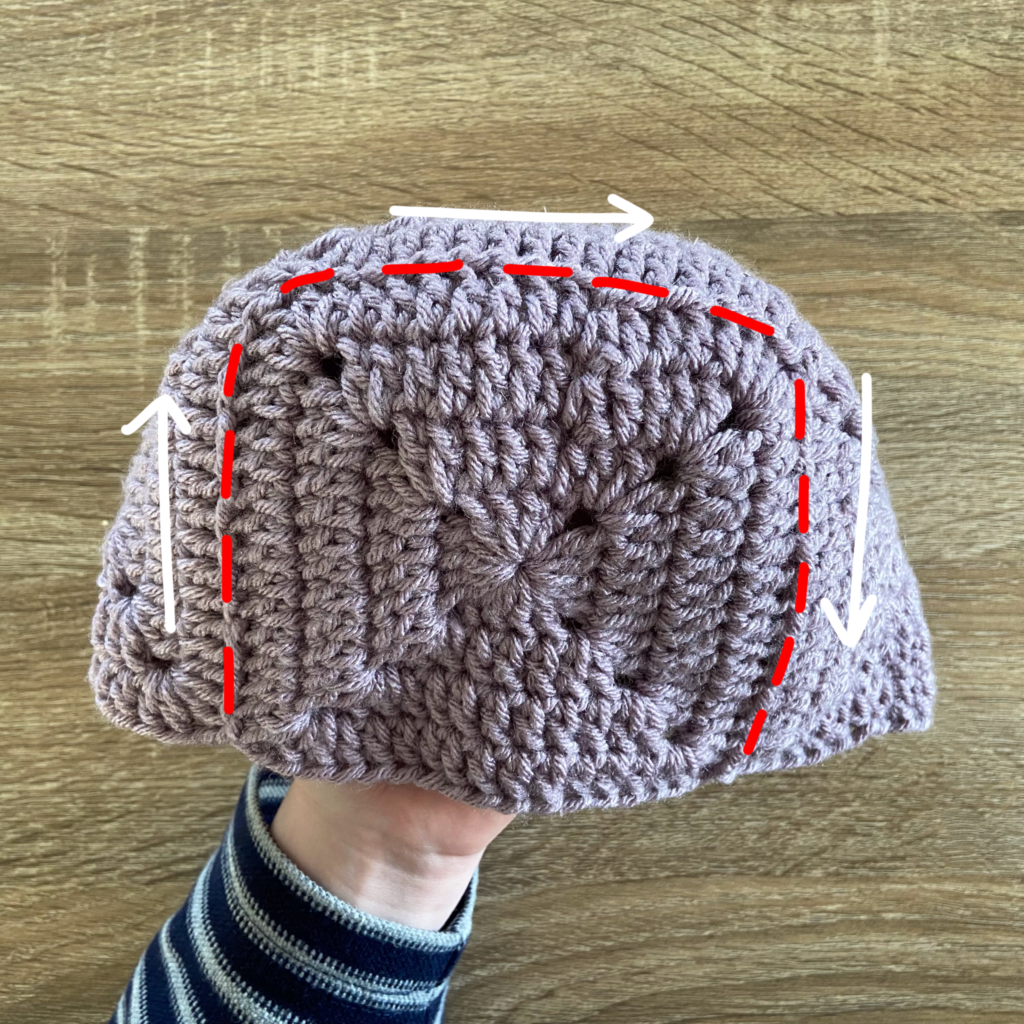
and then you will need to seam your last square to the 3 you have already joined together.
watch my Video Tutorial Here if you are needing a bit more help visually.
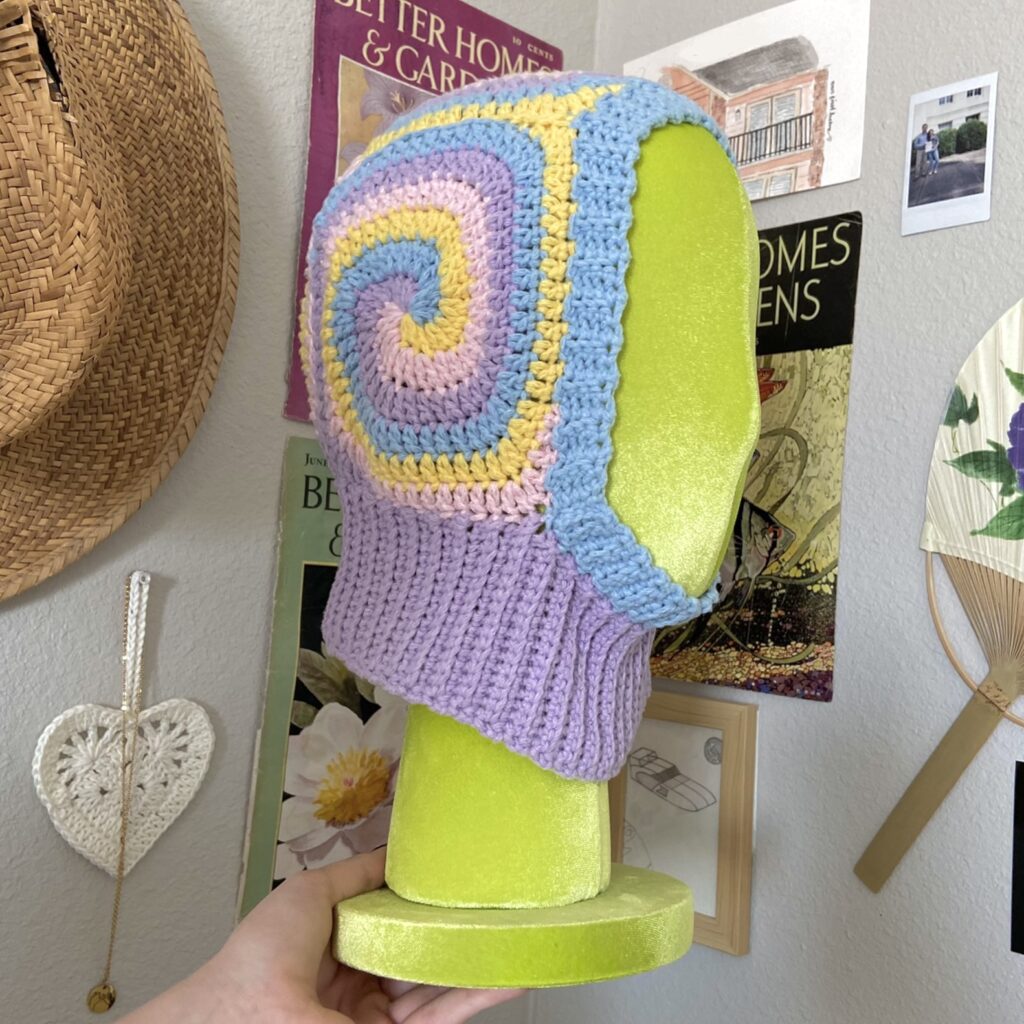
Ribbing
With your 4.00mm Hook (you don’t HAVE to use a smaller hook, I just personally like the cleaner/tighter look it gives with a smaller hook, but you can very well use the 5.00mm Hook)
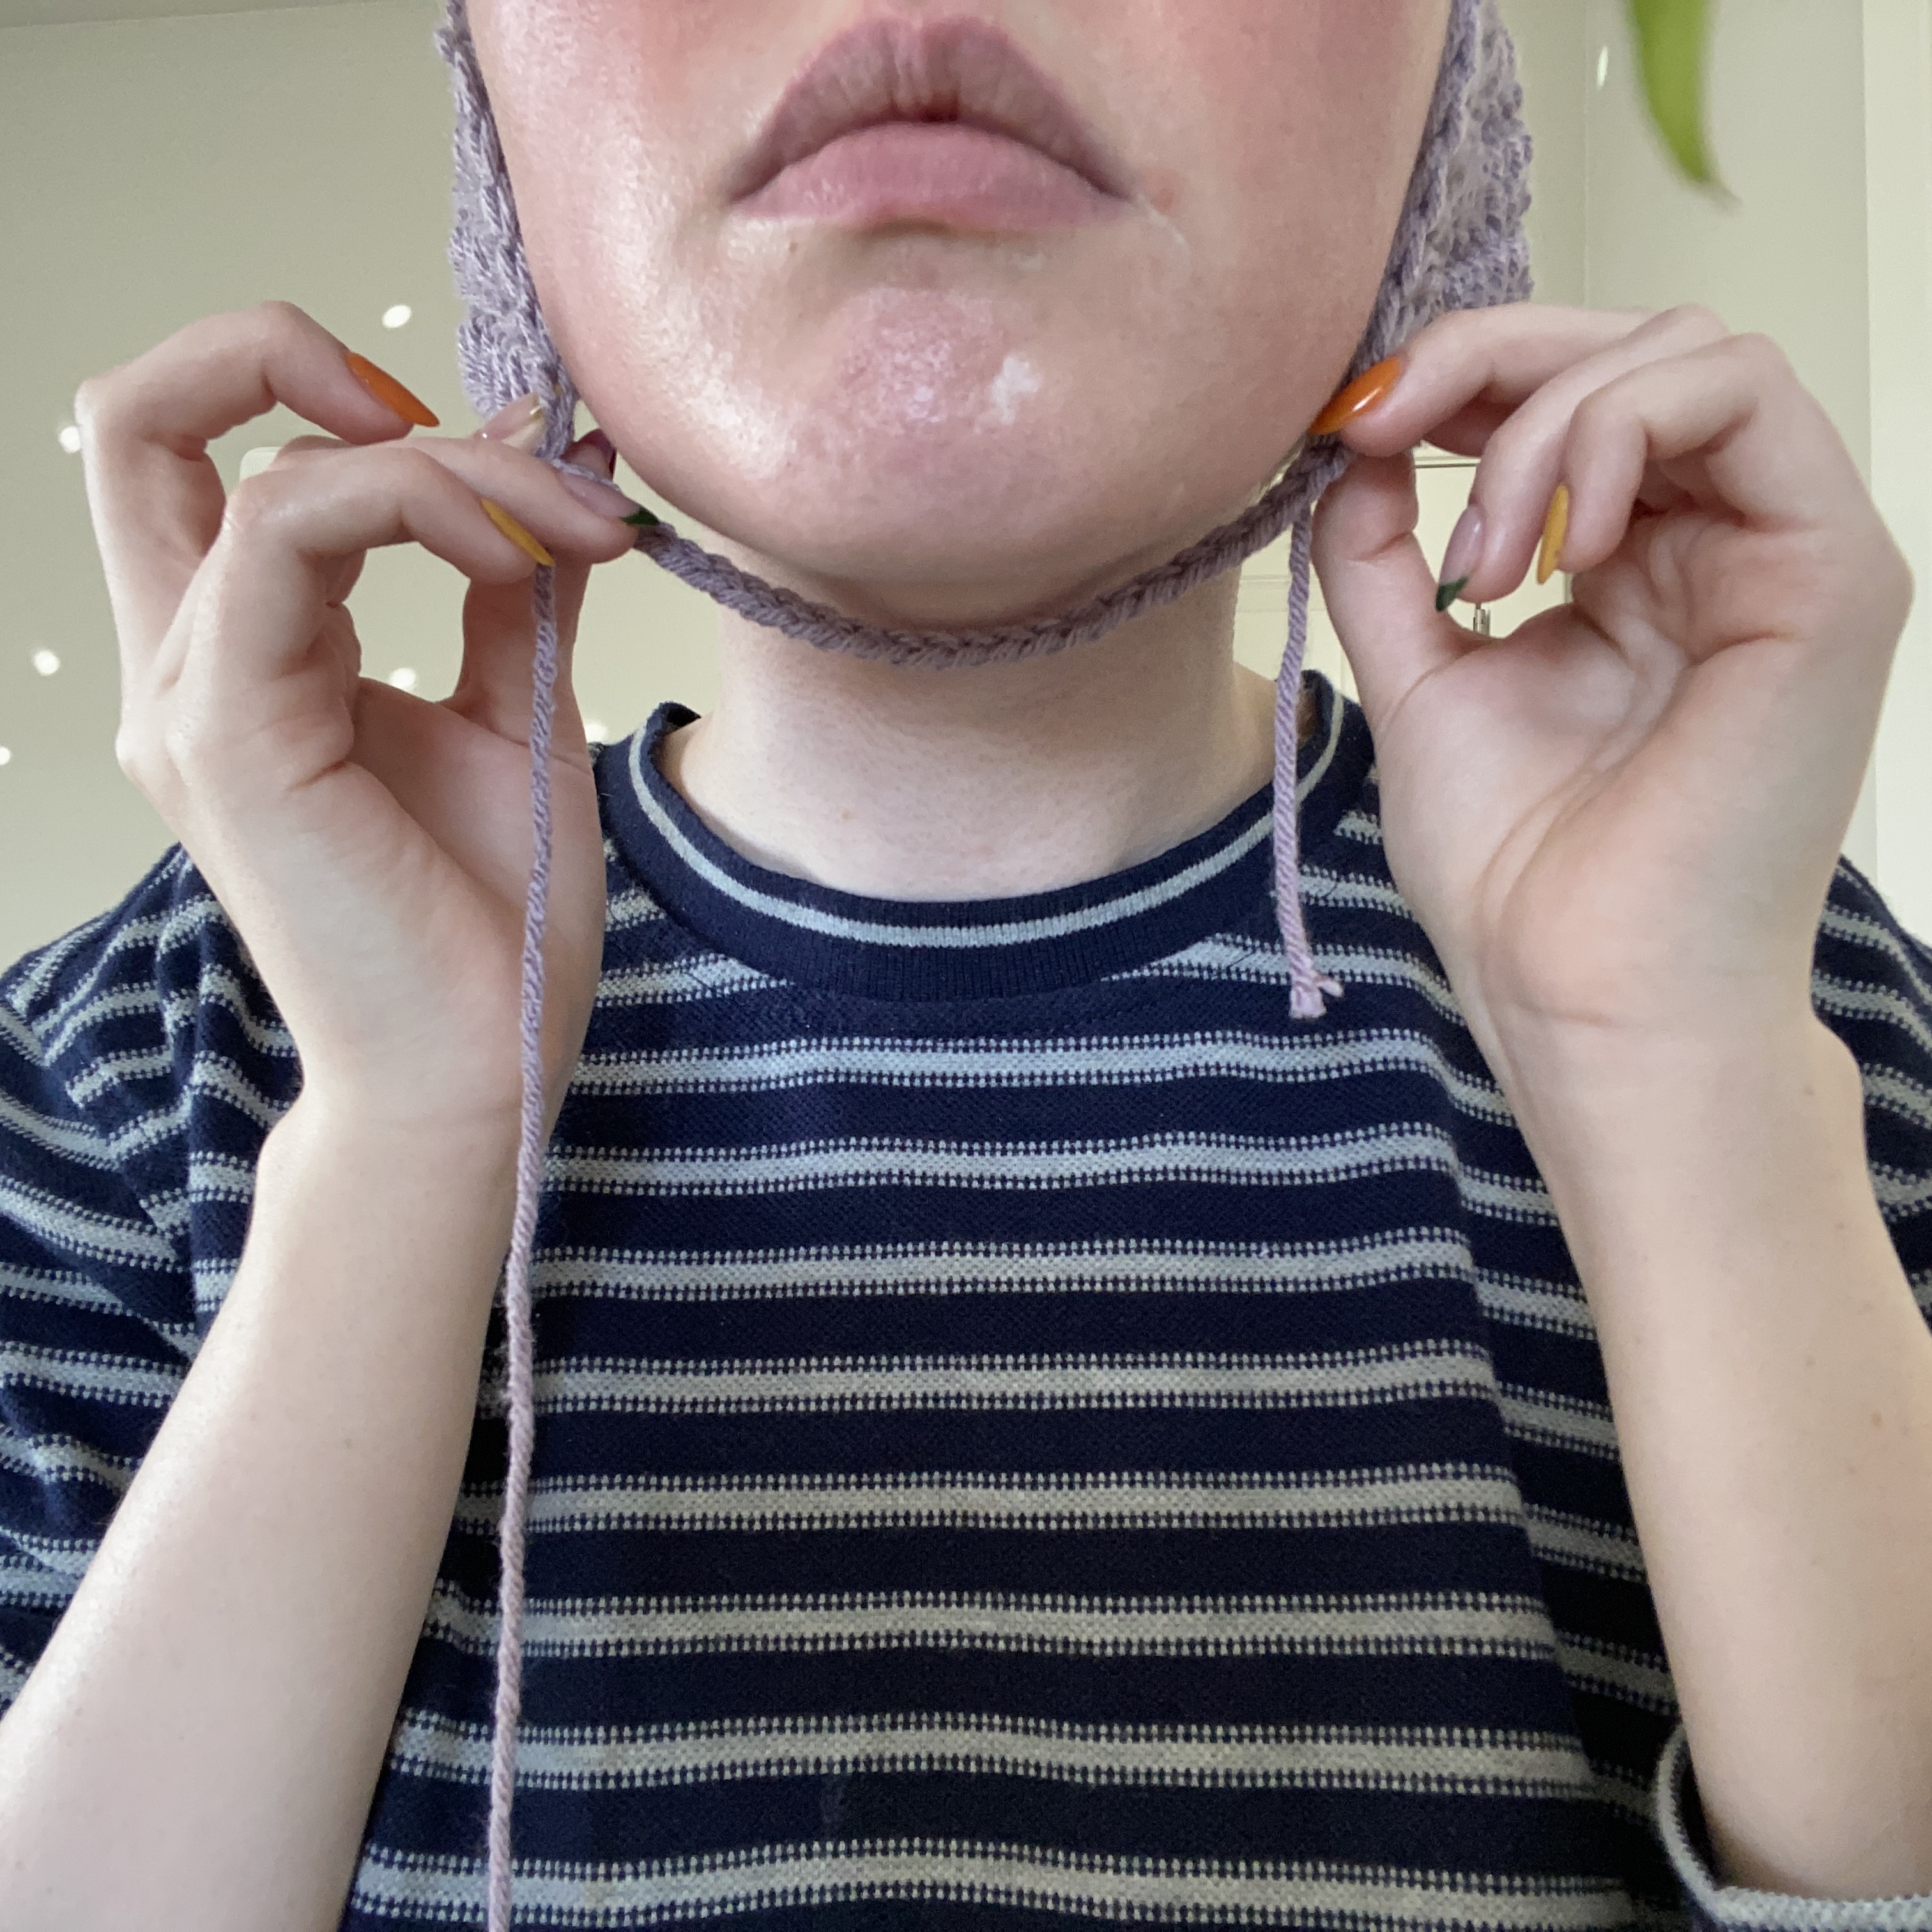
Attach your yarn at one of the corners and chain as many chains you need for it to reach under your chin and attach to the other corner of your balaclava, I chained 25.
It will make it easier if you try on your balaclava after chaining and see if it reaches comfortably. Leave, add or subtract as many chains as needed and then slip stitch into the opposite corner from where you started chaining.
Check out my Video Tutorial for this pattern if you are having trouble.
Face Ribbing Rows: Ch 5, sc into the 2nd ch from the hook, sc in remaining 3 ch, work 1 sl st into the next 2 chains you just made, turn your work, skipping the sl sts you just made and *sc blo into the next 3 sts, work 1 normal sc into the last st, turn your work, ch 1 and sc normally into the first st, sc blo into the next 3 sts, work 1 sl st into the next 2 chains you just made, turn your work, *repeat this until you work the ribbing around the face of your balaclava.
Fasten off and leave a tail to sew both ends of your ribbing together.

Neck Ribbing Rows: For a few of my balaclavas I made the neck ribbing 10 sts wide and then others I did 15 sts wide, so you can really make the neck ribbing however wide you’d like! I will be doing 15 sts wide for this balaclava.
Starting at one of the corners of your balaclava…
Ch 16, sc into the 2nd ch from the hook, sc in remaining 14 ch, work 1 sl st into the next 2 chains you made for the chin area, turn your work, skipping the sl sts you just made and *sc blo into the next 14 sts, work 1 normal sc into the last st, turn your work, ch 1 and sc normally into the first st, sc blo into the next 14 sts, work 1 sl st into the next 2 chains you just made, turn your work, *repeat this until you work the ribbing around the face of your balaclava.
Fasten off, but leave a tail for sew both ends of your ribbing together.
Weave in your ends and YOU’RE DONE!
If you recreate this Balaclava, please tag or DM me @hayhaycrochet on Instagram or TikTok so I can see, like and share!
Happy Crocheting~!