🤍WELCOME HERE🤍
This post may contains affiliate links.
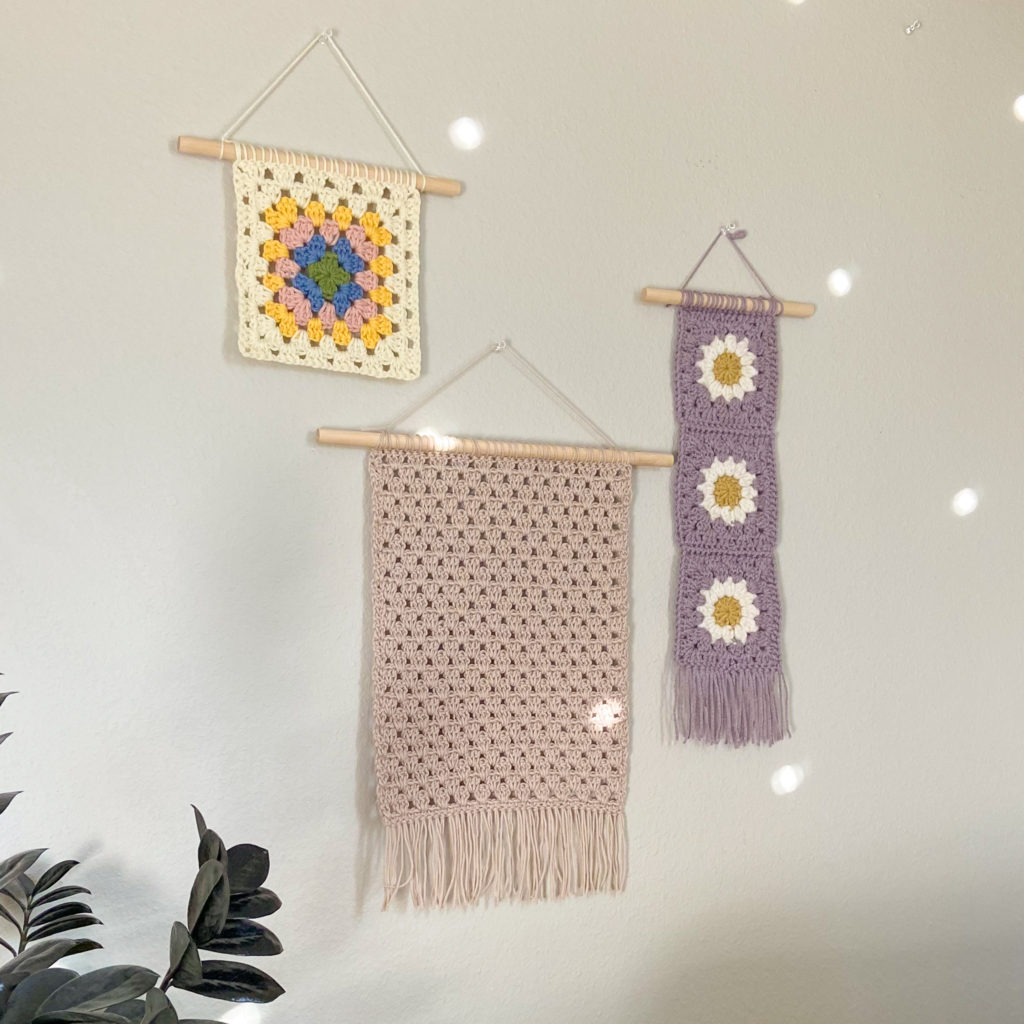
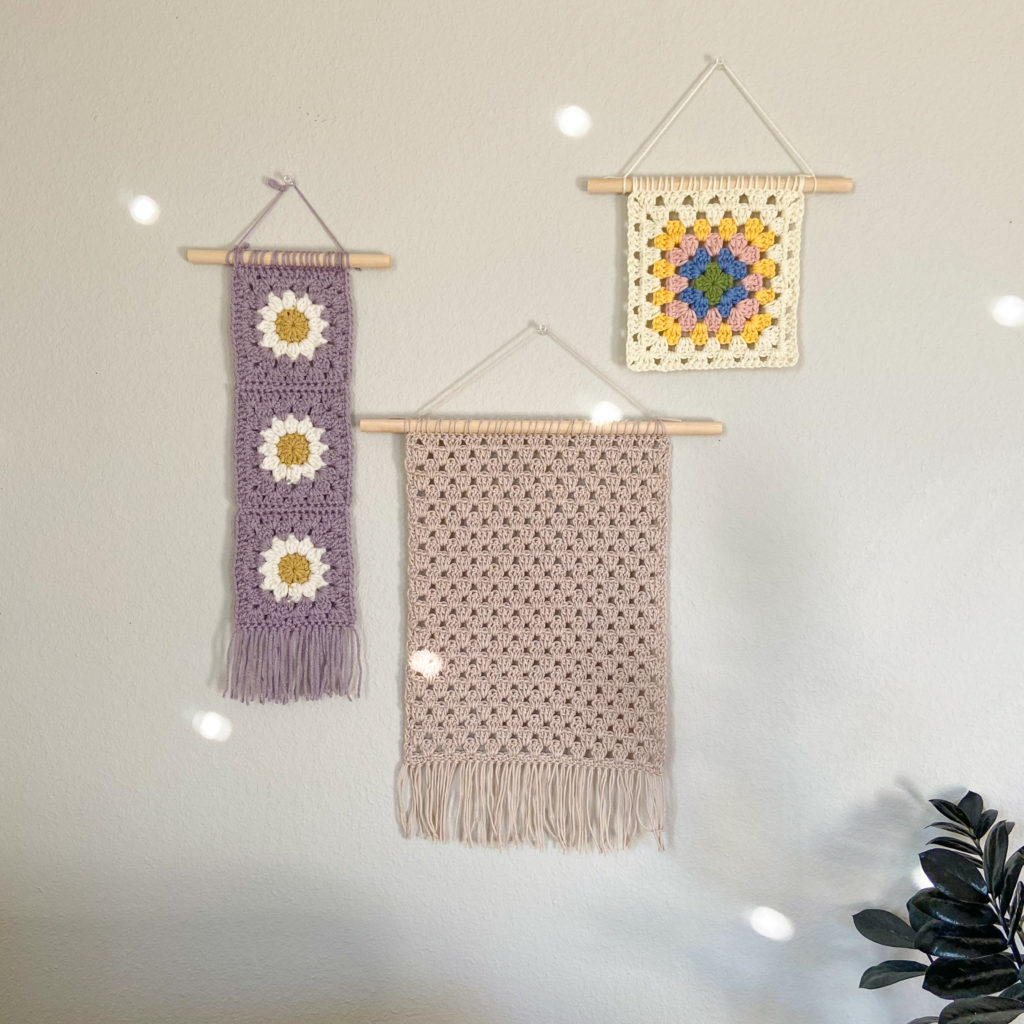
Hello there! Today I am going to share some quick and easy crochet patterns for some darling little wall hangings!
These designs are fun and simple, I was having so much fun making them, I made all of them in one day! They make adorable home décor AND great gifts for your friend & family. 💕
I didn’t buy any new yarn for these wall hangings, I just used what I already had, so that makes these really good stash busters! If you have some left over yarn you don’t know what to do with, this is the perfect project for you!
I encourage you to use what you already have, which makes for a nice little challenge and helps you to be creative with what yarn is already in your possession.
Don’t be afraid to play around with different types and weights of yarn~!
SO, without further ado, LET’S GET STARTED!
MATERIALS
Yarn – Any kind you want! I used 100% Cotton (worsted/size 4) for the first, 100% Acrylic (worsted/size 4) for the second and a mix of 50% Cotton/50% Acrylic (dk/size3) for the last.
Crochet Hook – I used a 5.00mm hook for all my wall hangings (despite working with 2 different weights of yarn)
Dowel Rods – I used a 7 1/2 inch dowel, 9 1/2 inch dowel, 13 1/2 inch dowel. My husband cut all the rods to my desired length with a cheap hand saw we got from Lowes
MEASUREMENTS
*These are not measurements you need to follow, because it will be different depending on the hook size, yarn you use and how many rows/round you work. With that being said, here are the measurements of my wall hangings.
Wall Hanging #1 – 6 1/2 inches L x 6 1/2 inches W
Wall Hanging #2 – 13 inches L x 4 1/2 inches W (not including tassels)
Wall Hanging #3 – 12 1/2 inches L x 9 1/2 inches W (not including tassels)
STITCHES + ABBREVIATIONS
Ch = Chain
St(s) = Stitches
Sc = Single Crochet
Dc = Double Crochet
Dc cluster = 3 double crochet
Sl st = Slip Stitch
Sk st = Skip Stitch
PATTERN NOTES
*This Pattern follows US Crochet terms.
*Ch 3 at the beginning of each row/round ALWAYS counts as a stitch.
*These Patterns are accompanied by the Video Tutorial for these, where I show you how to block, attach and add tassels to your wall hanging.
3 Wall Hanging Patterns
Wall Hanging #1

Start off by making a magic ring.
Round 1: Ch 3, (first ch 3 of EVERY ROUND counts as a dc st), work 2 dc into the magic ring, ch 2, work 3 dc into the magic ring, ch 2, work 3 dc into the magic ring, ch 2, work 3 dc into the magic ring, ch 2. Sl st into the first st of the round and turn your work. (BUT if changing colors pull through new yarn color and turn your work.)
I changed colors every row, but you can change colors whenever you like, every 2 rows, 4 rows or no rows! Whatever floats your boat.
Round 2: (With your new added yarn color, if you changed colors) Ch 3, work 2 dc into ch space, ch 2, work 3 more dc in same ch space, ch 1, work 3 dc into next ch space, ch 2, work 3 more dc into same ch space, ch 1, work 3 dc into next ch space, ch 2, work 3 more dc into same ch space, ch 1, work 3 dc into next ch space, ch 2, work 3 more dc into same ch space, ch 1, sl st into the first st of the round (with your new color, if changing colors) and turn your work.
Round 3: (With your new added yarn color, if you changed colors) Ch 3, work 2 dc in the ch 1 space, ch 1, *work 3 dc into the ch 2 space, ch 2, work 3 dc into the same ch 2 space, ch 1, work 3 dc into the next ch 1 space, ch 1, work 3 dc into the next ch 2 space, ch 2, work 3 dc into the same ch 2 space, ch 1, *repeat until the end of the round. Sl st into the first st of the round and turn your work.
Round 4-6 (or more or less rows depending on how big you want your little wall hanging): Repeat the process of a dc cluster in each ch 1 space, with a ch 1 to separate each cluster and 2 dc clusters in each ch 2 space (the corner ch space), with a ch 2 to separate the 2 clusters.
Fasten off.
And thats it for this first wall hanging!
Watch my Video Tutorial for these wall hangings to learn how to attach your work to your dowel and add tassels!
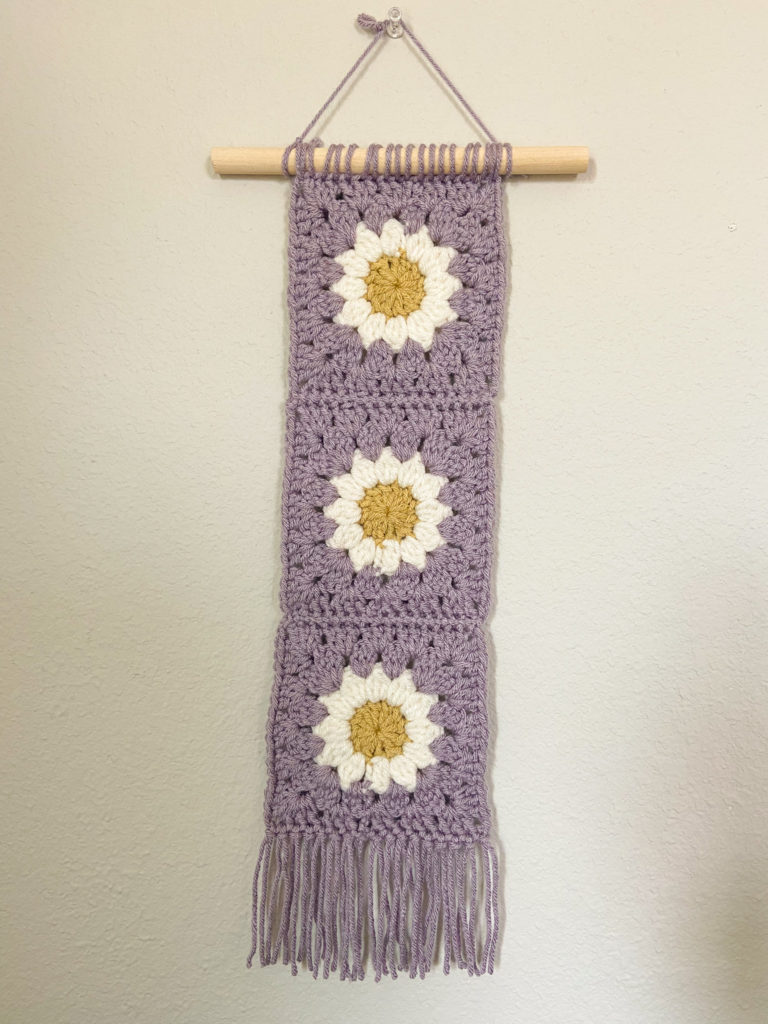
Wall Hanging #2
Start off by making a magic ring.
Round 1: Ch 3, work 11 more dc into the magic ring, sl st into the first st (ch 3) of the round (pulling through a new color)
Do NOT turn your work.
We will be working on the petals now
Round 2: Ch 3, yarn over and insert your hook into that same st (ch) and pull up a loop, yarn over and pull through 2, yarn over and insert your hook again into the same st (ch) and pull up a loop, yarn over and pull through 2, you should have 3 loops on your hook, yarn over and pull through all 3, ch 1, now moving on to the next petal *yarn over and insert your hook into the next st, yarn over and pull up a loop, yarn over and pull through 2, yarn over and insert your hook into the same st, yarn over and pull up a loop, yarn over and pull through 2, yarn over and insert your hook one more time and pull up a loop, yarn over and pull through 2, you should have 4 loops on your hook, yarn over and pull through all 4, ch 1, *repeat this petal process 10 more times. Sl st into the first st of the round (pulling through a new color) and DO turn your work.
I have a video tutorial if you need some more help visually.
Round 3: Ch 3, work 2 dc in the ch 1 space, *work 3 dc into the ch space, ch 2, work 3 dc into the same ch space, work 3 dc into the next ch space, work 3 dc into the next ch space, *repeat until the end of the round. Sl st into the first st of the round and turn your work.
Round 4(or more or less rows depending on how big you want your little wall hanging): Repeat the process of a dc cluster in each ch space and 2 dc clusters in each ch 2 space (the corner ch space), with a ch 2 to separate the 2 clusters.
Fasten off.
Repeat this process 2 more times for a total of 3 flower granny squares total.
When you have all of your granny squares done, it is now time to seam them together. You can use whatever method you like for seaming, but I show you how I seam mine together in my Video Tutorial Here.
Wall Hanging #3
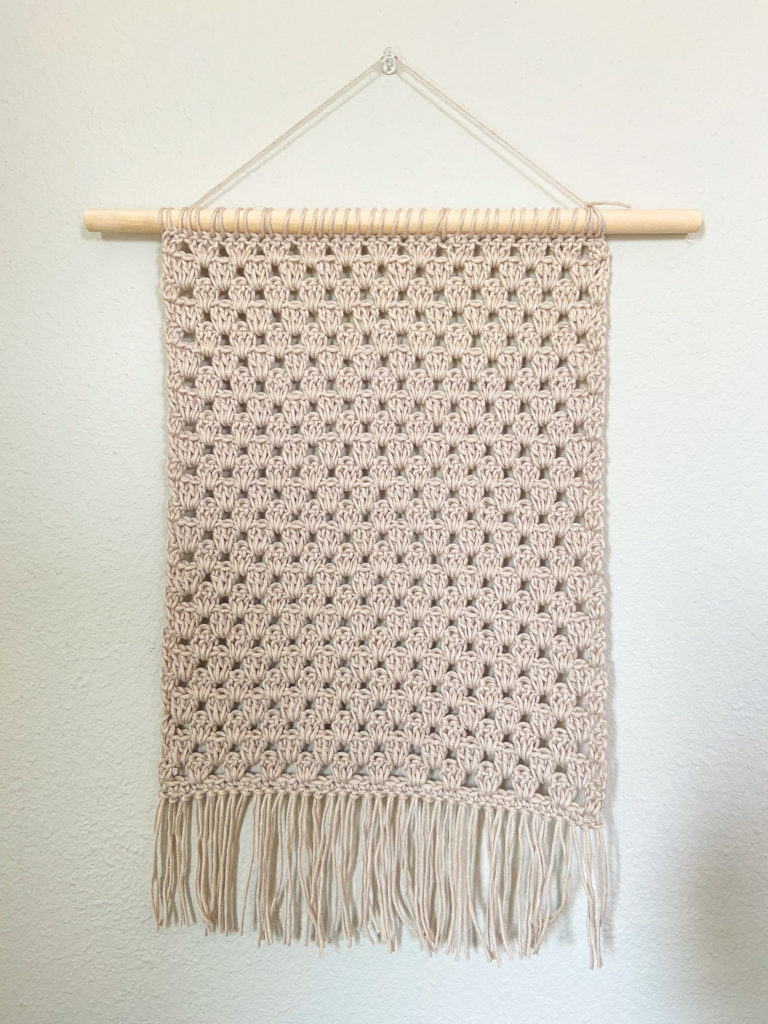
Start off by making a chain as long as you want, but make sure it is in multiples of 3’s. I chained 36.
Row 1: Ch 2 extra chains (for turning your work. Also counts as a st) and sc into the 3rd ch from the hook, sc in each ch until the end of the ch. Turn your work.
Row 2: Ch 3, work 1 dc into the first st (along with your ch 3 counting as st, this is your 2nd dc of the row), sk 2 sts, *work 3 dc into the next, sk 2 sts, *repeat this until the end of the row where you should have 3 sts left (one of the sts being from the extra ch 2 from the foundation ch, so it might be a bit hard to see/work in), after you have sk 2 sts, work 2 dc into the last st (ch) of the row. Turn your work.
Watch my Video Tutorial Here for more help.
Row 3: Ch 3, *work 3 dc into the next ch space, *repeat until you have worked into the last ch space of the row. Work 1 dc into the last st (ch 3 from the previous row). Turn your work.
Row 4: Ch 3, work 1 dc into the first st, *work 3 dc into the next ch space, *repeat until you have worked into the last ch space of the row. Work 2 dc into the last st (ch 3 from the previous row). Turn your work.
Repeat rows 3-4 until you have your desired amount of rows. I worked a total of 25 rows.
when you have as many rows as you want, fasten off.
Attaching, Seaming and Tassels
For blocking, attaching your wall hangings to the dowels, seaming granny squares or adding tassels…
I show you the methods I use in my Video Tutorial (linked below) for these wall hangings!
Weave in your ends, and…YOU’RE DONE!
If you recreate these, please tag or DM @hayhaycrochet on Instagram or TikTok so I can see, like and share!
Happy Crocheting~!